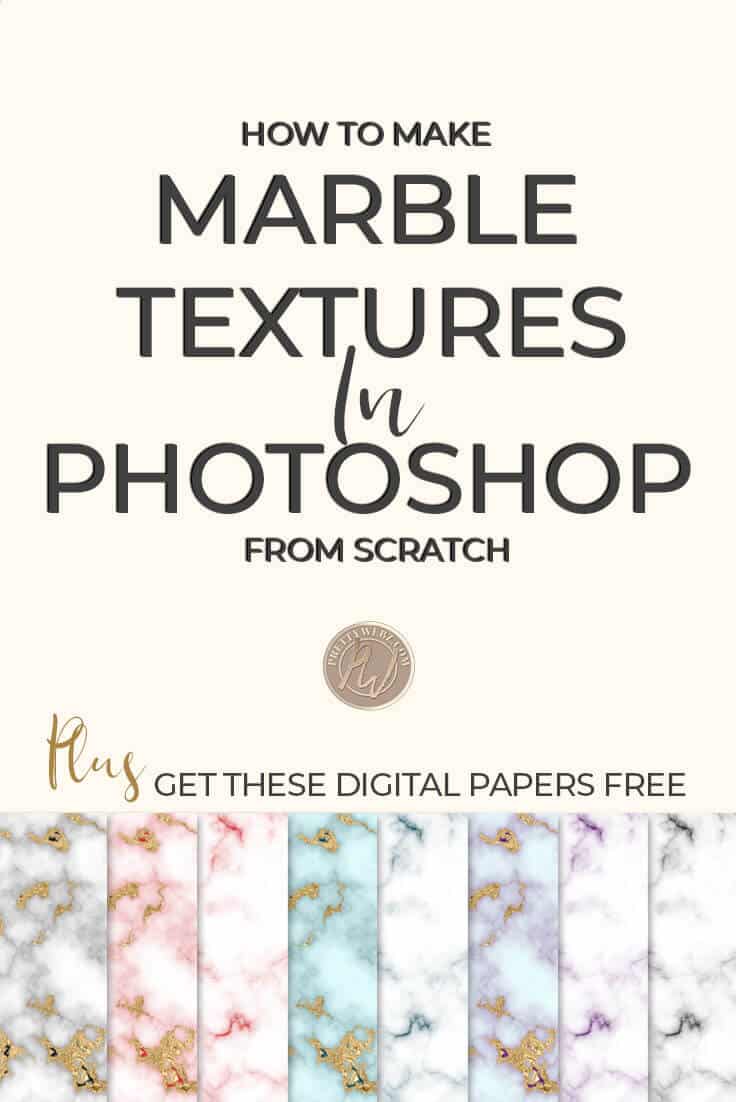
How to Make a Marble Texture in Photoshop
How to make a marble texture in Photoshop
The marble texture look is excellent for showcasing quotes for frames, and of course, they look great as backgrounds. I love it as an accent. I tend to use black and white and colored marble a lot when designing feminine brands and graphics for web design and branded assets such as business cards and stationery.
The good news is that a marble texture is super simple to make and a literally minutes and in today’s tutorial I’m going to show you how to create a marble texture from scratch but not just that.
We’re also going to learn how to adjust the color settings for the veining and the base of the marble. I’m going to show you a little trick to add gold flake and a gold texture inside of your marble texture as well.
Adding additional textures to your marble texture can seem a little complicated at first. However, once you get the idea of how to use a clipping mask, it is worth learning how to do. You will be so happy with your results.
Featured Freebie: Marble Texture Digital Papers
If you want to download the marble textures that we will be creating here in this tutorial you can download them here.
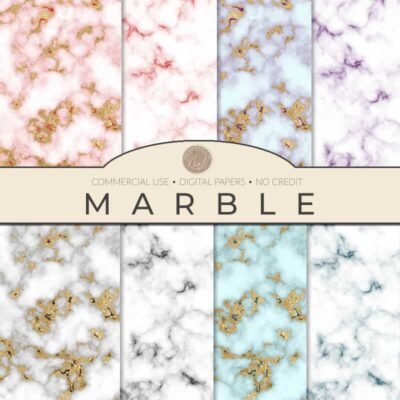
I have created a 3600 X 3600 digital paper for the base marble texture and the marble texture with the embedded gold flake for you to use on all of your projects commercial or otherwise.
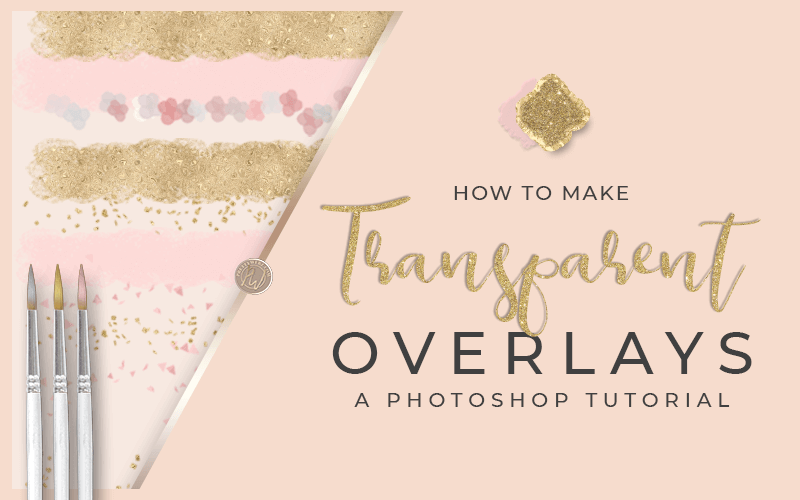
In addition to that, you can also download the gold at textures that I taught you how to make in my previous tutorial. Gold is another fun and super easy texture to make. You can download these textures in a rough gold, gold speckles, and gold foil textures. This pack is available in my shop as well for free.
However, I urge you to learn how to make them because you will give yourself a ton of flexibility with your design and your color range will be exponential.
Marble Texture Video Tutorial
Note: If you would rather check out this tutorial in a written format you can find the written tutorial below.
Other Posts You Might Like


About this Photoshop Textures Series
This tutorial was created to be as simple as possible. You don’t have to be a designer or even know much about Photoshop to make this work for you. Photoshop may or may not be something that you’re interested in, but for those of you who do use Photoshop and have access to it, this Photoshop textures series on how to create base textures that we all use so much will be a great asset.
Learn the fundamentals it’s worth it. Learn a few tips and tricks for creating vital design assets that you can use over and over again. Not only that, you can change the look of your assets and create something unique to your design every single time.
The Marble Texture Tutorial
This simple marble texture photoshop tutorial is so fast and easy. I’m so excited to bring this one to you. Marble is one of my favorite textures and the added gold encrusted marble option is stunning. I adore the look and feel so much.
A marble background when used in a design, is one of those textures that can be subtle and at the same time so luxurious and rich. Learning how to make this marble in Photoshop is so much easier than you might think and looks excellent in everyday design. Marble has a lot of feminine aspects to it but also can be used in masculine design as well. There’s a lot of range to this type of natural texture.
More Posts on this Topic
Instructions
Create a new document 1200 x 1200 pixels if you’re going to print as digital papers then you want to keep your resolution at 300 otherwise bring it down to 72 for the web RGB color for printed CMYK color leave your background as a white and click on create
Settings Adjustments
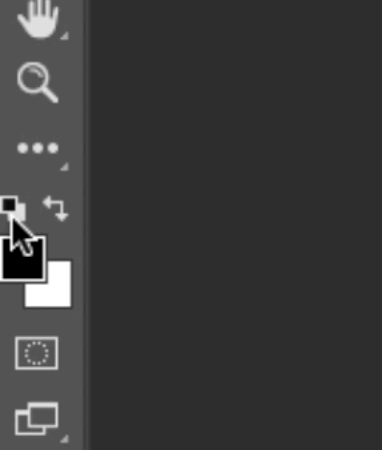
- Unlock your background image by double-clicking on the lock icon
- Make sure that your colors are set to default by clicking on the default foreground and background color icon in your side panel.
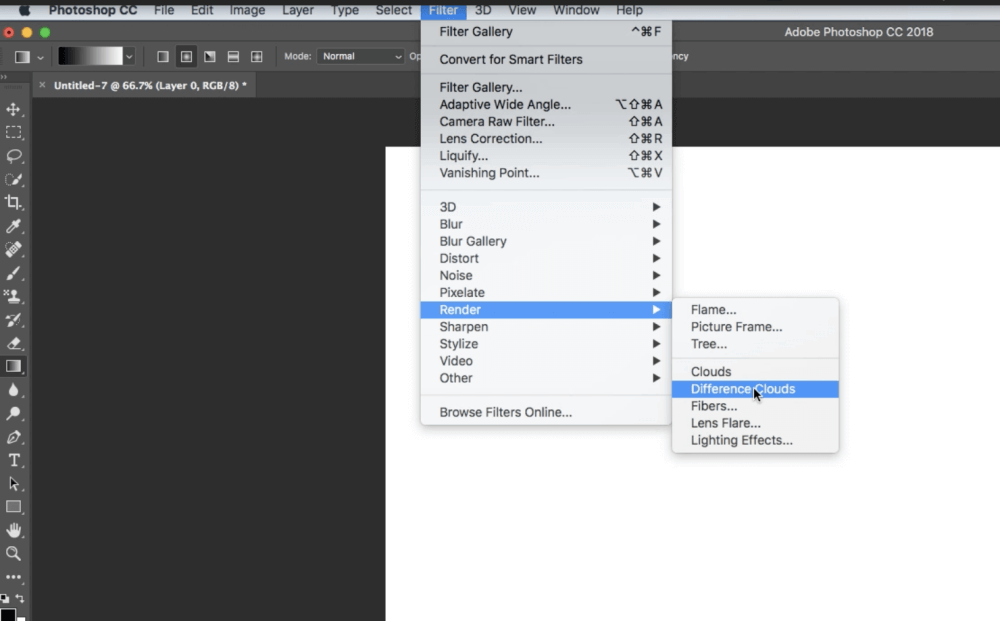
First Filter
Under the filters tab >>> go down to render >>> then to different clouds
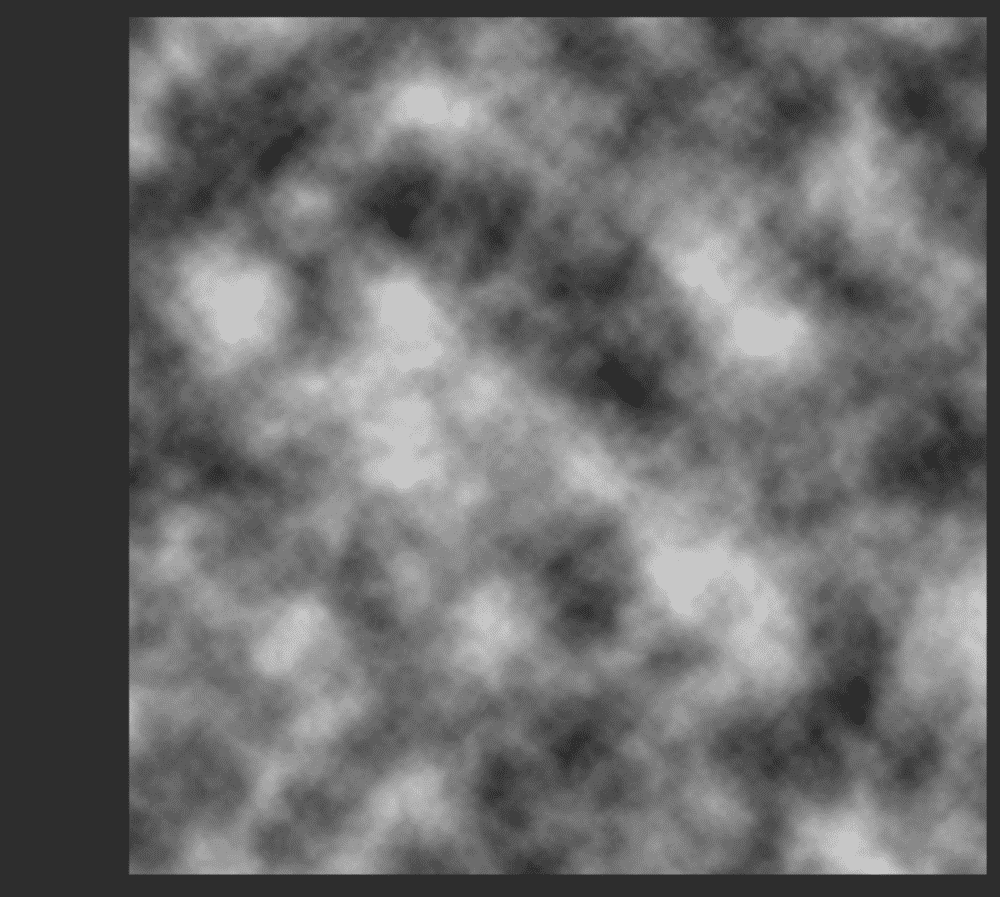
The first layer will look something like this:
Second Filter
We will be adding the filter “different clouds” again. We will be using the exact settings as before, so this time you can use the preset difference clouds, it will be the very first option under filters.
Subsequent Filters
Use the difference clouds filter as many times as you need. The number of times you apply different clouds depends on the look that you’re trying to achieve. You can play around with this to get various applications.
You should have something that looks like the image below with clear “veining” and clouds.
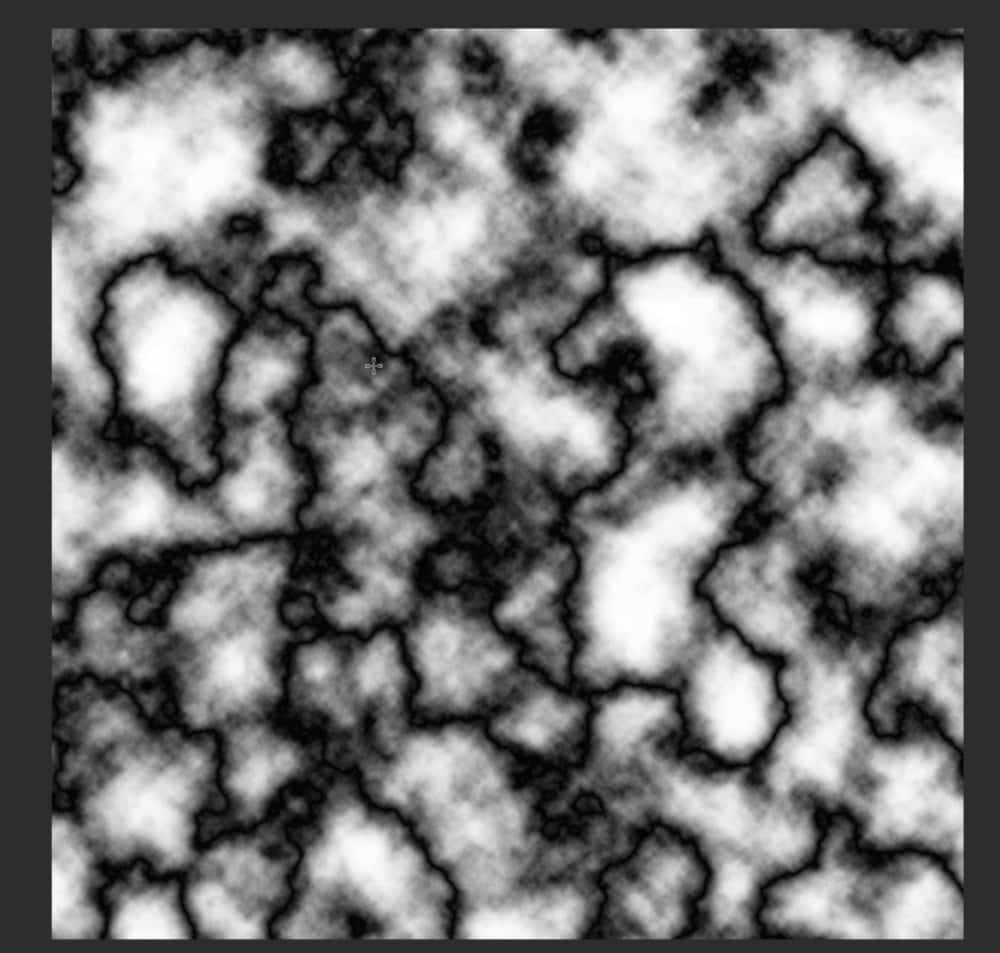
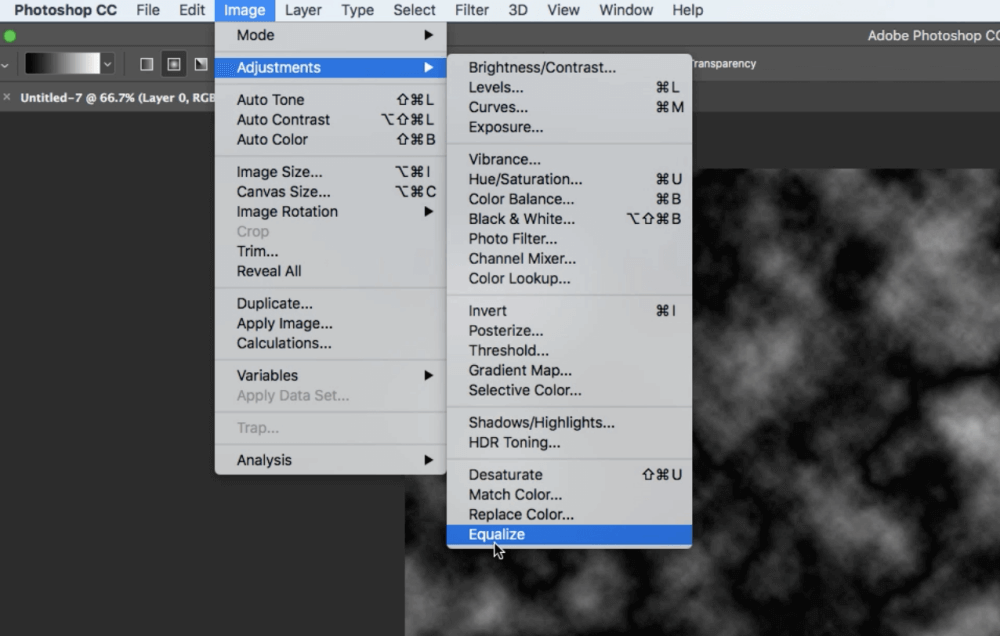
Image Adjustments
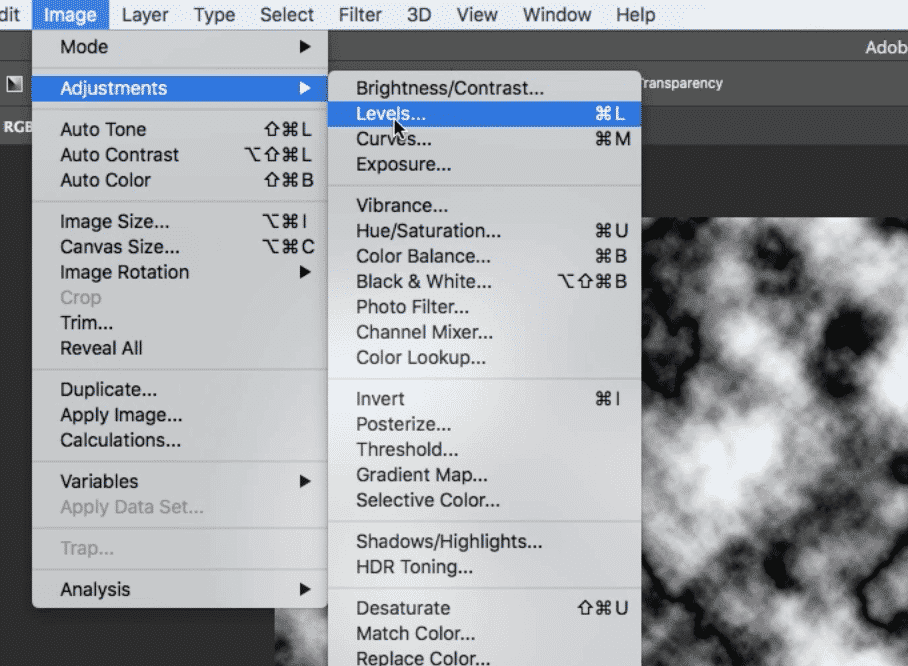
Next, go to the image tab select adjustments and equalize this will give you a stronger contrast between the light and the dark areas of your image.
Next select image adjustments and levels. Here you’re going to bring your levels more toward the left to achieve veining throughout the image.
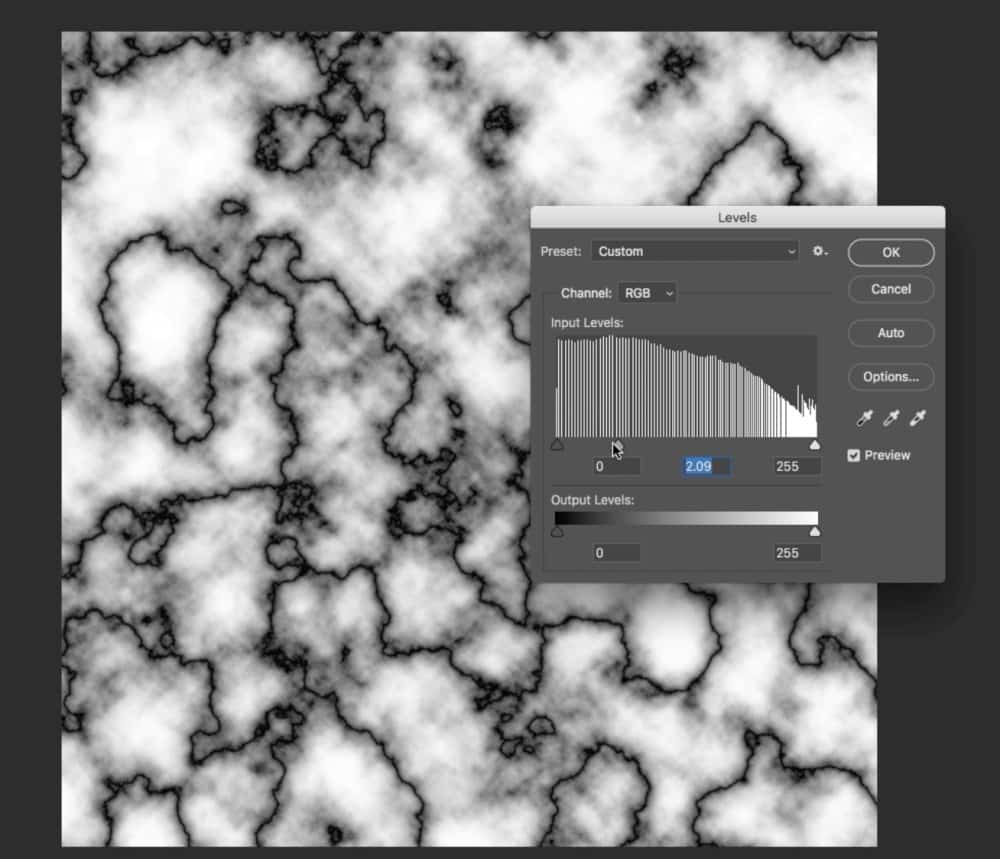
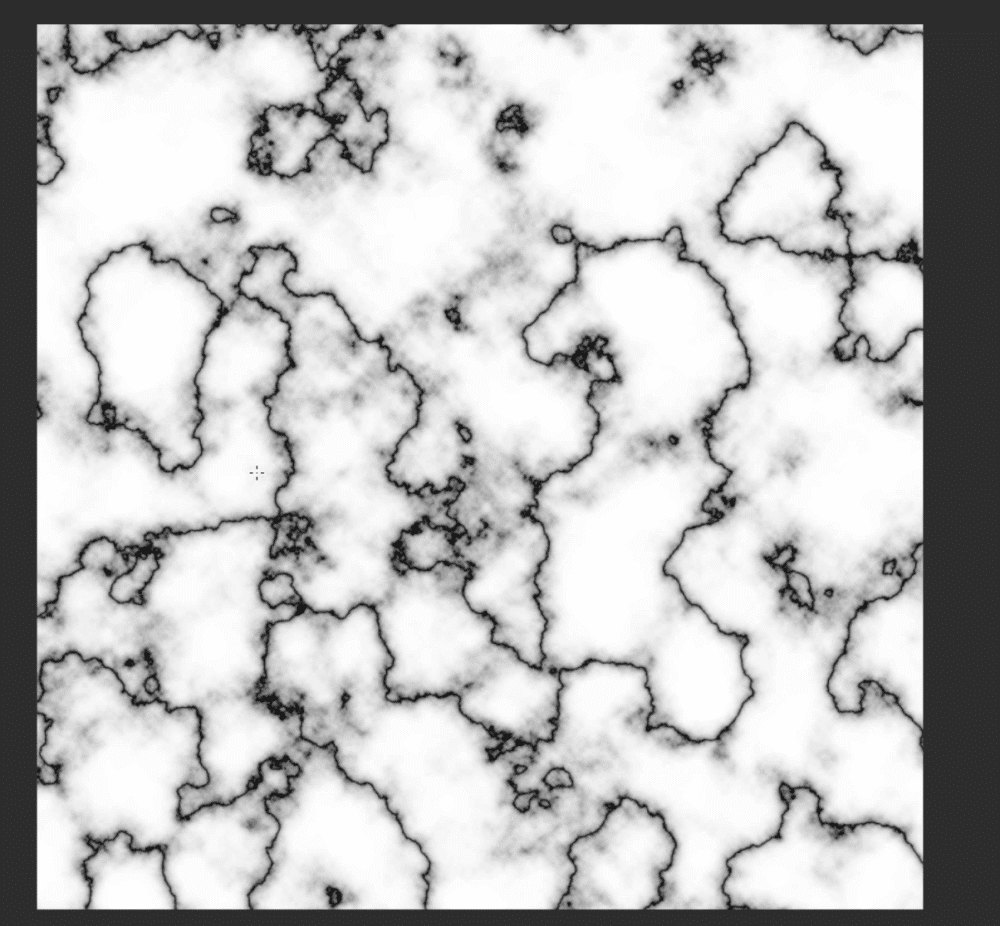
At this point you should have something that looks like this:
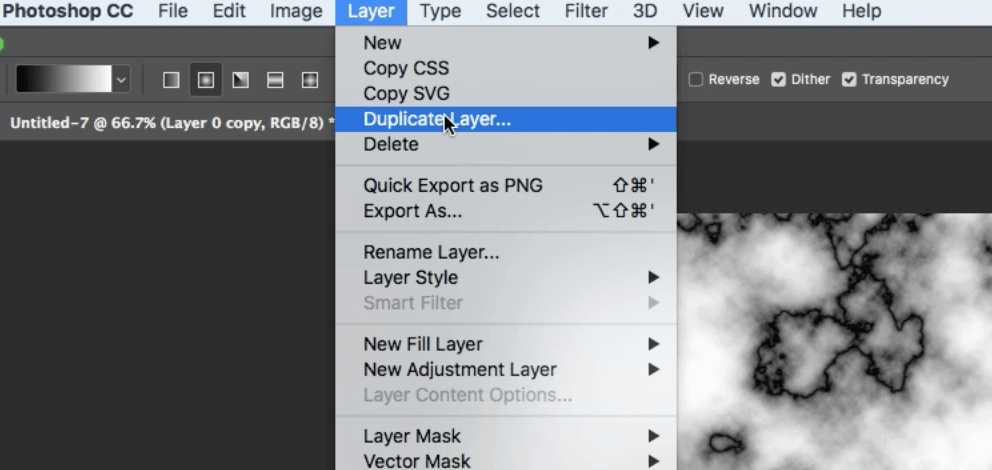
Duplicate the Layer
Three ways to duplicate a layer
- Hold down your alt or option key while dragging up on the layer this will create a duplicate of the original layer.
- Another option is to drag the layer down to the bottom of the layers panel into the new layer’s icon.
- The third way to duplicate a layer in Photoshop is to right-click your mouse on the layer and choose duplicate layer.
Top Layer Adjustments
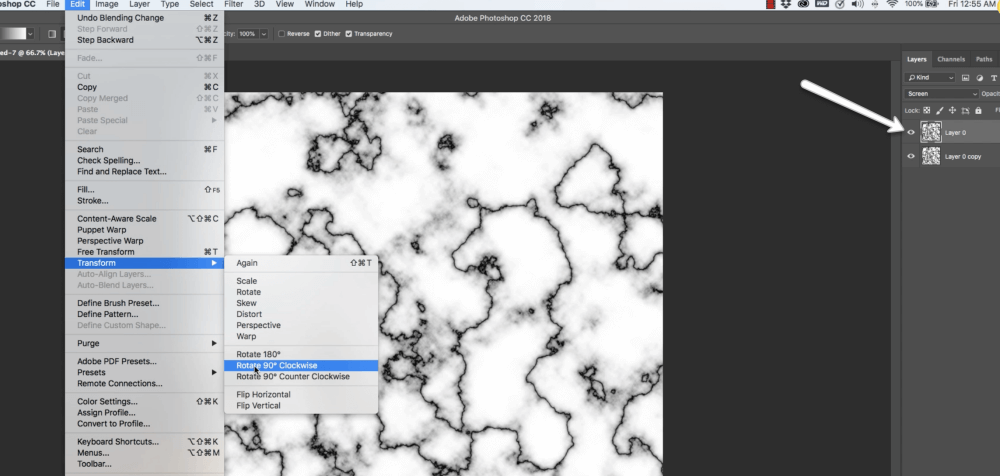
Select the top layer and go to edit transform rotate 90° clockwise
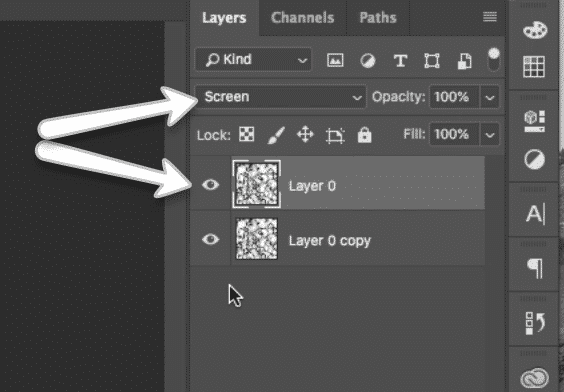
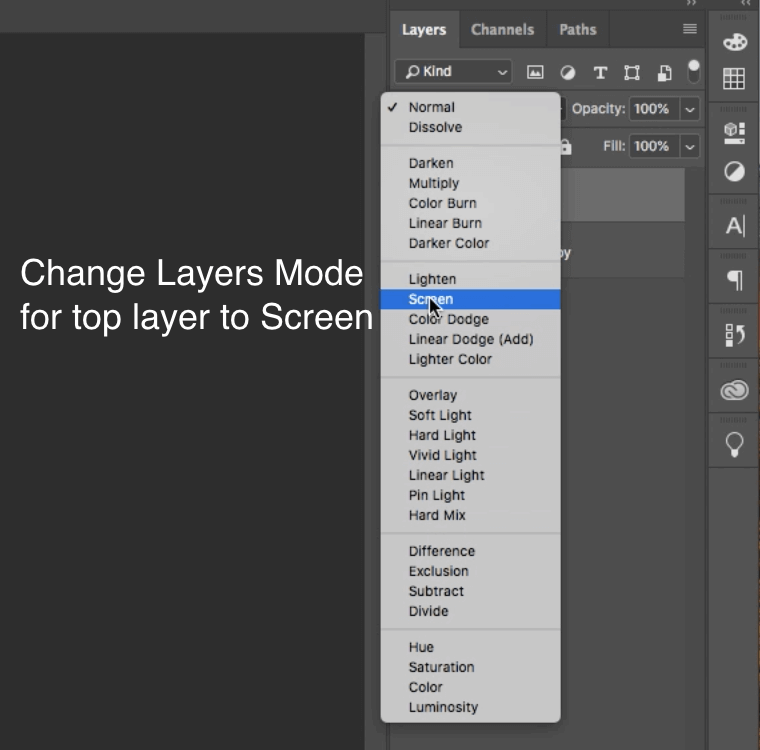
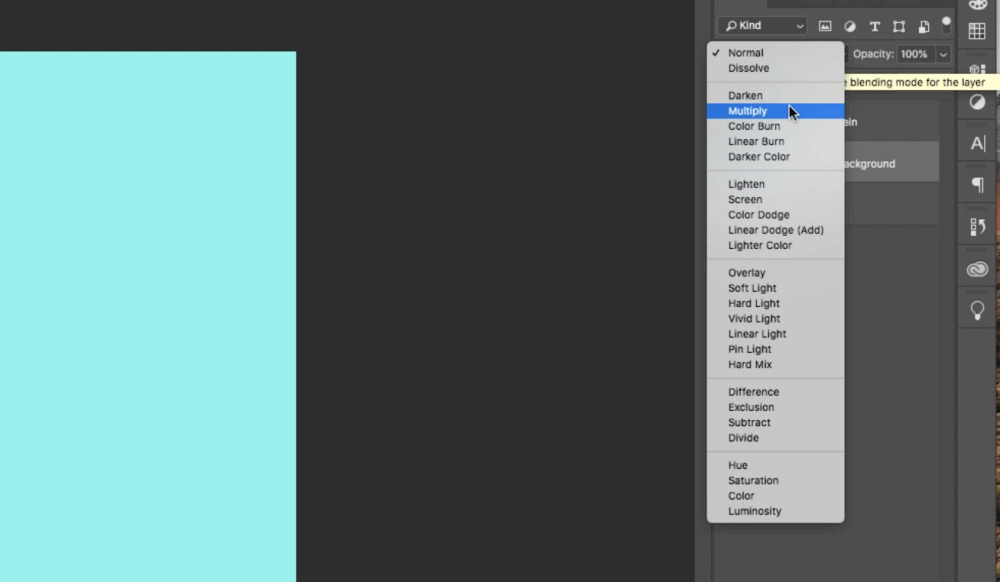
Change your layer mode in the layers panel. There is a drop-down menu we’re going to change it from a normal mode to screen mode.
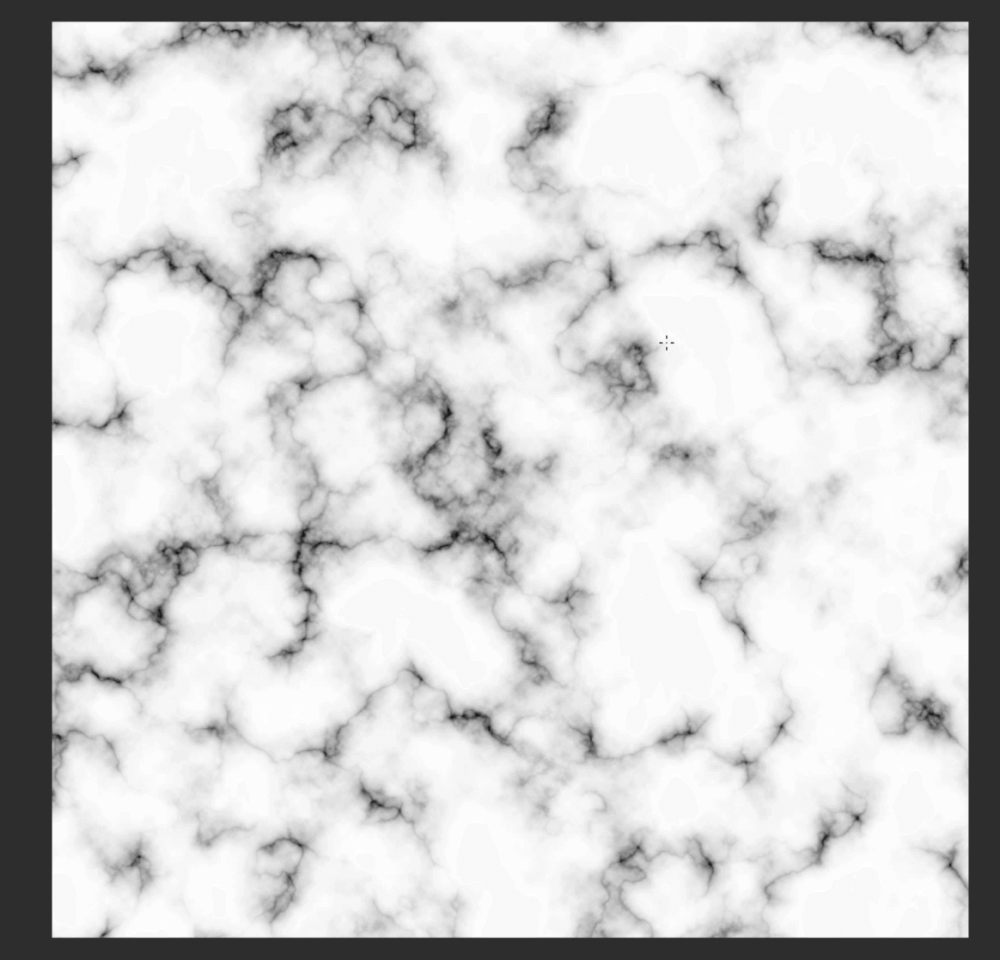
You should have something that looks like this:
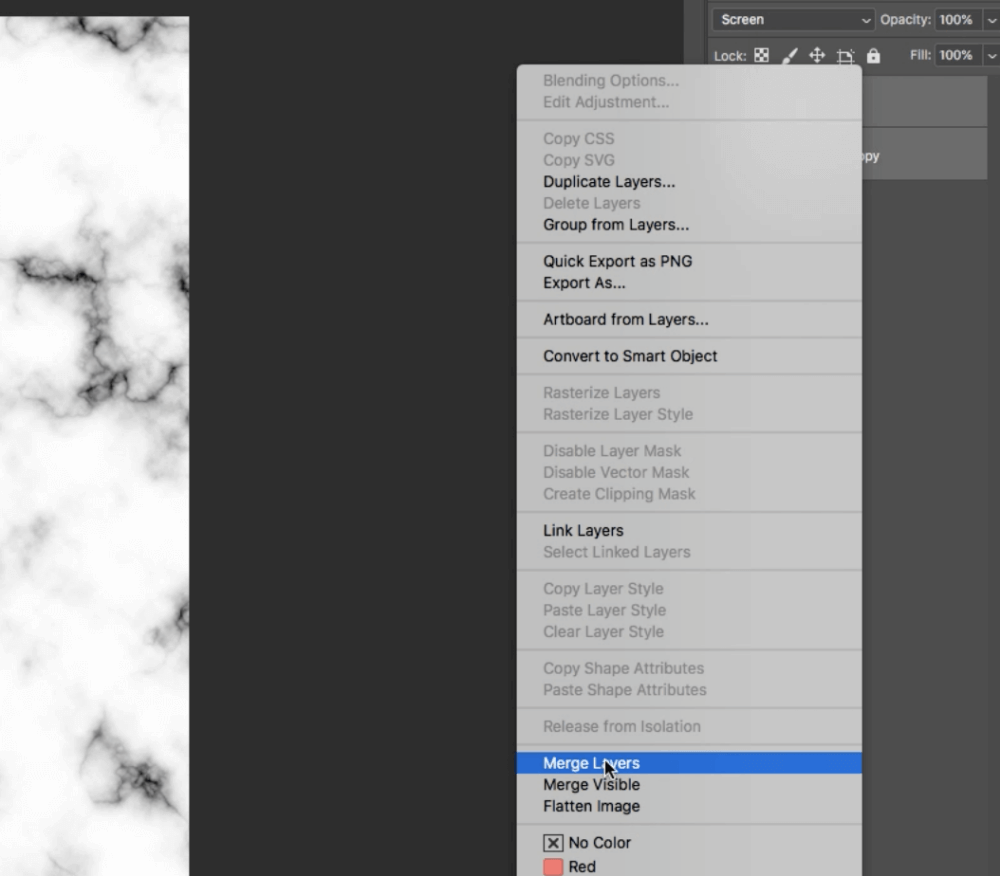
Select the top and bottom layer by holding down the shift key and selecting both layers right click on the layers and choose merge layers
From here there are several things that you can do to customize your marble texture even further. We will go over two options below.
Marble Texture Option Number One
Color Changes
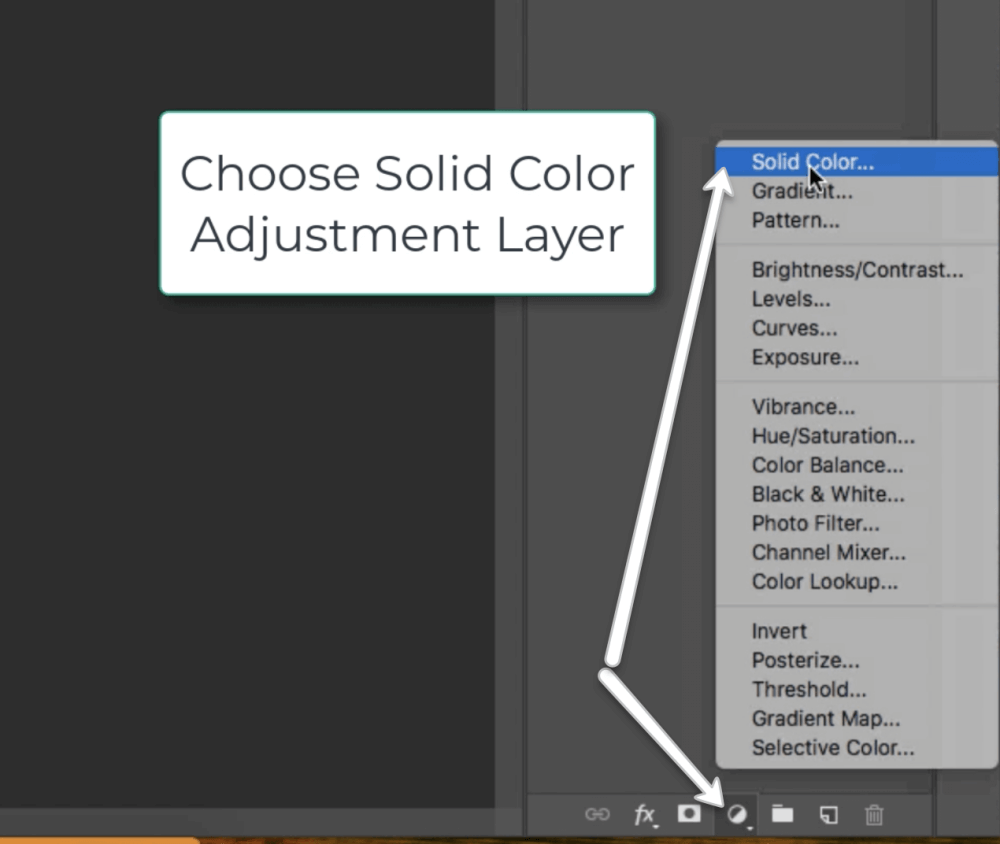
You can change the color of your veining by creating a new fill layer. You can do this by clicking on the layer new fill layer and using a solid color. Alternately you can get to the same panel by choosing the adjustment layers icon at the bottom and using the very first “solid color” option, see the image below. You will add a new Fill layer to the top of your marble layer.

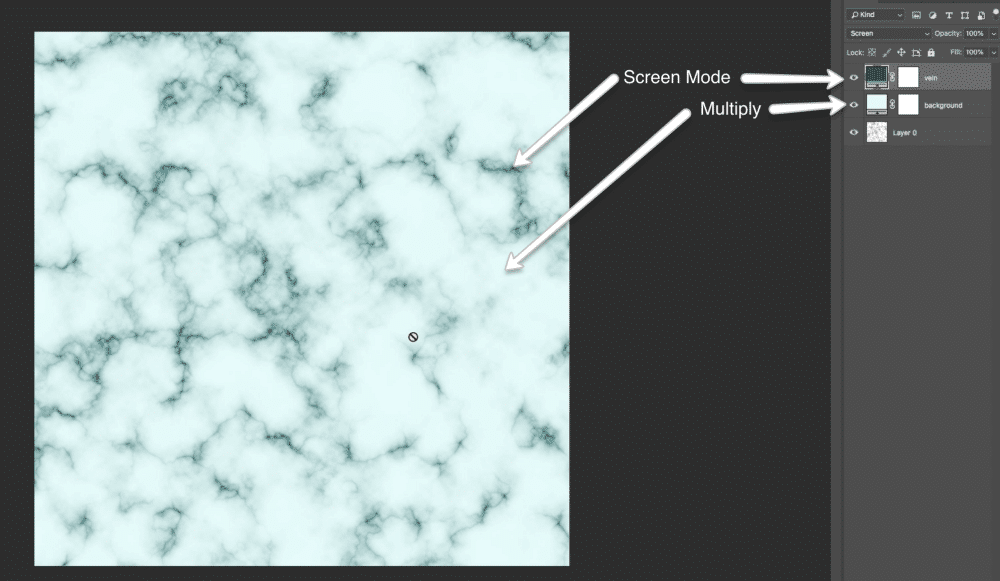
Change the layer mode in the drop-down menu just above the layers panel to screen. Double click on the layer itself to adjust the color to anything you like. This layer will control the color of your veining.
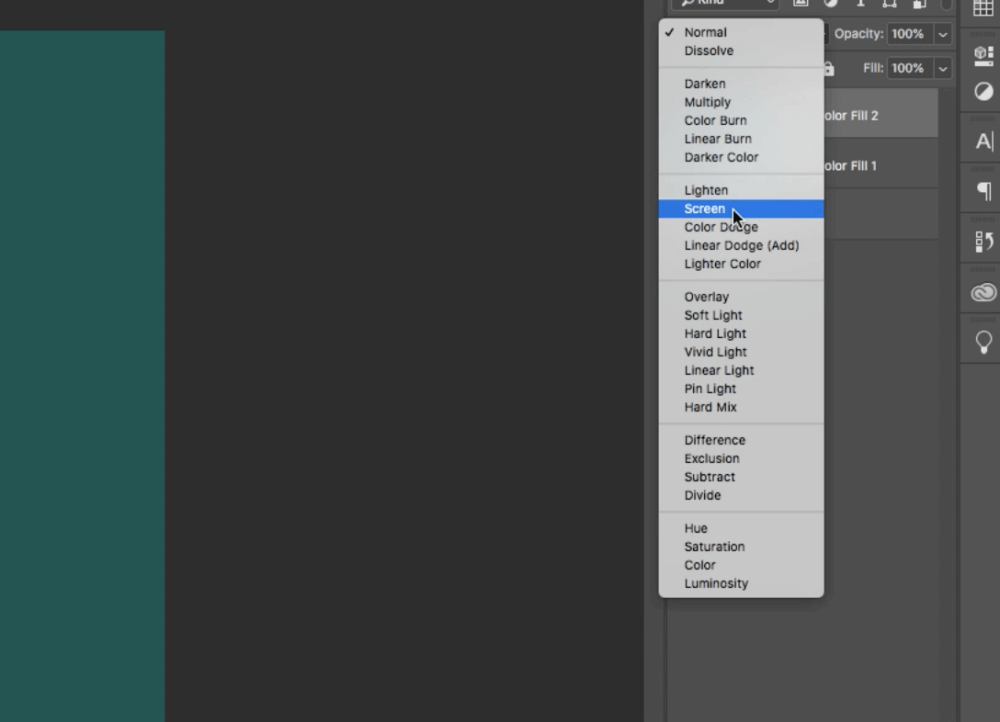
Add Another fill color adjustment layer but this time change the layer mode to multiply this layer will control the color of your background.
Marble Texture Option number two
Add metallic textures to your marble
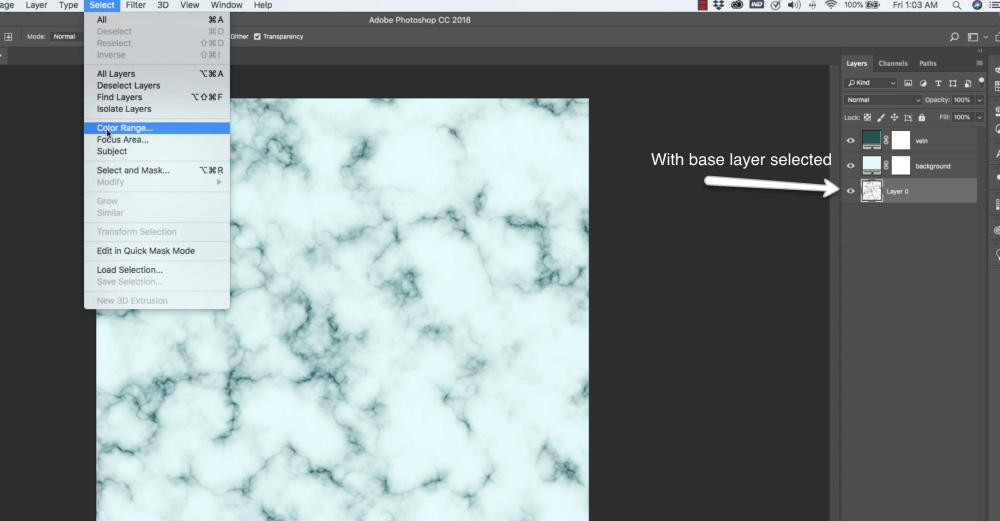
With your base layer selected choose “Select” from the top drop-down menu.
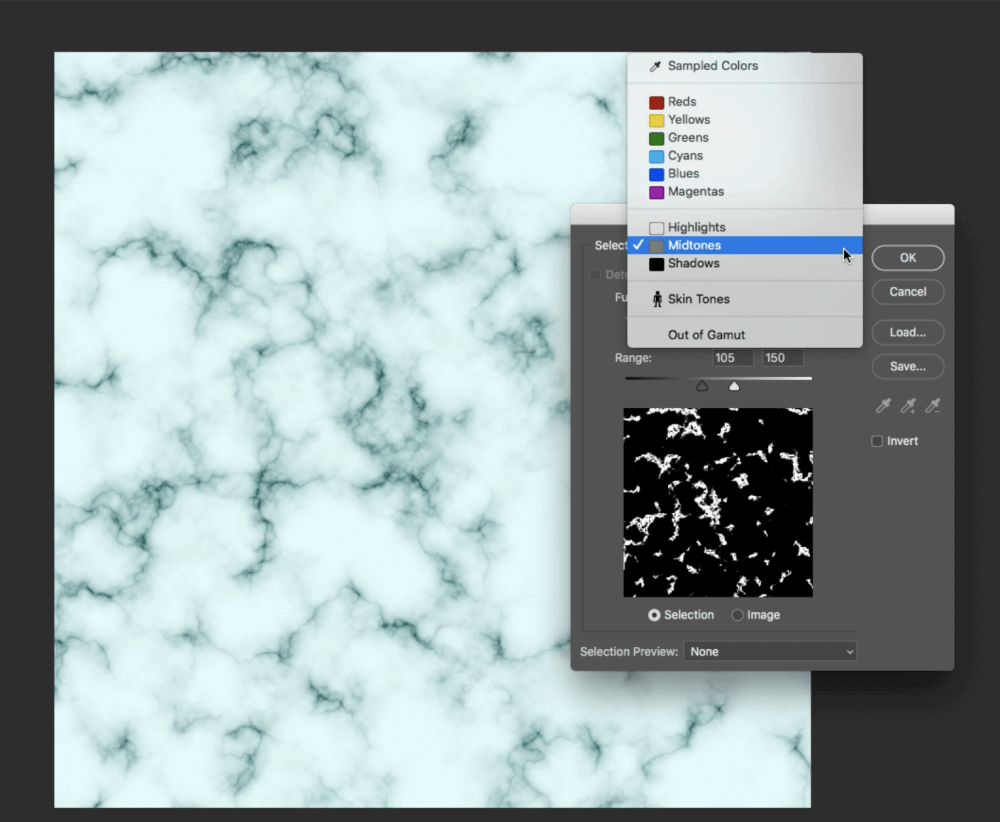
In the pop-up menu select “Midtones” click OK now you will have a selection. You will see the “marching ants” on the screen at this point.
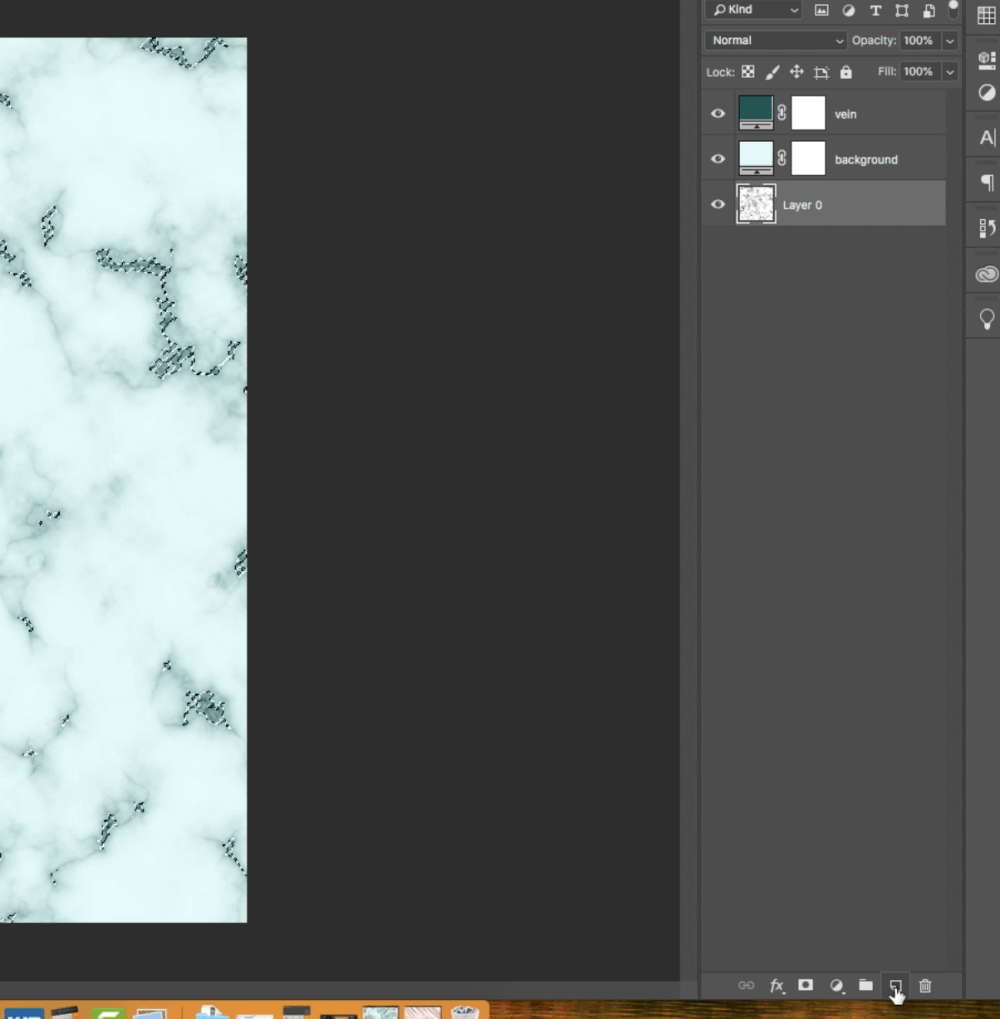
Hold down shift command and N to add a new empty layer. Alternatively, you can click on the small icon at the bottom of the layers panel, see image below.
To add color to the new top layer, click on command and delete (Mac) or control and backspace (PC) on your keyboard, this will add your background color to the new layer but only to the selection we previously made. Your image should look something like this (if your background color was white).

Now we can use this layer to add the metal texture.
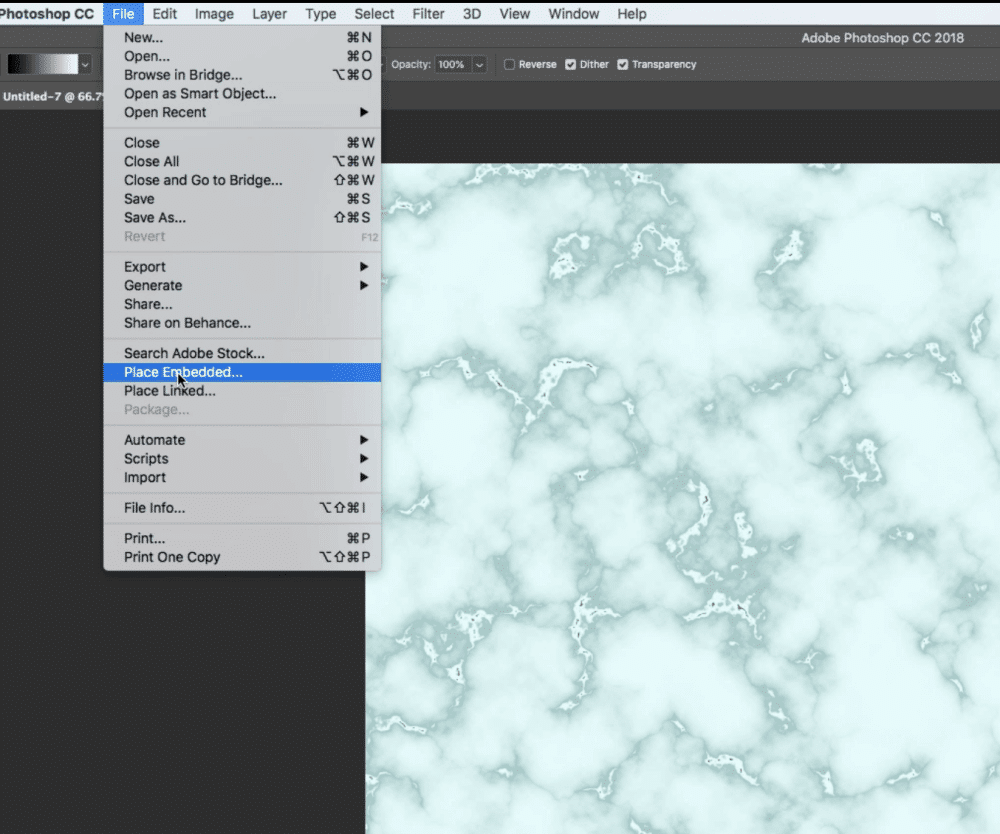
Import the metal texture image
Go to file >>> place embedded and choose the speckled digital paper that you downloaded from Prettywebz shop. If you have not downloaded these free digital papers make sure you grab those if you want to try this out on your own.
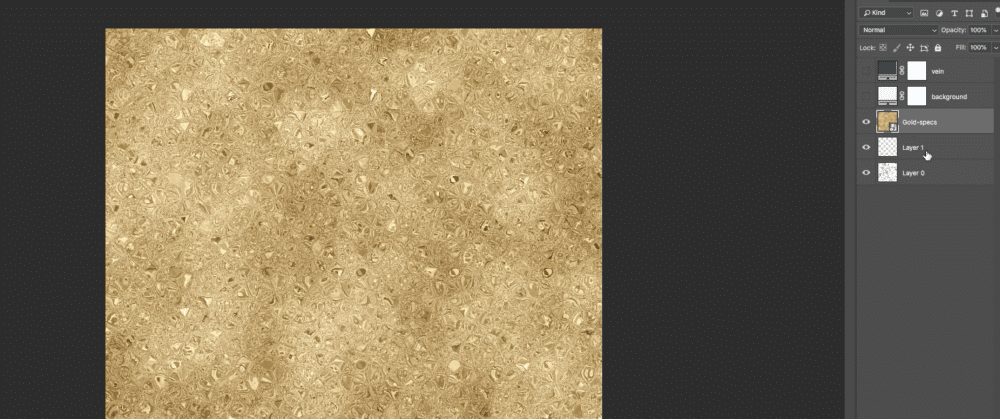
Once you have the image embedded as a layer, adjust the size of the layer to match your marble texture.
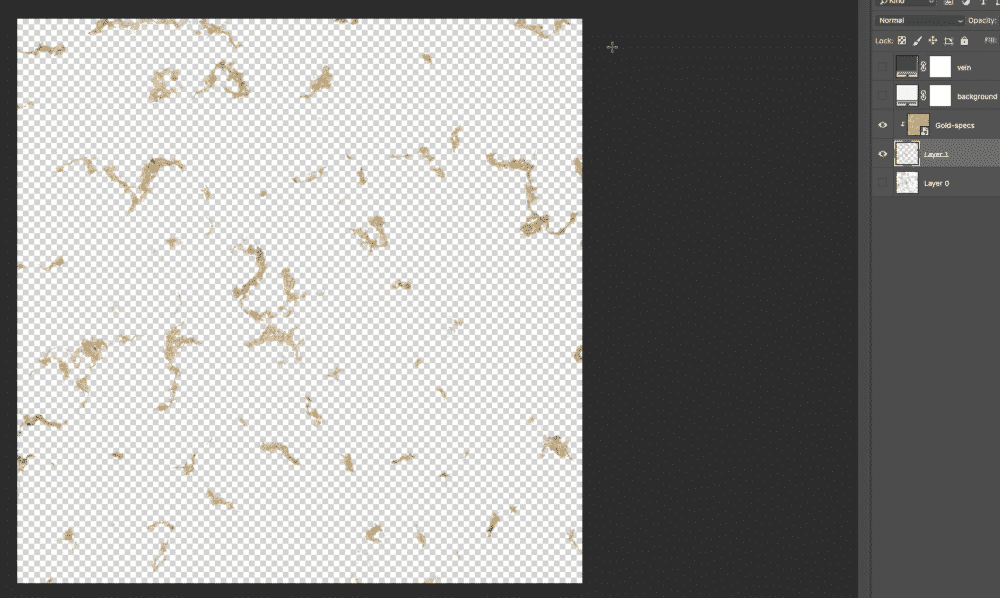
Create a Clipping Mask
With the metal texture layer selected press and hold the option (Mac) Alt (PC) button and hover your mouse between the metallic texture layer and the new veining layer (layer 1 above) when you see the arrow click your mouse once to add a clipping mask to the top layer to the veining layer.
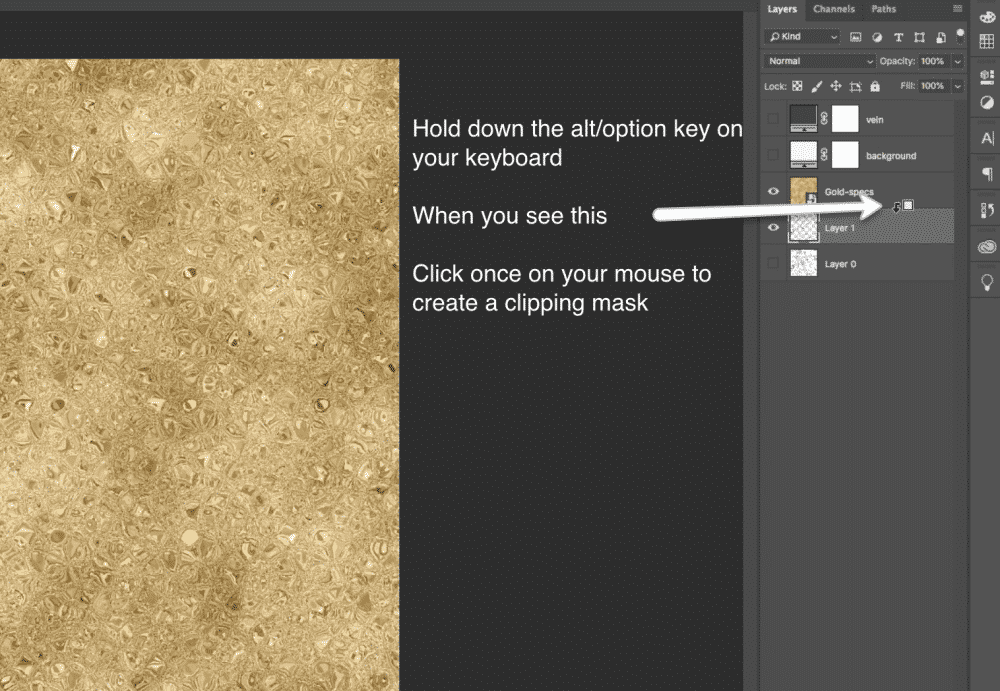
At this point layer one should look something like this:
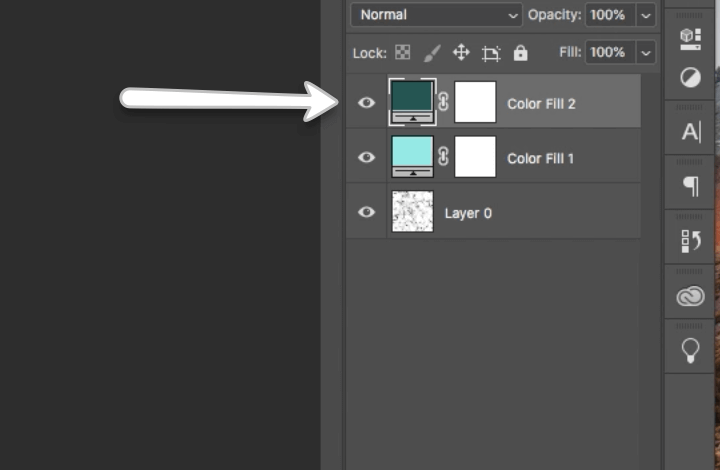
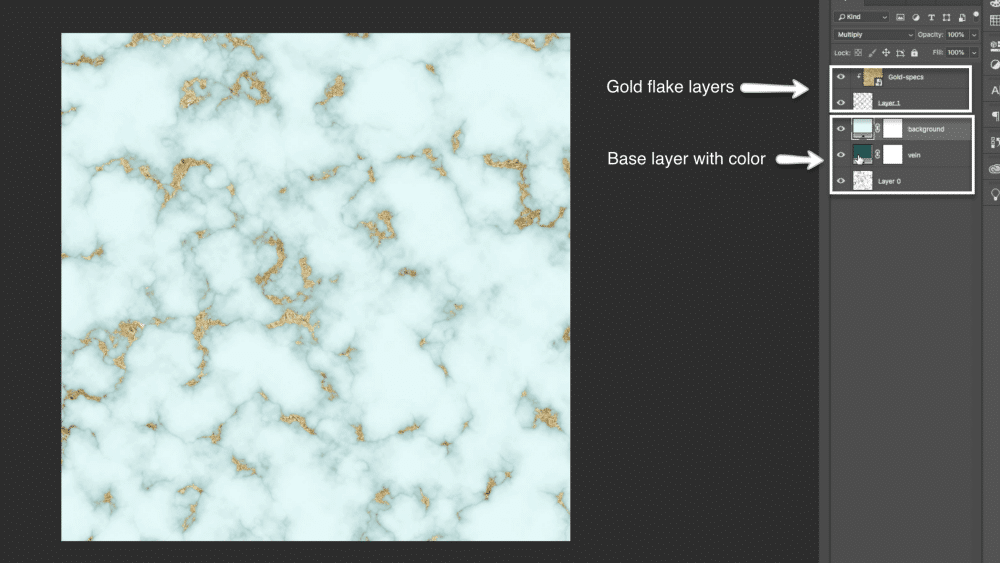
Move the color layers above the base layer and below the gold mask layer. With all layers turned on (including color) you should have a marble texture like this:
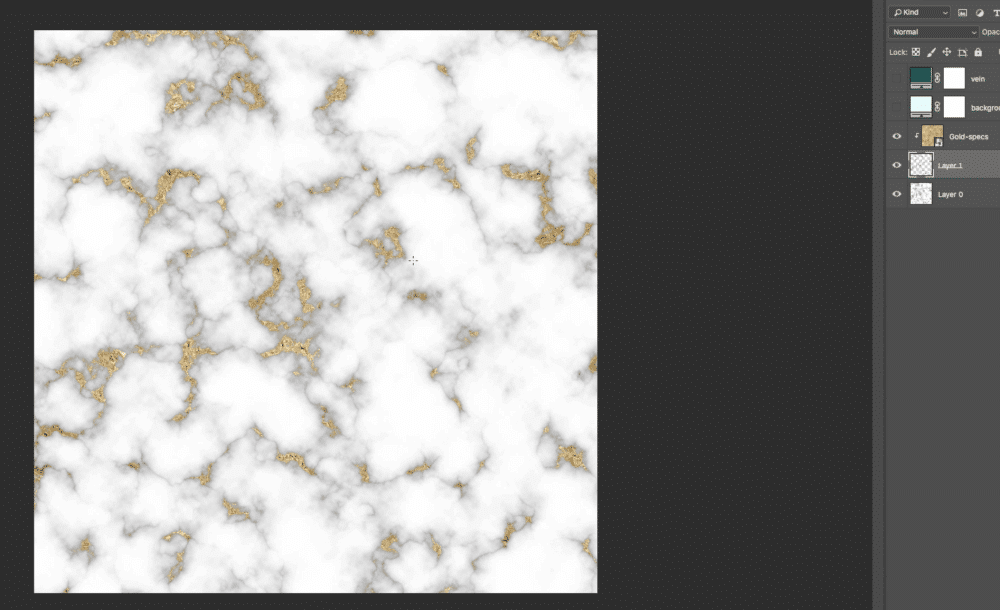
With Color turned off you will have something like this:
More Posts on this Topic
Last Weeks Tutorial
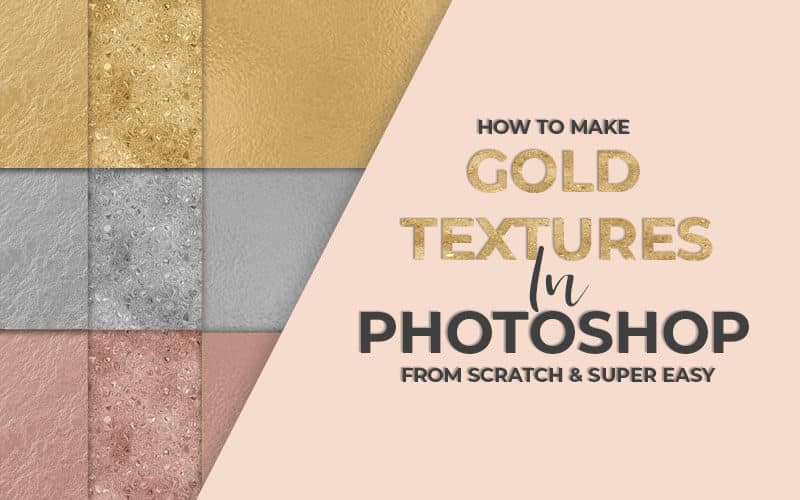
I hope you found this tutorial helpful and that it will be of good use to you in creating your design assets. Don’t forget to check out our last video in the Photoshop textures series on making gold textures from scratch inside of Photoshop. This tutorial includes three different gold textures, how to create rose gold and silver and a range of metallic colors as well.
Next Weeks Tutorial
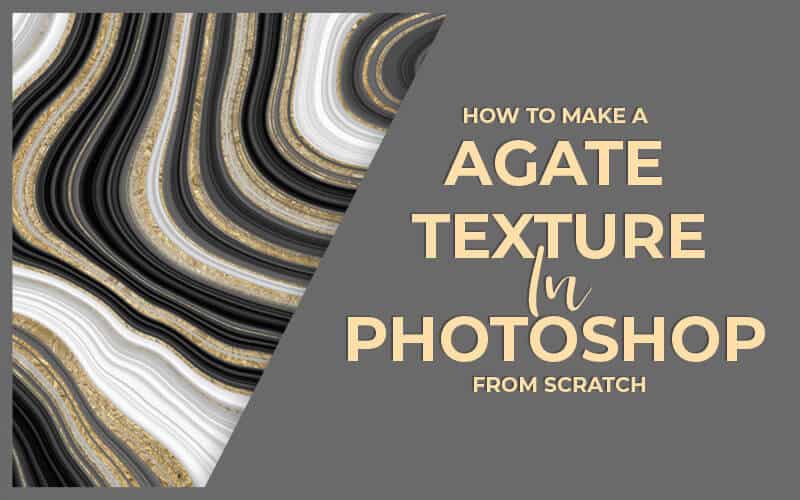
This series will continue next week with a tutorial on how to create natural agate textures from scratch inside of Photoshop. Agate is a beautiful natural stone with tons of vibrant, beautiful color.
This beautiful stone look is stunning as a backdrop or as an accent texture for designing anything from branding objects to workbooks. I’ll be showing you how to create agate with your specific branding colors, and as usual, this technique is straightforward and quick.
If you like the marble textures we created in this tutorial don’t forget to download the free textures I’m giving away here in the shop as well as the gold textures from last weeks to Tutorial.
You can also check out full playlists for designing in Photoshop, PowerPoint, online editors, PhotoScape and more on my Youtube Channel so definitely check that out as well.
As always
Join our email list to receive notifications of everything that’s happening here on PrettyWebz from tutorial videos to freebies. You will have instant access to everything in a monthly newsletter. Plus get extras that I don’t share anywhere else. Just add your name and email address to the form in the footer, and you’re good.
Did you like this post I want to save it for later? Pin this image!