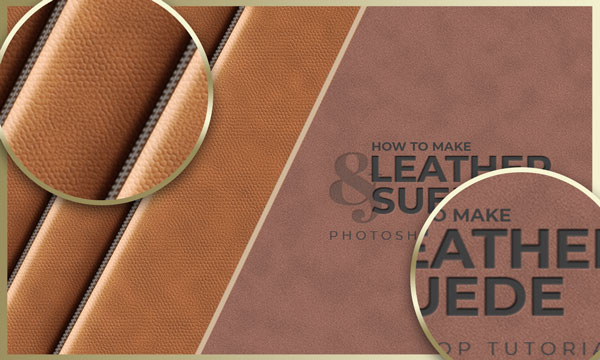
Suede & Leather Texture Photoshop Tutorial
In this
We will begin with the classic pebbled texture, and then I’ll show you how to roughen it up and make it look more like a snakeskin style. The third one is suede or soft grain texture with a nice smooth finish.
Free Leather Texture Pack
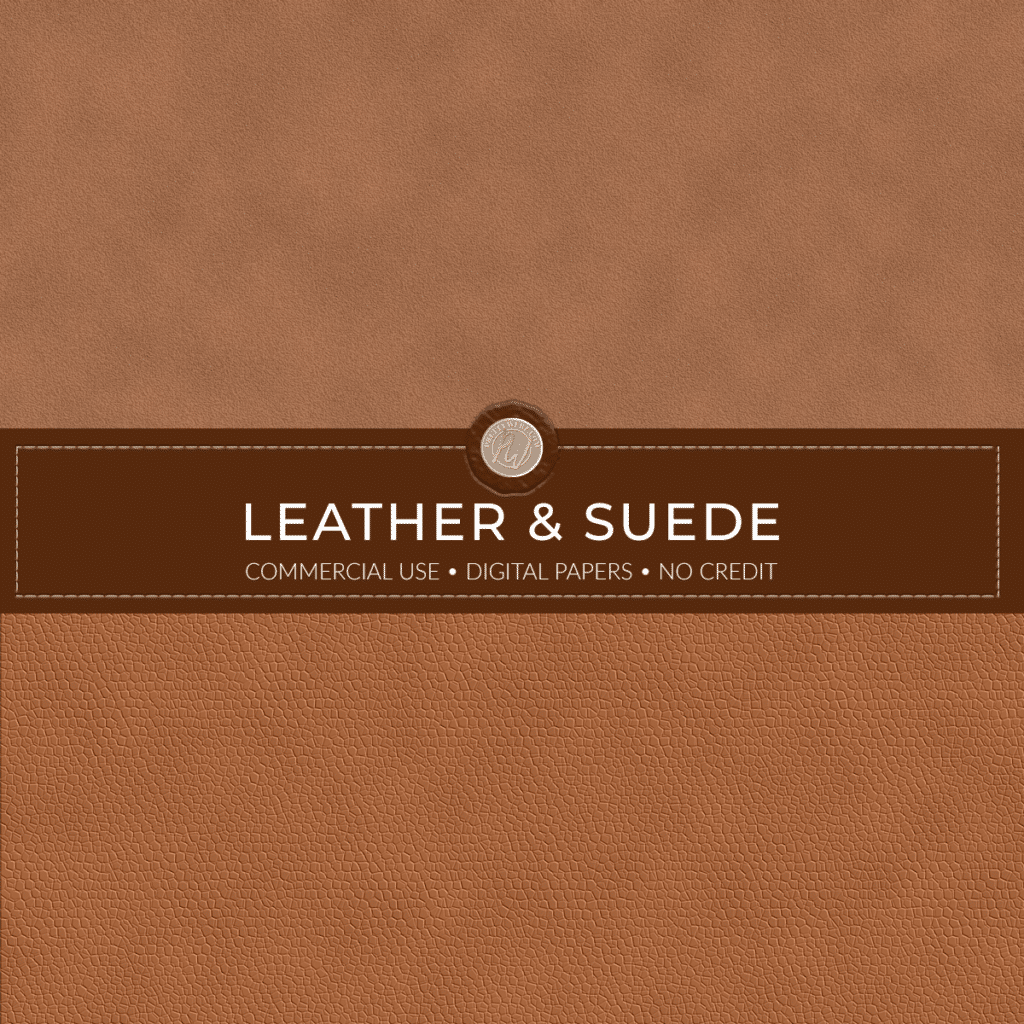
You can also download this pack of leather textures created from this leather texture Photoshop tutorial in the PrettyWebz shop absolutely free. I encourage you to watch the video as well to learn how to make changes to your pattern and change colors easily.
In the video, the actual texture may be difficult to see. Take a look at the suede and leather textures in the pack. These were made directly from this suede and leather texture Photoshop tutorial so it will give you a better view of what we are creating.
Bonus!
Download this PSD here to see how I made the stitch and text effects used in this featured image! Get a layer by layer breakdown of a complicated shadow effect. You get to see all of the layers used to create the shadows in the stitching effect and all of the layer styles used to create the embossed text effect.
Other Tutorials You Might Like
Did you know we have a collection of tutorials all focused on creating background textures in Photoshop just like this leather texture Photoshop tutorial? Follow along with any of these tutorials to build your design asset collection. You can also visit the shop to grab some free textures created using the same process used in the tutorials.
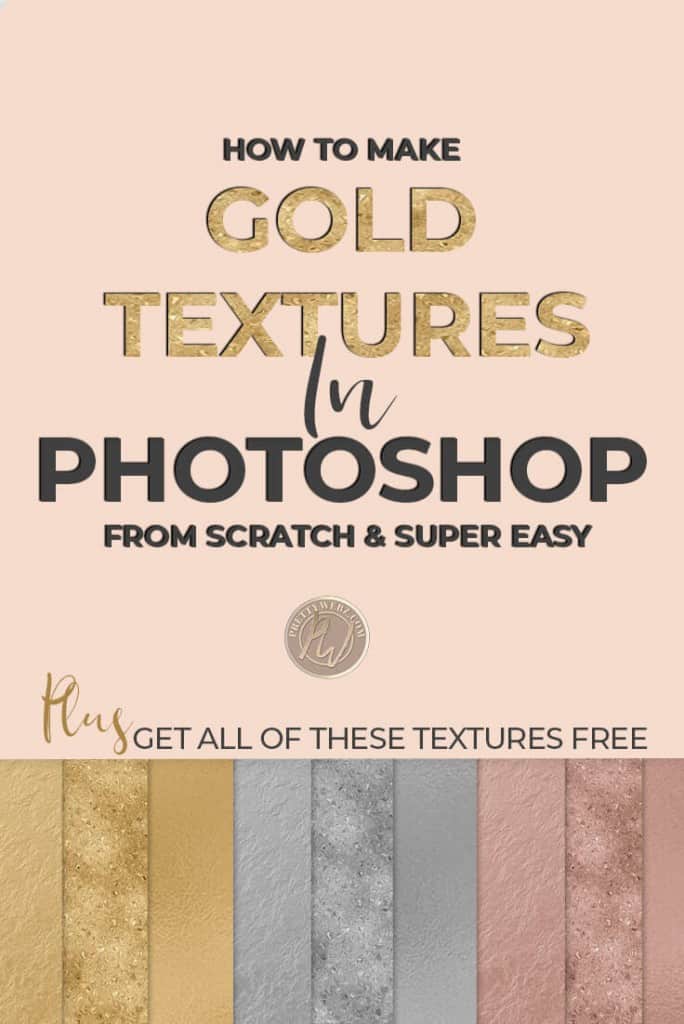
- Gold, Rose Gold and Silver Textures
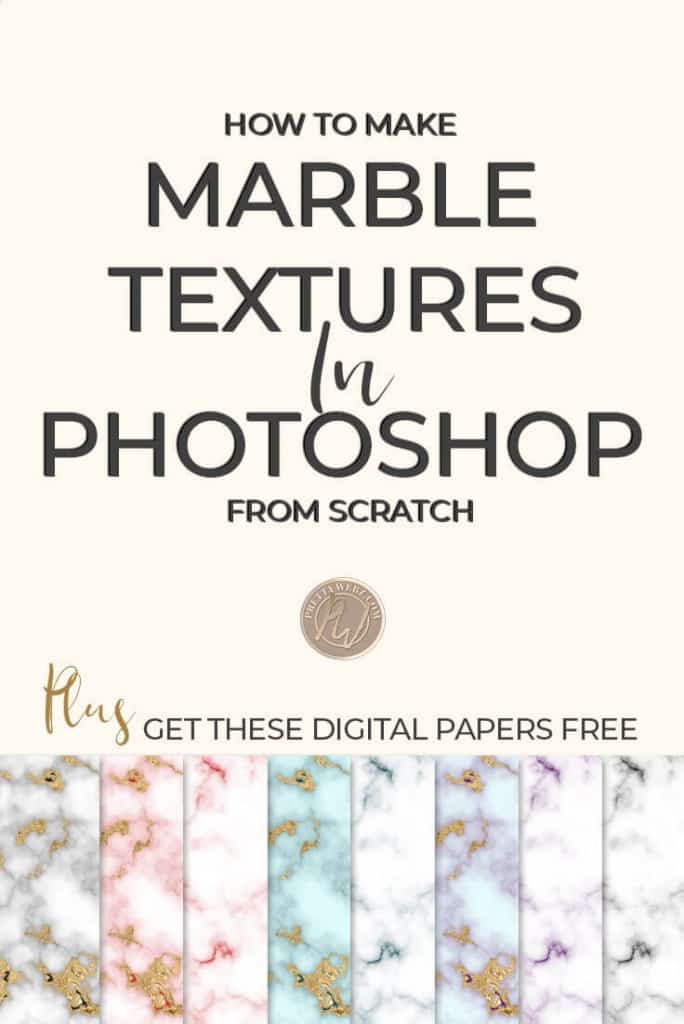
- Marble Textures
- Liquid Marble / Agate Textures
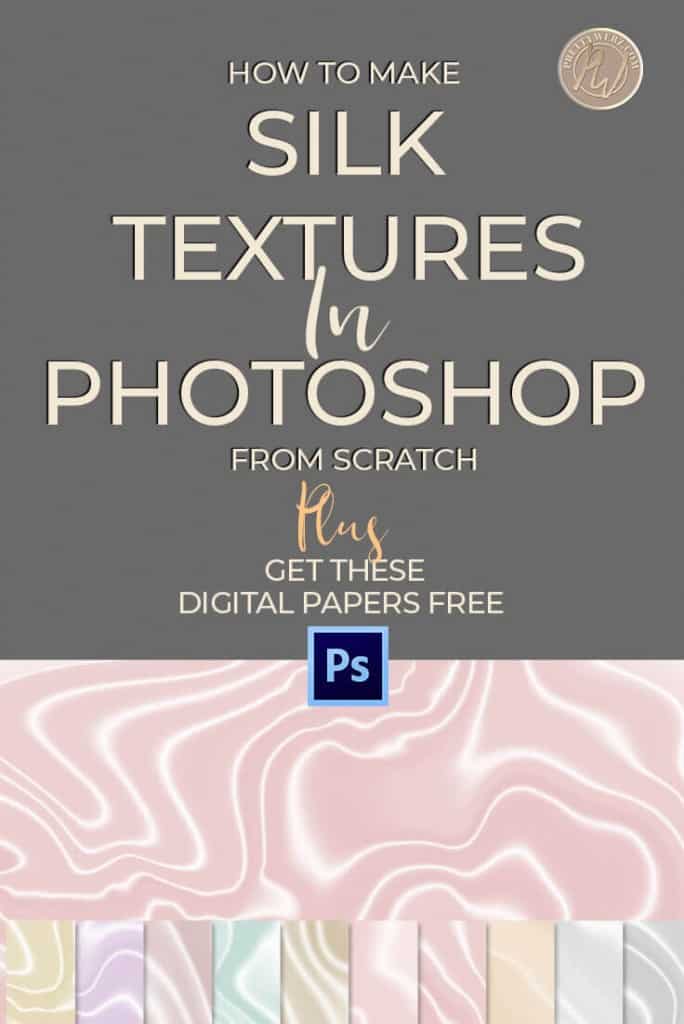
- Silk / Satin Textures
- Crushed Foil
- Diamond Plate


So let’s get started.
Watch the leather texture photoshop tutorial below or follow the written instructions directly following the video. Happy designing!
Pebble Texture Pattern
We’re gonna start off with a new document here with a 3000 pixel with 3000-pixel height you can take the resolution down to 72 if you’re only going to be using this for Web and digital work otherwise just keep it at 300 pixels. You’re okay with a transparent background, or you can use a white background
Click Create
We’re gonna start this leather texture Photoshop tutorial off by creating the pattern that we will use as the pattern on our leather. We’re gonna fill this with white using the command and delete or control and backspace keyboard shortcut on your PC and make sure that the foreground and background are set to black and white you can reset your colors using the small icon to the top left of the foreground and background colors.
Make sure the top color is black, in the top menu go to <<Filter>> then <<Filter Gallery>> then <<Texture>> and we’re going to choose <<Stained Glass>>
Your settings for this pattern are going to be as follows:
a cell size of 12
Set border thickness to 5
Set Light Intensity to 2
click okay
We’re going to go ahead and save the pattern as a separate document that we will be using a little later on in this leather texture Photoshop tutorial so keep it somewhere you can access quickly.
Go to <<File>> then <<Save As>>
I want you to save it to the desktop. We’re naming ours “pebble.”
Pebbled Grain Leather
Open another document with the same settings we used in the first one. 3000 pixels by 3000 pixels you can change your resolution to 72 PPI with a white or transparent background. This document is going to be the main design for the leather texture photoshop tutorial.
Click Create
The first thing we’re going to do is choose the colors for our leather. We’re just going to stick with the traditional brown leather tones for this. You can make it any color you want, or you can just make it and then change the colors later on, and I’ll show you how to do that later in this tutorial as well. For this one, our background color is going to be 9C5F3A
Click OK
Our foreground color is going to be something just slightly lighter than the background but not very much. We’re going to go with AA673F.
Click OK
So you can see that there’s a very very small difference between the foreground and background colors. We want to keep this looking more like leather and less like a cloudy effect. Since we will be using the render clouds effect, we have to be careful with the range of color to keep the leather from looking unrealistic.
Adding Filters
In the top menu select <<Filter>> then <<Render>> then to <<Clouds>> The cloud filter will give us this subtle cloud effect.
Over the cloud effect we’re going to add our texture. Go back up to <<Filter>> then <<Filter Gallery>>
This time we’re going to use the texturizer filter.
When you’re in the filter gallery you’re going to come down to <<Texture>> then to the <<Texturizer>>
In the section to the right, we choose the type of texture. However, instead of selecting a preset we’re going to add the texture that we created in step one, the Pebble PSD pattern.
While still in the Texturizer options, go to the hamburger menu directly across from the texture drop-down menu and click “load texture.” When the pop-up menu appears, navigate to where you saved your Pebble PSD file.
We saved our Pebble file to the desktop, so we’re going to grab that leather texture. Load the pebble texture PSD. The pebble is going to give us this texture right here.
Now we’ll change a few settings
Change the scale to 105 percent
Set the relief to 4
Click OK
Rough pebble or snakeskin texture
We’re going to create something that looks a little bit more like snakeskin for this one. This is a subtle change to the classic pebbled leather, but it will give you much more detail, and it’s an exciting look.
Go back up to <<Filter>> then go to <<Filter Gallery>> and then back into <<Texture>> and then the <<Texturizer>>.
We’re going to use that same pebble texture that we just loaded, but this time we will make the following changes:
Bring the scale down to 100%
Bring the relief down to 2.
The light is set to top right
Click OK
Now I have something that’s a little more grainy.
Of course, you can change the colors of the background as well so if you’re looking for something more like snakeskin, maybe a black and white and gray or adding other colors here would look beautiful with this texture as well.
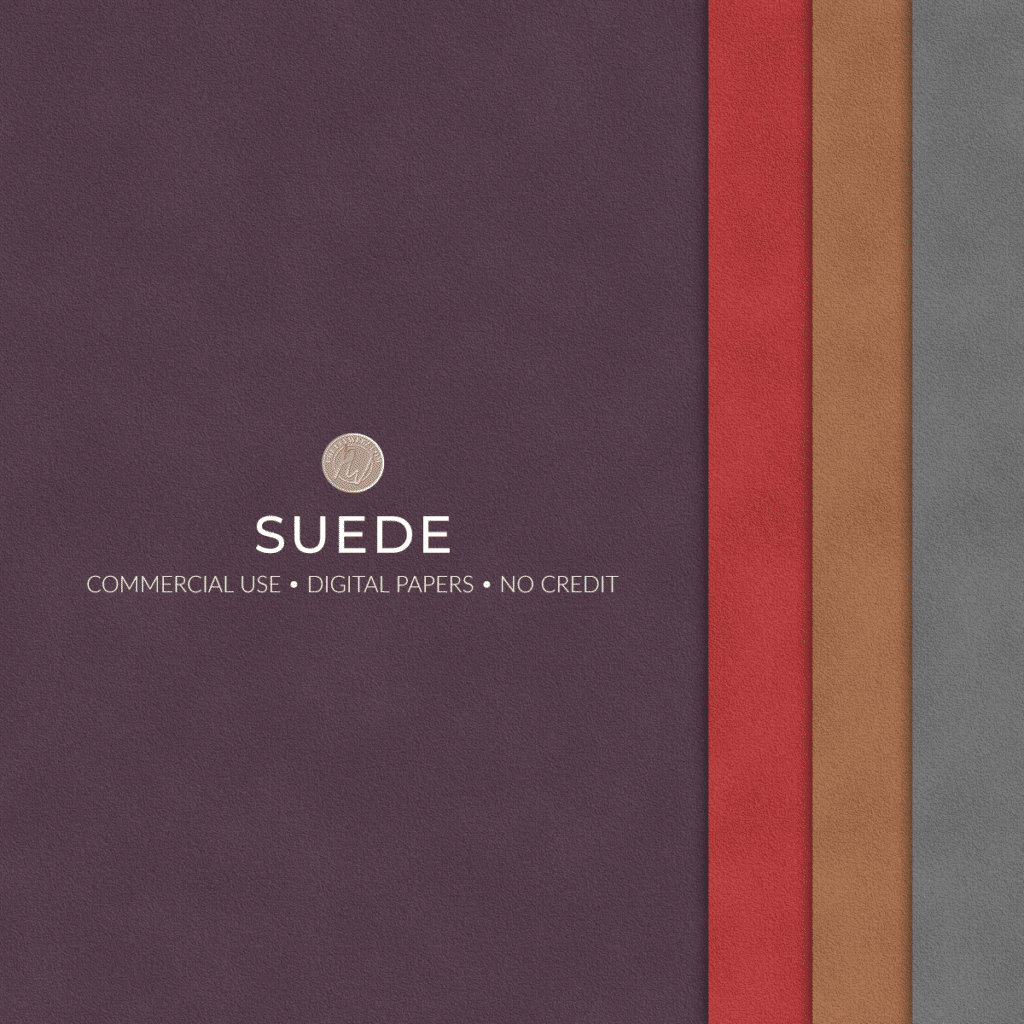
Suede Texture
Is that is our second texture let’s get on with our third texture which will be the suede.
For this leather texture, we’re gonna need to reset our foreground and background colors. We’re gonna set this to black and white. If your background color is not black press X on your keyboard to make sure that the black is in the background. We will create a new layer
Turn off the first layer with the first leather texture on it so that only the new blank layer is selected and showing. Then I’m just gonna press the command and delete (MAC) or control and backspace (PC) to fill the layer with the black background color.
We’re gonna come up to the filters at the top menu and then we’re going to add some noise here so will go to <<Filter>> then <<Noise>>
We will leave the “noise” at 100%
The distribution is set to “Gaussian”
and make sure “Monochromatic” is checked
Press OK
At the top of the screen select <<filter>> then <<filter gallery.>> Navigate back to the <<texture>> then <<texturizer.>> This time we’re going to use a preset from the drop-down menu. Choose sandstone, and we’re going to scale it to 130% and relief of 30. This will make the texture look a little more grainy and give it a little bit more depth.
Click OK
Adding The Leather Texture
OK, now that we have the grain layer we’re gonna go ahead and add our foreground and background colors back in.
Create a new layer then go to <<filter>> then <<render>> then <<clouds>> here and then we’re going to reduce the opacity of the layer to about 80% or so.
When we reduce the opacity, you’ll see that we’re actually taking away from some of the colors. What we’re gonna do is add another layer to the design just to add that color back in.
Add a new layer, and we’re going to use the same colors as before for the foreground and background. Then we’re going to go back to the top menu and select <<Filter>> then <<Render>> then <<Clouds>>
Change the Layer blend mode to soft light. If the soft light layer is on the top move it underneath the leather texture layer. So we should have the leather texture layer on top, directly underneath is the soft light texture, and the suede grain texture should be underneath the other two layers.
So now what you’ve got is a suede look background texture.
Changing the colors
So I want to show you how to change the color of the texture. If you come down to the adjustment layers icon at the bottom of the layers panel and you choose hue and saturation from the drop-down menu, this will allow you to change the color to pretty much anything just using the sliders. The colors that are most difficult to get are usually black-and-white.
Setting a White Overlay
For setting white, take the saturation all the way down to -100 and your lightness up to between 80 and 85 making sure not to take it up to High that you lose the design. You have to be really careful here not to white out the pattern.
Setting a Black Overlay
I want to show you how to get a black color overlay. I know this can be a little bit difficult when you’re using the Hue and saturation layer adjustment and a lot of the blend modes don’t work really well with this.
It’s important to use the exact same colors that we used to create the pattern. So we’re going to go back to these colors, or foreground color is going to be AA673F
Click OK
Our background color is going to be 9C5F3A We have to use the exact colors that we used to create this texture.
Now, we’re gonna go back to <<Filter>> then <<Render>> then <<Clouds>> We’re going to change the blend mode to “Difference.” Again, it is essential that you use the exact same colors that you used to make the texture for this to work.
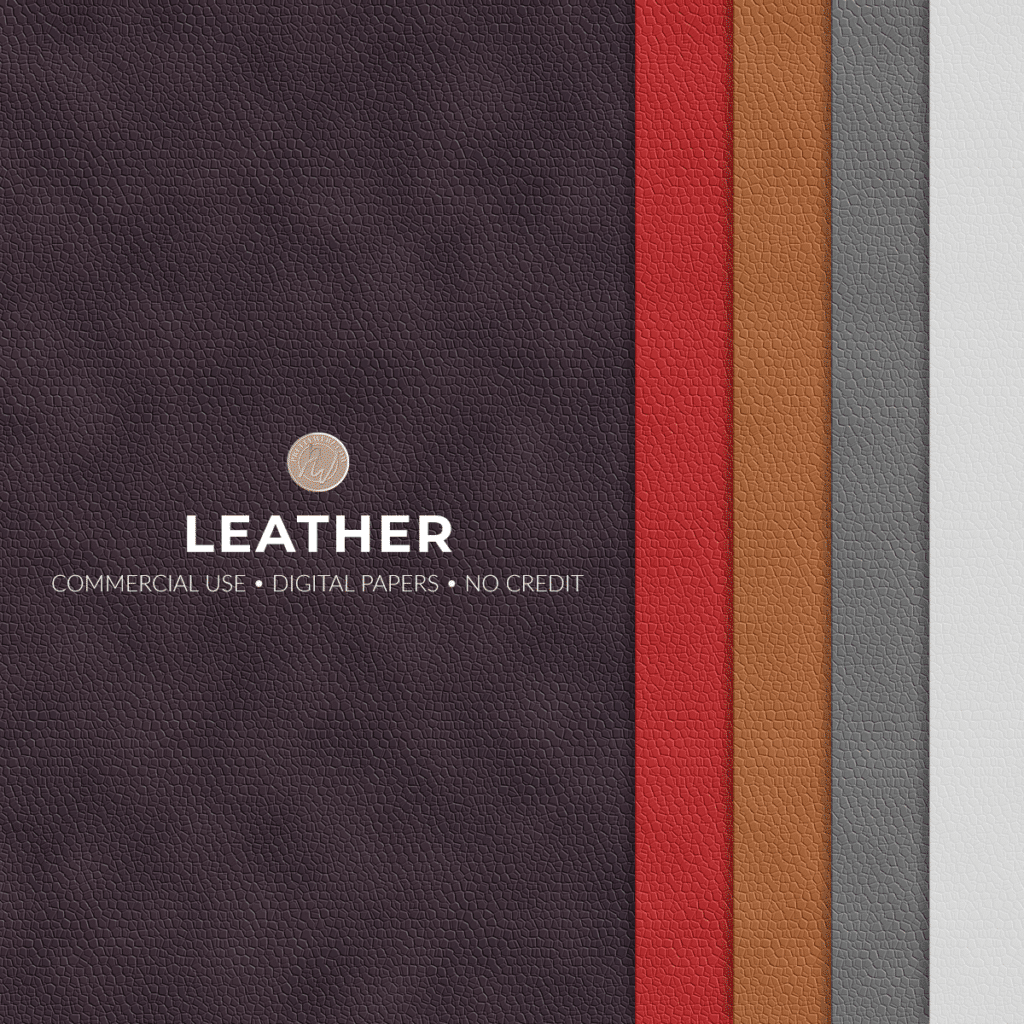
Leather & Suede Digital Paper Pack
Another reminder, you can download a digital paper pack made from the leather texture Photoshop tutorial I taught you here. I will have them in a few different colors. Head over to the PrettyWebz shop it’s going to be in the “Free” section of my shop.
What Next?
If you like the video tutorials that we share here on Prettywebz, like this s
All of these template and pattern files can help you build your design assets so that you can create stunning marketing design for your business. So don’t forget to sign up below in the footer to become part of the Prettywebz family. Also, subscribe to PrettyWebz on Youtube so we can stay connected there as well.
Did you like this leather texture Photoshop tutorial? Share it with a friend or save it for later by pinning this image!