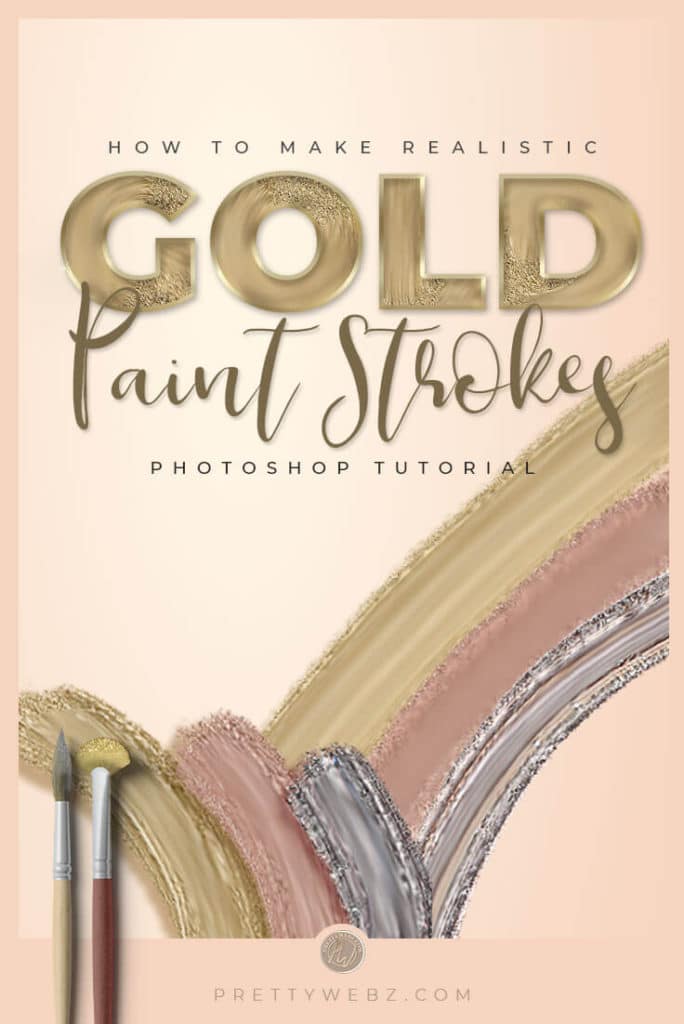
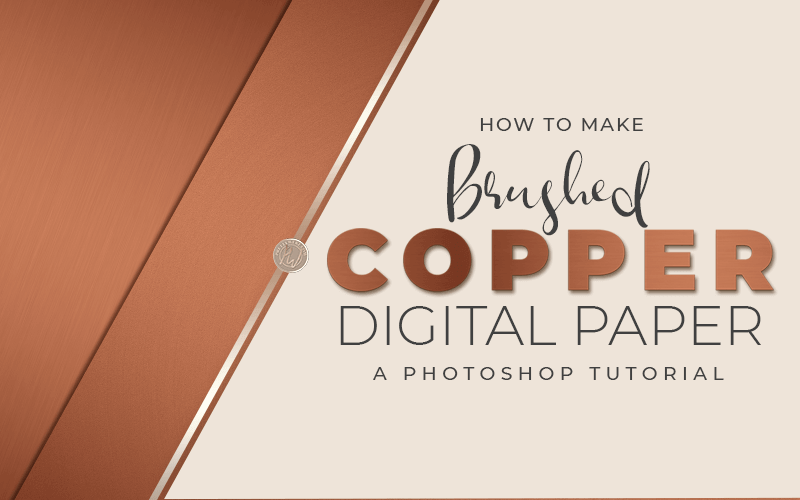
Gold Color Paint in Photoshop
Create creamy, realistic metallics and gold color paint texture brushes in Photoshop. All you need to create stunning golden color paint effects are default brushes that come standard with inside Photoshop and a simple golden color image. With a few tweaks to the brush settings, you will create gold color paint in no time.
You will be amazed at how easy it is to turn one basic brush into seven unique strokes. Get beautiful silver, rose gold and gold color paint textures with one stroke! It will look like you spent hours designing but the process could not be more fun and simple.
In this tutorial, I’m going to walk you through this easy process of making gold color paint brush. Learn how to create several different paint textures. Everything from wet fluid paint to thick creamy smudged paint. You can paint in rose gold, silver, and gold color paints.
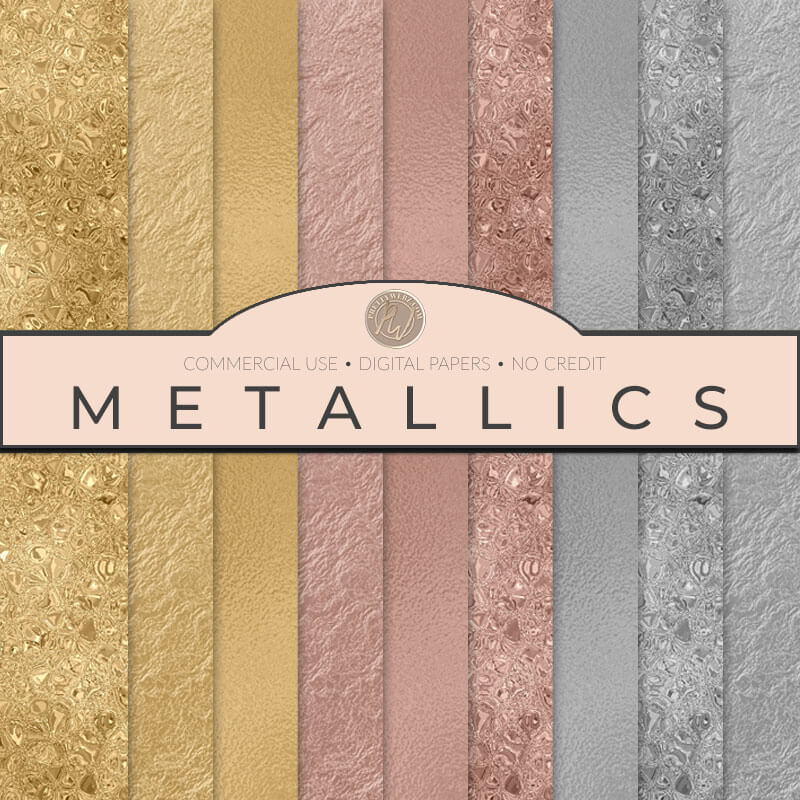
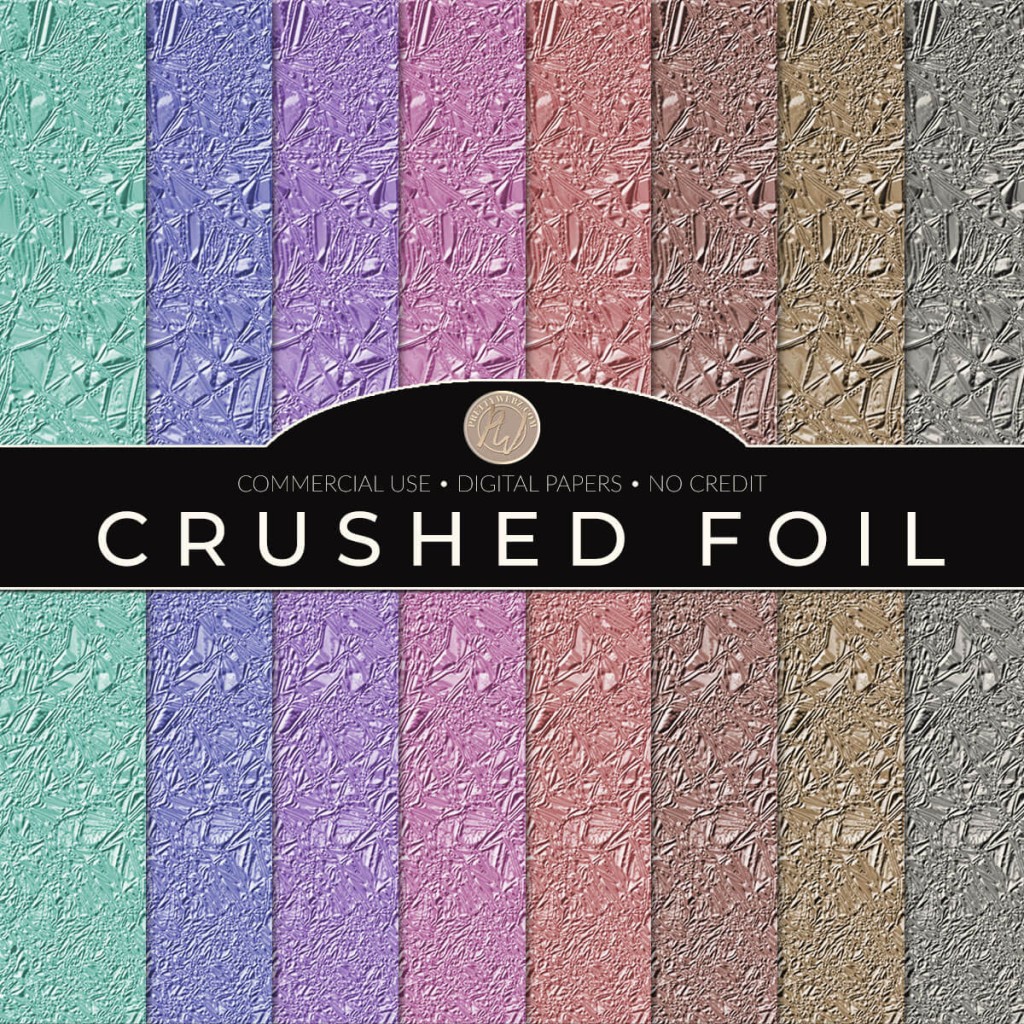
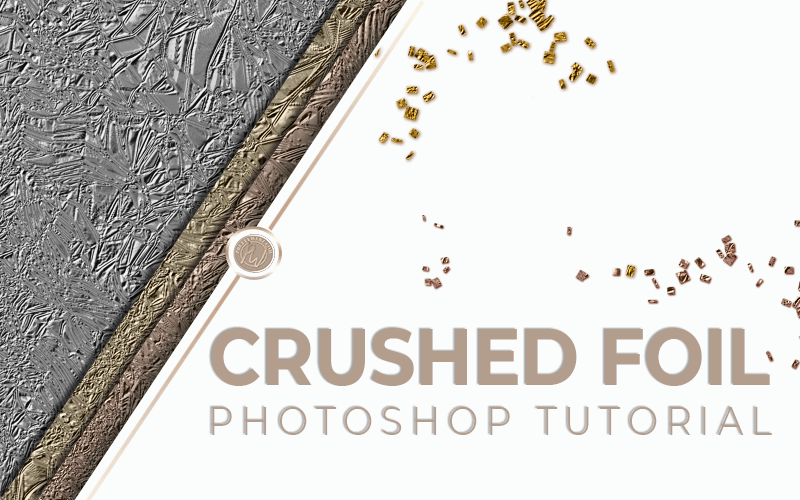
Sample metallic textures, patterns and even photographs to pull realistic color and dimension. Get stunning multidimensional metallic paint effects.
Free textures from the Shop
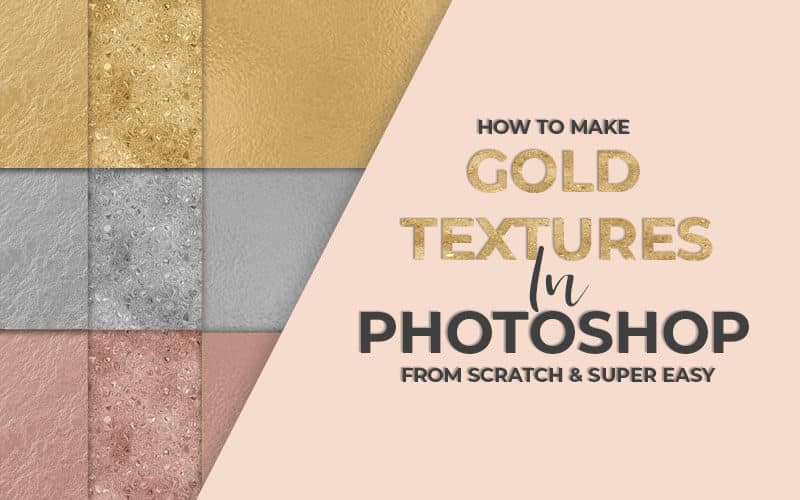
Download the textures used in the tutorial for free in the PrettyWebz shop.
The secret to realistic golden color paint brushes
The secret sauce for creating true gold color and other metallic finish paint? The mixer brush. The mixer brush is a powerful tool inside of Photoshop that allows you to mix colors and textures as paint. In fact, the mixer brush is the closest you will get to paint without picking up an actual paintbrush.
Watch the Gold Color and Metallics Paint Strokes Tutorial. Watch the step by step video for creating this beautiful golden color text effect below. I’ve also included some basic information about the mixer brush below the video. In addition, I will post the exact brush settings needed to get interesting paint brush strokes for golden color and metallic paint. You can bookmark this page for later or copy the settings and save them for future reference.
The Mixer Brush Tool Features
The Mixer Brush has two paint wells, the reservoir, and the pickup. The reservoir stores the color loaded into the brush. The pickup well picks up paint from the canvas by mixing colors to make new paint mixtures.
The Mixer Brush tool is under the standard brush tool. Click and hold the standard brush tool to select the mixer brush.
The Brush Reservoir (Color Sample)
To load paint into the main brush (reservoir) press and hold Alt (PC) or Option (Mac). When you see the target cursor, use your mouse to hover over the area you want to sample. Sample any area of the canvas for the desired color, texture or pattern. You can only sample from the selected layer. The brush will pick up all color variations.
If you want one solid color it’s best to select “Load Solid Colors Only” from the menu. The menu options are in the drop-down menu next to the color swatch at the top of the screen. Brush Options From the drop-down panel, click Load Brush to fill the brush with the reservoir color, Clean Brush to remove paint from the brush. To do either of these things after each stroke, select the automatic Load or Clean options.
The Preset Drop Down Menu
Applies predetermined mixer brush combinations including Wet, Load, and Mix settings.
Wet
When using a texture, the texture will be more recognizable when Wet is set very low. The higher “Wet” settings the longer and more fluid the paint streaks. Just as with a physical brush, the wetter the brush the more fluid the paint is applied. Wet also controls how much paint the brush picks up from the canvas when mixing paints.
Load
Specifies how much paint is loaded onto the brush. The lower the load percentage the faster the paint will dry out as you are painting.
Mix
Controls the ratio of canvas paint to reservoir paint. At one hundred percent, all the paint comes from the canvas. If the mix option is set to zero percent, all paint comes from the brush (reservoir.) The Wet setting, will still determine how fluid the paints mix on the canvas.
Flow
Flow controls the amount of paint that is put down on the canvas. This setting is different from Load. Load puts down heavy paint but runs out fast. Flow is a light pressure of the brush when set low and heavy pressure when set high. Use this for light sketching or for light shading.
Sample All Layers
When checked the brush will pick up canvas color from all visible layers.
More Posts on this Topic
Mixer Brush Settings Used in the Video
You can use any brush for painting and mixing. However, some brushes work better than others for simulating a golden color and metallic paint strokes. Simulating metallic paint strokes is the focus of this tutorial so I will focus on setting for this purpose only.
Brush Used: From Photoshop Legacy Brushes: Faux finishes brushes: Sea Sponge 2
Brush Settings
Smooth Paint
Brush tip spacing: 1% size 90 pixels angle 0° roundness is 100%, smoothing is on
Smooth Paint, Rough Edges
Brush tip shape: size 90 pixels Spacing 1% Angle 0° Roundness 50%
Shape dynamics: Angle jitter 100%
Smoothing is checked on
Smooth Paint, Very Rough Edges
Brush tip shape: size 90 pixels Spacing 1% Angle 0° Roundness 25%
Shape dynamics: Angle jitter 100%
Smoothing is checked on
Flat Paint Creamy, Rough Edges
Brush tip shape: size 90 pixels Spacing 1% Angle 0° Roundness 50%
Shape dynamics: Angle jitter 100%
Scatter: 25%, Count: 1
Smoothing is checked on
Flat Creamy Paint, Very Rough Edges
Brush tip shape: size 90 pixels Spacing 1% Angle 0° Roundness 25%
Shape dynamics: Angle jitter 100%
Scatter: 25%, Count: 1
Smoothing is checked on
Resources used in the video
Everything used in the video to make the textured paint strokes I found free online. You can find the color metallics in my shop here and here.
The two images used to pull color you can find on Unsplash by following the links below.
Earrings: Photo by Motah on Unsplash
Pearls: Photo by Joanna Kosinska on Unsplash
Ideas for using golden color and metallic paint strokes in your designs
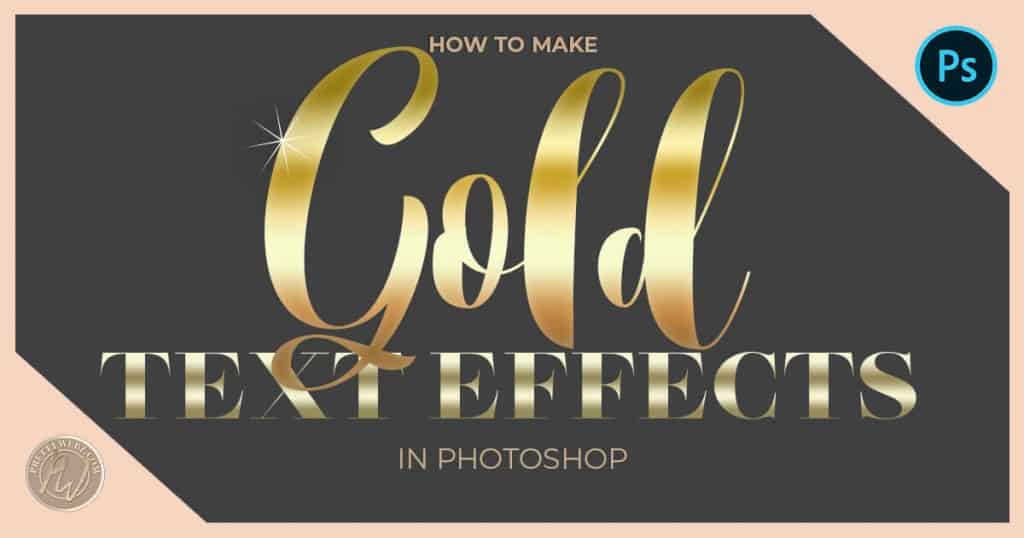
Make the golden color text effect used in the feature image of this post by following this super simple tutorial in Photoshop. Plus, I’ve got freebies for you that will help you do this project with ease.
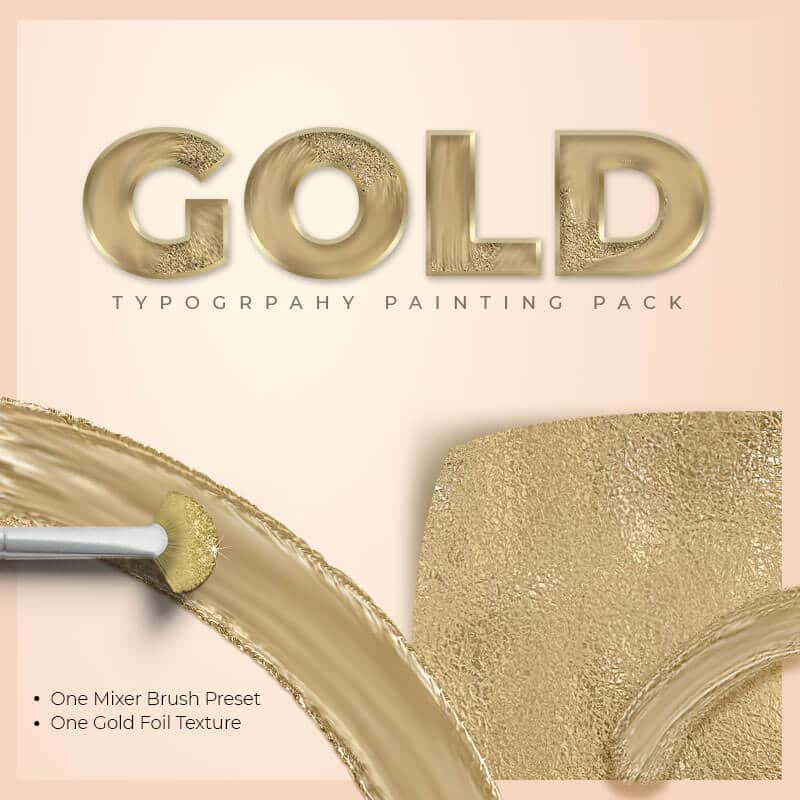
Pick up this free gold painting kit in the PrettyWebz shop to make this golden color text effect even easier.
Other Ways to apply golden color accents to your designs
- Use them as accents to overlay on an image.
- As an interesting base for text such as quotes, advertising messages, feature images, and video thumbnails.
- Let them be a central theme in your next presentation in bold text effects
- For branding projects
- Use them for web design elements
- For social media headers and blog headers
- Social media puzzle feed accent elements to help the flow from one image to the next.
- As framing elements for photos
- Background elements in invitations and business cards
- Layered elements to add dimension to a project
- For background texture and interest on a website
Recommend Design Product
This set of brushes is designed specifically for use as a mixer brush. This brush collection will open up a whole new world of realism in your brush strokes. There are hundreds of brush possibility with this pack. This collection is sure to get your creative juices flowing. I use this set regularly, and can’t sing its praises high enough.
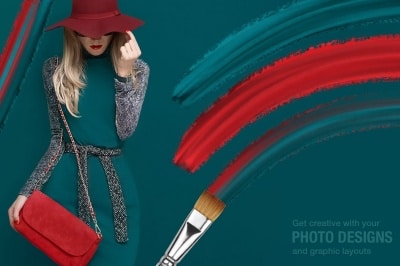
Take a look at this example photo from Jessica’s product detail page. I love how she incorporated colors directly from the image. The simple color strokes create perfect accents to compliment the focal point, the dress. If you have an online clothing boutique, this is a great tool. You can make custom made stokes to frame and accent the inventory in your shop perfectly every time. Get custom product images by adding simple touches like this.
I showed you how to make one brush. Jessica’s collection of brushes is very detailed and intricately made for use as a mixer brush. Get professional quality, amazing paint strokes, accents and so much more. View the product page for more design ideas.
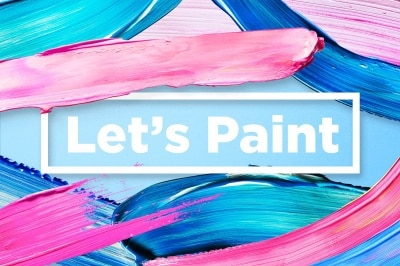
Let’s Paint! Brush Stroke set
Take a look at some of the examples created using real paint strokes. This photo is a great example of how to create dimension using layers png images. Watch the video on the product page. The video will show you how to manipulate the images using the Puppet Warp feature in Photoshop
What Next?
If you like the tutorial videos that we share here on Prettywebz, then make sure to subscribe to our newsletter. Subscribers get more than just blog post notifications, you get freebies that are exclusive to the list. That’s right, you won’t see any of the resources shared with my email list anywhere on this blog. I don’t want you to miss out so subscribe today! You can sign up in the footer of any page on the website.
Also, join me on Youtube to check out the playlists I’ve set up for Photoshop, PowerPoint and other software you can use to design your online graphics.
Other Posts You Might Like
Did you like this post? Share it with a friend or save it for later by pinning this image!