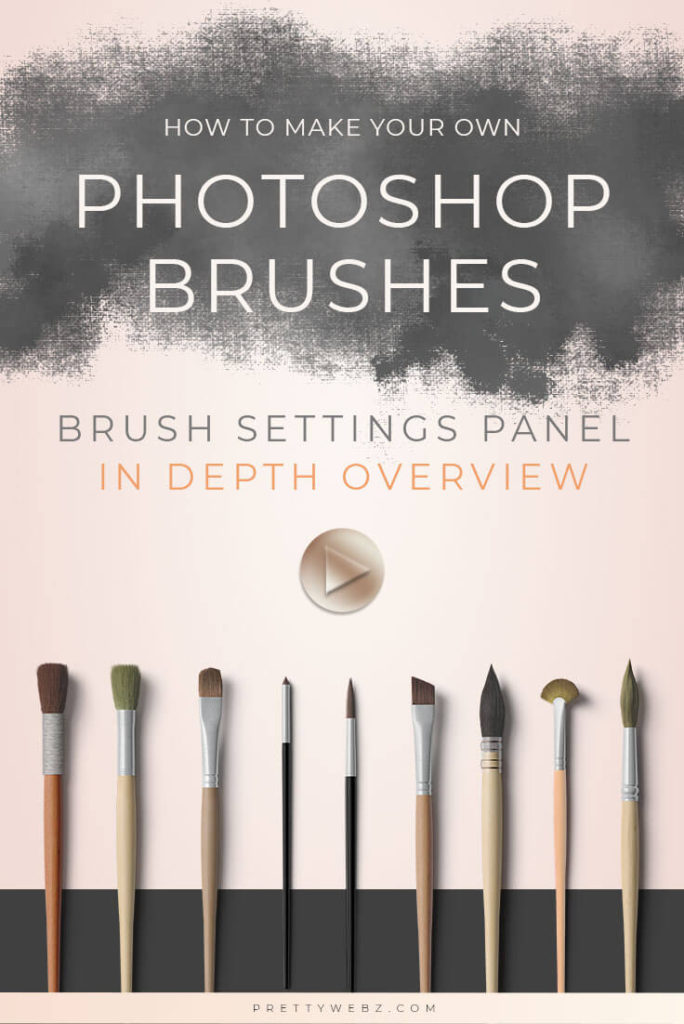
Photoshop Brush Settings

Photoshop Brush Settings Tutorial
Learn the basics of Photoshop brush settings to create your own custom brushes and how to manage your brushes for a better workflow. If you’ve ever wanted to create your own brushes this video is for you. If your goal is to understand the photoshop brush settings and all the panel options, this video is for you too.
The first tutorial is about adjustments to pre-existing brush presets. I’m going to show you all about the brush settings panel inside of Photoshop. Once you understand the basics it will give you a lot more creative freedom to create exactly what you want.
In the second video, I will go into how to create a brush from scratch, save brushes and brush sets and how to load them into Photoshop. In this video, you will also learn about grouping and organizing brushes for a better workflow. I show you how I personally work with brushes when I’m creating new brushes from base brushes.
This second video will give you an idea of how to manage brushes from the preset manager and also directly in the brush panel. Plus, learn how to install tons of free brushes directly from Photoshop!
It’s important to get comfortable working with the brush preset panel. I recommend that you begin making a few brushes from presets. When you’re confident with the brush settings panel, you can move on. Get the basics down then start creating brushes from scratch, saving brushes, sets, and your own brush libraries.
Watch the complete overview in the video below and get the basics of all the photoshop brush settings in the summary below the video.
More Posts on this Topic


Main Photoshop Brush Settings
Some Photoshop brush settings have more options available when checked and selected, these are the main Photoshop brush settings. Below these main settings you will find more simplified brush options. I’ll review all of them here.
Brush Tip Shape
This is the only option without a tick box next to it and settings for this cannot be locked. that’s because these are the primary brush settings like size, shape, angle, and spacing of the brush tip. The brush tip shape is the basic settings for any given brush tip. In this panel, you can do several different things. Select a brush tip, change its size, change the angle, shape, and spacing. All without affecting any other settings.
Shape Dynamics
Shape Dynamics is right under the brush tip shape. This option controls the way the brush flows as you move it across the canvas. Here you can change add variations to size, angle, and roundness. It does not change the main settings set in brushes tip shape. But it will create variations based on those settings. You can also set shape dynamics for tablets and other devices as well.
Scattering
The Scattering setting changes the direction of the brush tips. Usually, the brush will follow the line that you draw. Scattering allows brush tips to scatter above and below the drawing line. As you drag the pen across the canvas, you can adjust the brush tips to move anywhere on the X or Y axis.
In this panel, you can set how far the brush tips scatter, the count or amount of brush tips that come out with each stroke. You can also set the brush for use with a tablet or other devices as well.
Texture
In this panel, you can add patterns to your brush tip. This feature adds so much variety to your brushes. Texture also makes your brushes infinitely unique. Use modes to set how the pattern displays in your brush for the right effect.
Dual Brush
The dual brush is another interesting way to add dimension to your brushes. The dual brush is like the texture setting in some ways. Because you’re adding to your base brush. With the dual brush, you don’t add patterns directly. Instead, you add another brushes pattern to your brush. So you get the shape and texture of the original brush with the texture of the second brush added. Choose any brush that is already in your presets and use blending modes to create the perfect effect.
Color Dynamics
Color dynamics helps you add interesting color effects to your brush tip. Use only the foreground color and adjust settings for hue, saturation, and brightness. Additionally, you can add foreground/background jitter. This option will create multi-color brushes from the colors you have set as your foreground and background. Work with hue, saturation, and brightness settings to vary the color flowing from the tip.
Transfer
The transfer settings help you create the perfect flow of color onto the canvas. This is the brushes opacity and flow jitter. The transfer settings work best with a device such as a Wacom tablet.
Brush Pose
The settings here in brush pose help you set up your brush for precision when working with a tablet. There are settings to override the way your stylus works. Use these settings for more precision and to help you better control your strokes, pressure, flow, and other settings.
Other Posts You Might Like

Additional Photoshop Brush Settings
The rest of the options in the Photoshop brush settings panel don’t have additional settings. These settings are either on or off but have no fine-tuning options available.
Noise
Adding Noise to the brush stroke to help break up solid colors and create rough edges in your brush strokes.
Wet Edges
Wet Edges creates puddling and paint build up along the edges of the brush strokes. This option is very popular for watercolor brushes.
Build-up
The Build-up option activates the Airbrush build-up feature. You can find it on the Options bar at the top of the screen when you are working with brushes.
Smoothing
Smoothing activates the smoothing slider on the Options bar at the top of the screen. This option is available when working with brushes. This feature helps reduce sharp angles in your paint strokes.
Protect Texture
Use the Protect Texture option to make sure a defined texture stays consistent across all brushes used in a project.
Managing Photoshop Brushes
Learn how to manage and organize your brushes inside of Photoshop in this video. Get all the answers to basic questions like how to save, export and make brushes and much more.
Does Photoshop come with brushes?
Yes! Photoshop does come with brushes. Photoshop comes with “Legacy brushes” when loaded you get one folder with seventeen other folders nested inside with brushes ranging from default basic brushes to specialty brushes like watercolor brushes, calligraphy and tons of brushes for painting and illustration. Not only does Photoshop come with the legacy brushes all nicely organized and ready to use but you can also download free brush packs from Photoshop if you have a Creative Cloud membership.
How to get Photoshop Brushes
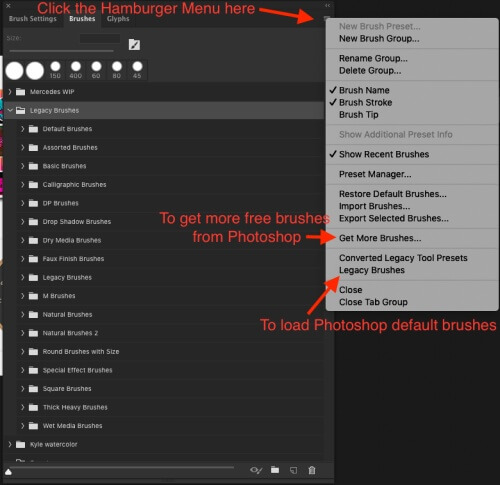
Open up Photoshop and go to the brush panel. In the Brush panel, click on the small hamburger menu on the far right. Clicking on the icon will bring up the menu. To automatically load the Photoshop default brushes choose “Legacy Brushes” from the menu. Get more free Photoshop brushes (with CC subscription) by choosing “Get more brushes” from the menu. I walk you through how to do this in the video below or use this image for reference.
How to Install Photoshop Brushes Method #1
- Open Adobe Photoshop
- Go to the Edit menu at the top of the screen
- Choose >>> Presets >>>Preset Manager
- In the pop-up menu set the preset type to >>>Brushes
- Click >>>Load
- Navigate to where you saved the brushes (.abr file)you want to load and select, the brushes will be loaded into Photoshop
How to Install Photoshop Brushes Method #2
- Open the Photoshop brush panel – Window >>> Brushes
- In the brush panel, click on the three lines (hamburger menu) on the top right corner (see the image above)
- When the pop-up menu comes up select >>>Import Brushes
- When the window pops up navigate to where you saved the brushes (.abr file) you want to install and click >>>OK the brushes will be loaded into photoshop
How Do You Make a Photoshop Brush?
You can make a Photoshop brush by sampling any image or by drawing a shape with an existing brush. Once you have the shape you want to use on the canvas follow these steps to turn it into a brush.
- Make sure only the shape or image you want to include in your brush is on the canvas (hide all other layers) or make a selection of the area you want to turn into a brush
- With the area selected select >>>Edit<<< at the top of the screen then >>>Define Brush Preset<<<
- Name the brush and click >>>OK<<< the brush will be added to your brush presets in the brushes panel
How Do You Export Photoshop Brushes?
Exporting brushes is done in the Preset Manager.
- Open Adobe Photoshop
- Go to the Edit menu at the top of the screen
- Choose >>> Presets >>>Preset Manager
- In the pop-up menu set the preset type to >>>Brushes all existing brushes will show up in the preview window
- Select the brush(s) you want to export by clicking on its preview thumbnail. For multiple brushes hold Shift+Click for a full group or command+click to get specific selections.
- Click >>> Save Set
- Navigate to where you want to save the brushes (.abr file) on your computer, the brushes will be saved as a .abr file
Recommended Premium Products
Now that you know all about Photoshop brush settings, you have the ability to modify any brush! Now you can work with brushes to create realistic art and stamp brushes in no time. Modify existing brushes to suit your needs with just a few tweaks. Here are a few premium brushes that I like from the Creative Market.
Perfectionist’s Photoshop Brushes
This is complete art bundle including all types of brush simulation you could need:
- Oil Brushes
- Markers
- Watercolor Brushes
- Graphic Pencils and Pastels
- Ink Pens
- Airbrushes
- HQ digital brushes

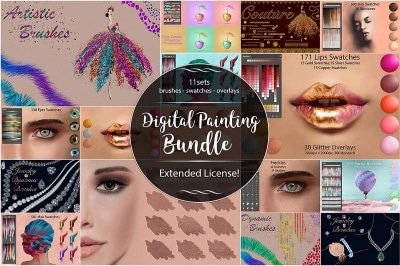
The Digital Painting Bundle
This set of swatches and digital art media supplies includes tons of beautiful brushes for art, couture fashion, jewel brushes and so mush more!
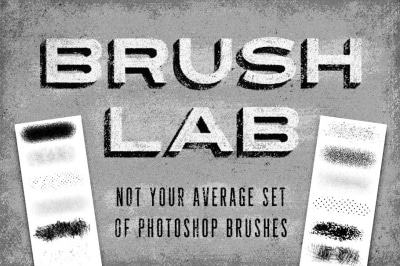
The Brush Lab
A set of dynamic brushes perfect for tweaking!
What Next?
If you like the informational videos that we share here on Prettywebz, then make sure to subscribe to our newsletter to receive notifications when we send out a new video or a blog post. Subscribers also get exclusive downloads that you won’t find anywhere else on the web. You can sign up in the footer of any page on the website.
Also join me on Youtube as well to check out the playlists I’ve set up for Photoshop, PowerPoint and other software you can use to design your online graphics.
Did you like this Photoshop brush settings post? Share it with a friend or save it for later by pinning this image!