

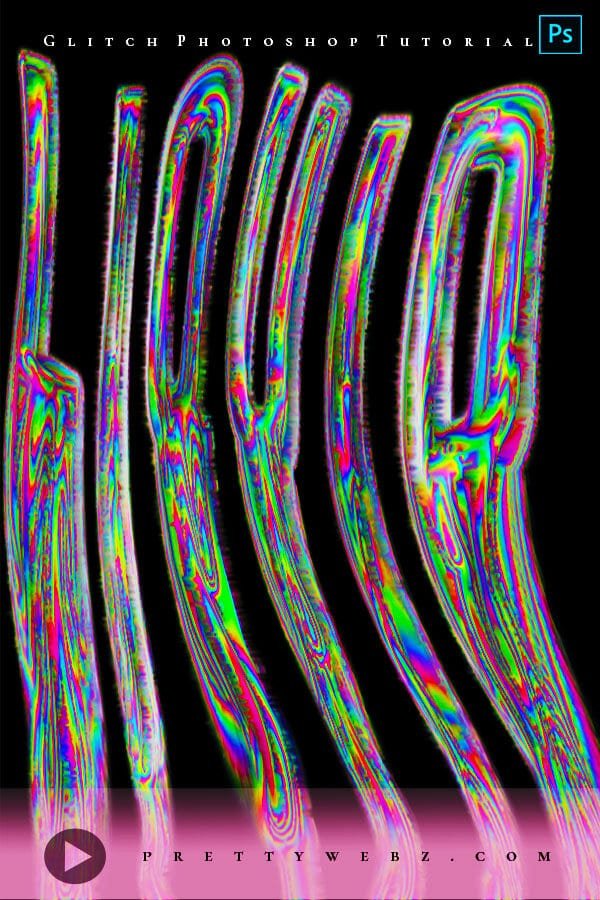
Liquid Glitch Effect Photoshop Tutorial
In this glitch effect Photoshop tutorial, I’ll show you how to create a liquid, melting glitch text effect using the mixer brush to create glitchy rainbow colors. This is a beautiful RGB color trick that you can use for painting, lettering, or adding accents to your art.
LEARN DESIGN TOOLS ONE STEP AT A TIME
Learn and master the most frustrating aspects of overwhelming programs like Photoshop and Illustrator in a fun and entertaining way with PrettyWebz design tutorials.
Tutorial projects, like the ones we share here on the blog, are meant to help you grasp the use of the most powerful aspects of design software one step at a time. In the process, you will build your design assets. Before you know it, you will have created a good working knowledge of Adobe design software and a nice asset library for your business.
Don’t forget to sign up below in the footer to become part of the Prettywebz family and never miss another tutorial.
Also join me on YouTube as well to check out the playlists I’ve set up for Photoshop, PowerPoint and other software you can use to help build your online presence.
Resources for This Tutorial
Click for a direct download of the resources mentioned in the video. Resources are for reference, or in personal or client work. Tools can be used for creating your own resources but cannot be repackaged and sold on their own. Thank you!
____________________
More Posts on this Topic

Similar Premium Products


Glitch Effect Photoshop TUTORIAL
Glitch Effect Photoshop Tutorial Transcript
Hey there Mercedes here from prettywebz.com and today I have a liquid glitch effect Photoshop tutorial for you.
This is something that is really popular on Instagram and Tumblr. I’m going to give you my take on this style without using the liquify tool.
I know that the liquify tool can get really labor-intensive so I’m going to show you how to make this with the mixer brush tool.
Document Size
Let’s go ahead and get started. I’m going to come up here to file, new.
And we’re just going to start with a 1920 by 1080 document, resolution 72, RGB, 8-bit.
Go ahead and click create and I’m going to show you how to set up the document.
Liquid Glitch Effect Photoshop Document Set up
I’m going to just unlock that background layer. We have this white color, we have this set up to black and white.
So, these are our default colors. If you don’t have your defaults just go ahead and click on that little icon directly above that to reset those.
From here, we’re going to start by creating a background that we’re going to use to paint.
So, what we’re doing with this little trick is using noise to pick up on RGB values and, you know, to get that rainbow, really colorful effect.
I’m going to go ahead and show you how to do that, first by adding the noise.
Noise Layer
So, this is just a base layer that’s not going to be part of the completed work. This is just like a canvas that we’re going to be using.
So I’m going to come up here to filter, noise, add noise. I do want my noise to be really strong for this so I’m going to bring it way up.
I mean, you could even bring it up to 400 percent.
The noise, the amount of noise doesn’t really matter and you could use uniform or gaussian, that doesn’t matter.
You can have monochromatic unchecked or checked. Honestly, none of this stuff really matters.
All you need is the noise, that’s the most important part. You need that variation in the colors.
That’s what’s going to pick up on all of that color when you’re using the mixer brush.
I’m going to set mine to 400 percent, my distribution is going to be gaussian, and I’ll just use monochromatic.
There are a couple of things that you can do wrong when you’re using the mixer brush in the way that we’re going to use it.
So I just want to point those things out really quickly so that you understand how the layers are going to be interacting with each other here.
Mixer Brush Settings for glitch effect photoshop tutorial
I’m going to come here to the brush tool and I’m going to choose the mixer brush.
So you just click and hold the brush tool, come down here to mixer brush. I’m using a soft round brush for this.
This is in default brushes, and as far as everything else I’m going to just come here and make sure to clean my brush.
And then all of my settings up here are going to be set to 100. Wet, load, mix, flow, all at 100 percent.
I even have smoothing at 100 percent. You can adjust this if you want to work more freehand.
This is just going to smooth out your strokes.
And the most important thing here is to make sure that sample all layers is checked off.
You need to make sure to check that off, that’s how we’re going to pick up color from this background layer.
Color Layer
So once you have this, we have one more thing that we need to do to make sure that this is set up correctly and that we’re going to get that color.
That is to add a hue and saturation adjustment layer.
You can get that here, but the bottom of my screen is being cut off with the computer that I’m using today.
So I’m going to come up here go to layer, new adjustment layer, and I’m going to choose hue and saturation.
Bring the hue just, you know, right here to somewhere between the green and yellow.
I’m going to bring my saturation all the way up and I’ll go ahead and leave my lightness as it is.
Make sure that colorize is not checked. So, this is our noise layer. this is our color layer, and this one right here is where we’re going to draw.
Drawing the Glitch Effect in Photoshop
This is the basic setup. I’m clicking right here on my drawing layer. Just make sure that you’re on that layer when you start drawing.
I’m using a default brush, it looks really cool, but not what we want.
So, I’m going to come over here to the brush settings for this. You can come up here to window, brush settings, right there as well.
And all I’m going to do is take my spacing down to 1 percent and let’s back out of that.
And now, you can see that we have that glitch.
Drawing Mistakes to Avoid
So, I have a couple of things that I want to show you with regard to the glitch itself because…
I’m going to add a new layer here and then I’ll fill it with white, put it underneath that draw layer.
I just wanted to show you what this looks like. Let me add another one too, just so we can kind of get an idea of this.
Okay so this is what it looks like on black, this is what it looks like on white.
So, you can see how clean those colors are. It’s not picking up on that layer underneath.
But if I were to start painting right now with this white layer showing up, I go back into my draw layer, picking up on some of this and pulling it out.
So, remember, it’s picking up color from all layers. It’s sampling everything as we’re painting here.
But you can see right there where it started to pick up that white and especially here, you’ll see tons of white.
You just need to make sure that you are not painting on a solid color like this.
You need to make sure that you’re painting on your noise layer only.
The noise layer is not going to be part of your final image, but it is important that you only use these three.
Even if you do have a, you know, white background or a black background that those are turned off while you’re drawing.
So that’s the only thing, other than that you can draw and do whatever you want.
The Liquid Glitch Text Effect
Okay, I went ahead and added some text and a background layer here.
I want to show you how to make this dripping text effect and I just felt like a longer canvas would be better for this.
Changing Document Orientation
So all I did, before I added the text, was come to image, image rotation, and I rotated it 90 degrees clockwise.
Now I have the same dimensions it’s 1920 by 1080 just flipped 1080 by 1920 height.
Text Effect Elements
I’m going to go ahead and start working on this text effect. I still have all my essential layers here. My color, my draw, and my noise.
In between, I have my text and my background. So what I’m going to do is use the text to trace.
I’m using just basic Arial here. I did change the tracking a little bit to add some space between the letters.
So I have it at 80 and then I’m going to come here to my text layer.
Making Selections and Paths
On my keyboard, I’m going to press command and then I’m going to hover over that little letter t and you’ll see that square come up.
When you see that hand and that square, just click and you’ll see over here how it’s created a selection out of that.
From there we’re going to come here to the paths tool.
If you don’t see this little icon here you can come up here to window, and paths.
From there, inside the paths, I’m going to choose this icon right here. this is going to make a path from a selection.
We have the selection already we just click on that and you’ll see that those blue lines. So we have that path set now.
I’m just going to turn off the text because we don’t want to mix the text color with the rainbow glitch effect.
So I’m just going to turn it off. I’m going to come here to my draw layer.
Setting brush and size settings
I’m going to press the letter b on the keyboard and hopefully, let me turn on my background layer so you can see.
So you can see my brush right here and I just kind of want to measure how big it is. So it looks like it’d be a good size for this text.
Maybe I’ll bring it in just a little bit, so I have it set to 35. We’re on the draw layer.
Make sure that the text layer is turned off. Make sure that the background layer is turned off.
And the only thing visible is the noise, the draw, and the color layer.
Stroking the Path
I’m going to press the letter a on my keyboard, that’s going to bring up that little arrow.
That’s the path selection tool right there, and I’m just going to hover over any part of this path right.
Click, and choose stroke path, remember we are using the mixer brush for this so our tool right here is going to be mixer brush.
Make sure that simulate pressure is not checked and go ahead and click ok.
And then we’ll just let this do its work. I’m going to come back to the path and just unselect that.
Creating the dripping glitch
Okay, now that we have that text there we’re going to make sure that we’re on that drawing layer.
I’m going to come here to the marquee tool. I’m using the rectangular marquee and I’m just going to pick up on the bottom section of this.
I want just a very small area, so let me turn on that layer so you can kind of see what I’m doing here.
So we just want just a small area down here. letter v on the keyboard to bring up these transform tools.
Make sure to check off show transform controls up here on the top so that you have those available to you.
And then all I’m going to do is just drag this all the way down. Hit enter on the keyboard command and the letter d to deselect it.
Smoothing Hard Lines
What I want to do is come back to the drawing layer, hit the letter b on the keyboard, and just, you know, work these out.
Especially like these little areas down here. So, I’m just going to smooth all of this stuff out. okay just like, you know, just a little bit.
Adding Wave Effect
And then once I have that set up I can come over here to filter, distort, and wave and you’ll have a little sample right here of what you’re doing.
Okay so I ended up with 9 generators on this, wavelength minimum 90 max 206, amplitude 1, and max 25.
just make sure the sign is checked and that you have wrap-around checked.
Then you can just let this preview right here be your guide as to how much of this you really want, click okay.
Enhancing the Glitch Effect
Okay and since we are creating a glitch effect I do want to add a little bit more of this style.
More than, you know, the the liquid. This is a liquid glitch so we want the liquid and we want the glitch as well.
But I just want to add a little bit more of the glitch in there. So I’m going to come up here to filter, stylize and I’m going to use wind.
I’m going to choose wind as the method and the direction can go either way, from left, or the right.
I’m going to go ahead and click ok for this.
So, we’ve added just a little bit more rough texture and you can…
If I zoom in here a little bit you can see that we do have that glitch in there but I’m going to add a little bit more.
So, I’ll come back up here to filter and then do that wind one more time and you can add that as many times as you need.
Closing Words
If you enjoyed this liquid glitch effect Photoshop video make sure to like and share it. Subscribe if you want to see more videos like this one.
And as always visit prettywebz.com for more design resources and tutorials. Until next time thanks for watching.