

Glitter Photoshop Effect Tutorial
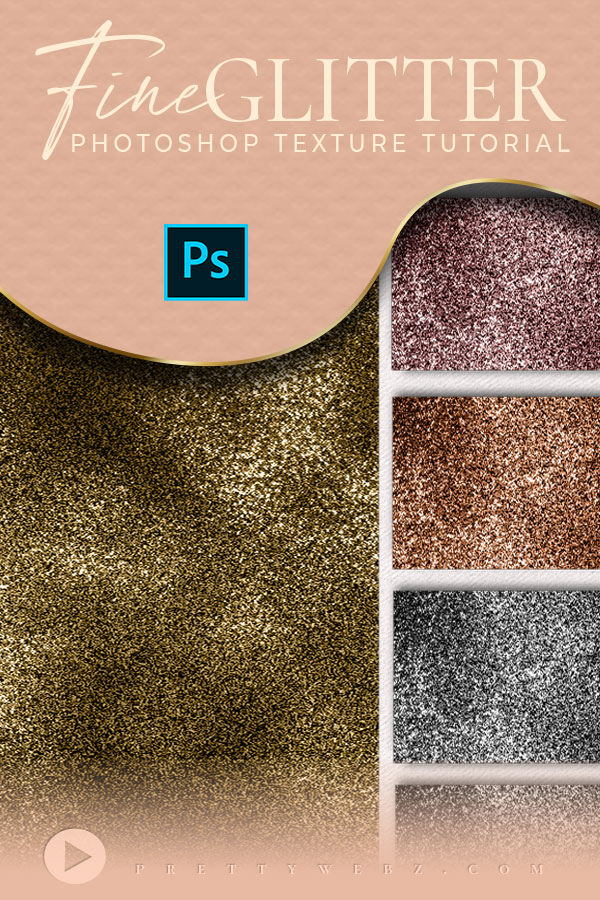
In this glitter Photoshop effect tutorial, you’ll learn how to make a super fine high shine glitter texture in Photoshop. Use the base Photoshop glitter texture to create rose gold, silver, or any other metallics.
Bonus! You’ll also learn how to make a black glitter texture in the process of making the shine for this glitter Photoshop effect.
LEARN DESIGN TOOLS ONE STEP AT A TIME
Learn and master the most frustrating aspects of overwhelming programs like Photoshop and Illustrator in a fun and entertaining way with PrettyWebz design tutorials.
Tutorial projects, like the ones we share here on the blog, are meant to help you grasp the use of the most powerful aspects of design software one step at a time. In the process, you will build your design assets. Before you know it, you will have created a good working knowledge of Adobe design software and a nice asset library for your business.
Don’t forget to sign up below in the footer to become part of the Prettywebz family and never miss another tutorial.
Also join me on YouTube as well to check out the playlists I’ve set up for Photoshop, PowerPoint and other software you can use to help build your online presence.
More Posts on this Topic
Similar Premium Products
Glitter Photoshop Effect TUTORIAL
Glitter Photoshop Effect Tutorial Transcript
Hey there Mercedes here from prettywebz.com and today we’re working on a glitter photoshop effect.
This is going to be a super high shine fine glitter texture so what you see up on the screen right here is going to be the final result.
But I am going to show you, this is going to be the base. So, if you don’t want all that shine you can watch up to this point.
Then I’ll show you how to add all of this extra texture later on, but the final result is a super high shine glitter.
So, let’s go ahead and get started. I’m going to come over here to file, new, and I’m going to use a 1024 by 1024.
I’ll leave my resolution at 72, of course for print you can take that up to 300 we’re working in RGB 8-bit and I’m going to click create.
From here, I’m going to unlock the background layer because we’re going to use this as our base.
You need to set your foreground color to #b4b4b4 or something similar. You just need a kind of like, a medium to light gray color.
For the background color we’re just using basic black.
Okay, once you have your foreground and background color set we’re going to come up here to filter, render, and clouds.
And then again, a filter, noise, add a noise. For the amount we’re at eighty percent, distribution is uniform.
Make sure that monochromatic is checked, go ahead and click ok for that.
Now we’re going to double click right here on the far right-hand side and bring up our layer styles.
From here I’m going to click on the gradient overlay. The blend mode for our gradient is overlay, the opacity 75 percent.
The gradient itself is going to be like a dark gray color right here.
So if I click on that stop location zero percent, the color here is #252525 and the color stop at one hundred percent is #cccccc.
Go ahead and click ok for that and then okay again. Now we’re going to come back here to this dialog box.
We left off right here, so make sure that reverse is checked, style reflected, angle is negative 17 degrees and our scale is 60 percent.
Now we’re going to come up here and add a color overlay to this.
For the color overlay our blend mode is color, our opacity is 80 percent.
And for the color itself that’s really going to depend on the type of gold that you want.
So I’m going to go for this medium gold color. You can take it all the way up here if you want, a really strong gold.
but I’m going to stick to this because we are going to add that really bright shine to it, so for mine I’m using #8d5703.
You can go a little bit darker if you like, it’s up to you but I’m going to go ahead and click ok and then ok again.
So this is our gold for right now. So I do have my anchors up right now.
If you don’t see that, letter v on the keyboard and make sure that show transform controls is selected so that these are showing up for you.
I’m going to press shift and option on my keyboard and I’m going to grab one of these anchor points.
I’m going to start dragging this out to the corner, and I want to bring it out to about 1800 pixels or so.
It doesn’t have to be exact but, you know, somewhere around there and then just hit enter and you’ll see a lighter color glitter.
Okay, I’m going to press c on the keyboard and then return it twice to get rid of all of that excess that we had there.
I’m going to come back here to the layers and press command and the letter j on my keyboard.
That’s going to duplicate this, but for this one we don’t need the layer style.
So, I’m just going to come here to the fx right-click and clear layer styles for this.
Now I’m going to press command and the letter l or control in the letter l if you’re on a pc and just bring my shadow all the way down.
So we’re bringing the shadow down to 253, our highlight is at 255.
I’m going to go ahead and click ok, and now I’m going to duplicate this layer twice.
So command or control and the letter j twice, so we should have three layers here. I’m just going to name this.
This is three, two and one just to keep them straight. So I’m going to come here to layer three.
We’re going to be adding some blur to these three layers.
So, we’re going to start with layer 3 and I’m going to come up here to filter, blur, gaussian blur.
The radius is 1 pixel and I’ll go ahead and click ok. Now I’m going to come up here to the blend mode and change that to linear dodge.
I’ll come to layer 2 filter, blur. For this one we’re using motion blur, angle is 50 degrees distance is 10.
Go ahead and click ok and then we’re also going to switch this over to linear dodge.
Now I’m going to come here to layer 1 filter, blur, motion blur. This time instead of 50 we’re going to go negative 50 distance 10 go ahead and click ok.
And here you can get a really nice black glitter out of this as well. But for this video we’re going to use it as the shine.
So I’m going to grab this one, hold the shift key and then grab layer 3. Command the letter e to merge all of those together.
And then again, switch that over to linear dodge and you can see that we have that shine in there now.
Now from here you can go command or control and j to add another layer to add even more shine.
So you can go from this, to this, to that. If you don’t want that much shine you can always control it right here with the opacity.
You know, bring that down as much as you need.
And also, if you want to switch out the color you can come over here to this layer and then just double click right here on color overlay.
Change your color, so say you want like a rose gold glitter. You can change that there.
Blue glitter, green, all of those. So, you can make all of those changes right here with the color overlay.
Go ahead and click ok and every time you make that change all you have to do is come over here to edit, define pattern.
And that’s going to create a pattern in that color.
So you can just keep this kind of as a template for your glitters and then, you know, get really custom colors right here with the color overlay.
So, I hope you enjoyed this video, if you did make sure to like and share it.
Make sure to subscribe if you don’t want to miss any more videos that I put out on this channel.
And as always visit prettywebz.com for more design resources and tutorials. until next time, thanks for watching.