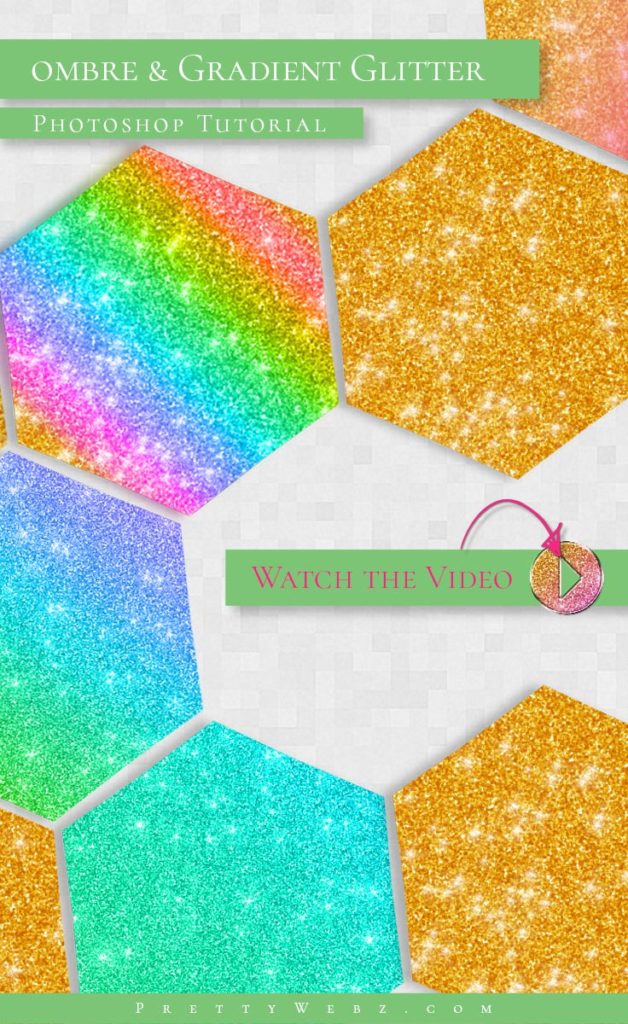
Ombre Glitter Texture Photoshop Tutorial
This is a slight twist on the classic glitter photoshop texture. In this Photoshop tutorial, I’ll show you how to create an ombre glitter and gradient glitter photoshop texture to use for text effects, backgrounds, accents, etc. This photoshop texture takes the same glitter texture and adds some beautiful variations in color and transitions to create a unique glitter effect.
The glitter texture is a very popular option for text effects and design in general. It looks great as a background, phone, and computer background and to add a small touch of interest and excitement to your message.
LEARN DESIGN TOOLS ONE STEP AT A TIME
Learn and master the most frustrating aspects of overwhelming programs like Photoshop and Illustrator in a fun and entertaining way with PrettyWebz design tutorials.
Tutorial projects like the ones we share here on the blog are meant to help you grasp the use of the most powerful aspects of design software one step at a time. In the process, you will build your design assets so that you can create a stunning marketing design for your business.
Don’t forget to sign up below in the footer to become part of the Prettywebz family and never miss another tutorial.
Also join me on YouTube as well to check out the playlists I’ve set up for Photoshop, PowerPoint and other software you can use to design your online graphics.
RESOURCES FOR THE Ombre Glitter Photoshop TUTORIAL
More Posts on this Topic
Similar Premium Products


Ombre Glitter VIDEO TUTORIAL
Image References
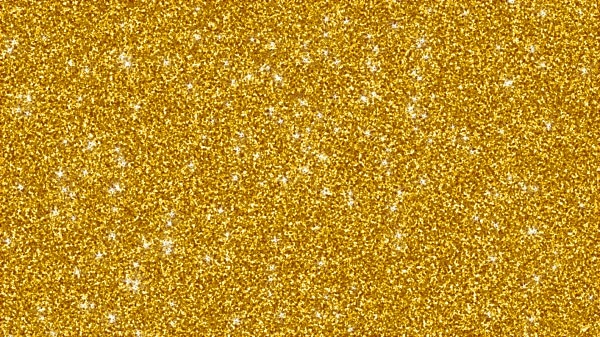
Base Glitter
This is a simple base glitter tutorial that will work well with a gradient or ombre effect. For a more textured glitter effect I have a few in-depth glitter tutorials here.


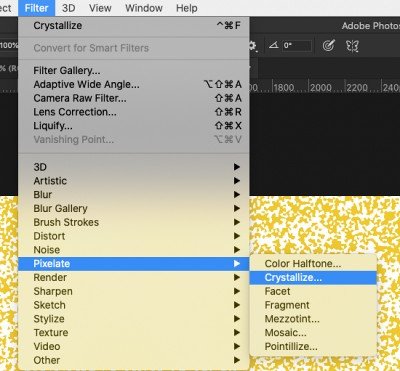
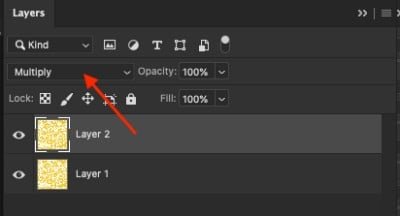
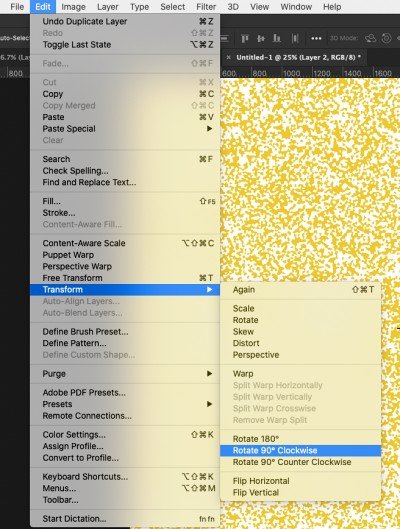
The following 3 steps should be repeated four times, change the blend mode to multiply, duplicate, and rotate. Each time duplicating the layer just created and rotated. The idea is to get a full 360 rotation with all four layers.

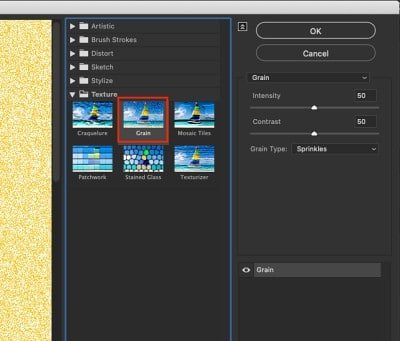
The following step is optional and can be repeated as much as you like to get a crisp glitter.

This is a shortcut to repeat the last step you made. In this case “Sharpen More” was the last step.

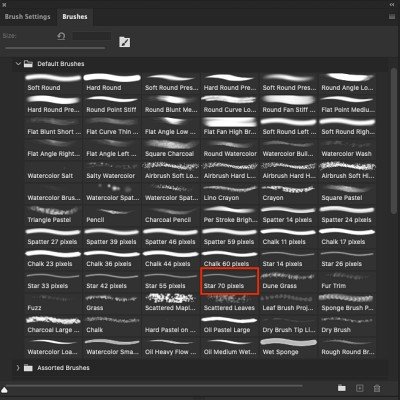
Creating Glitter Sparkle
Choose the star 70 pixels brush from Photoshop default brushes and make the following changes to this brush in brush settings.
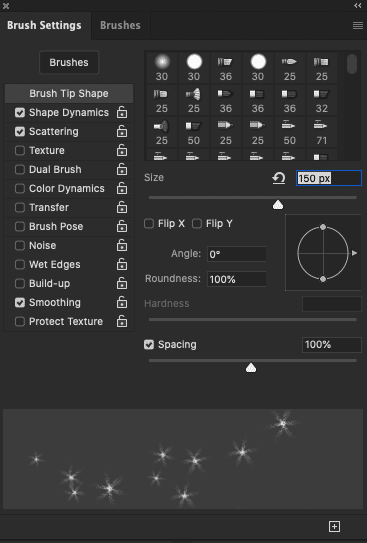


Use the brush to draw sparkles over the glitter layer. Your design should look something like this.
Creating the Ombre and Gradients
From the bottom of the layers panel click the circle icon and choose the Gradient option.
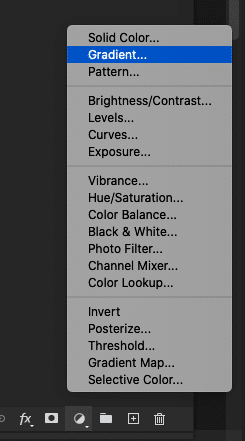

Make sure you are on the Foreground to Transparent gradient from Photoshop default gradients. Click on the left lower color stop to change the color to the color you want.

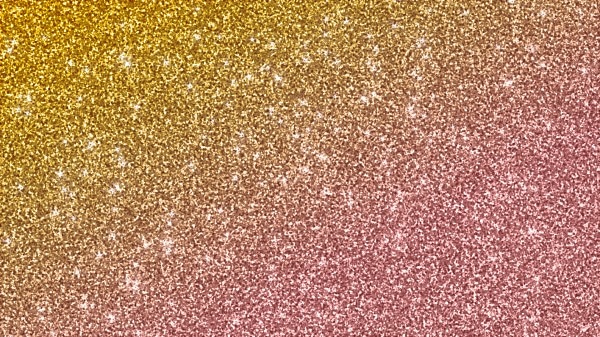
The ombre glitter will look something like this.
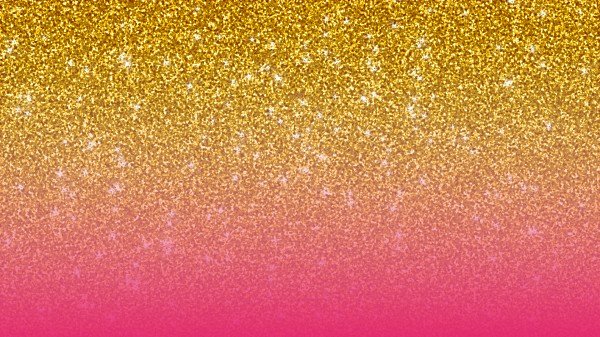
Change the layer mode to Color to create a gradient effect that looks something like this.

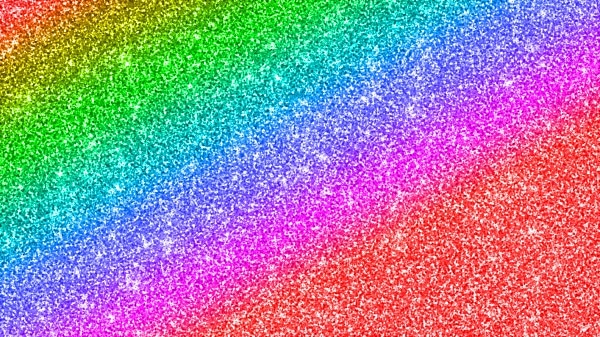
Use more complicated gradients for even more versatility and interesting effects. The image below is using one of the Photoshop default gradients called Spectrum.
IMPORTANT NOTE ON SOFTWARE Software: Photoshop CC 2020
You may not have the same configuration in your version of Photoshop. Things get moved around in updates. Some of the features in this version of Photoshop may not be available in older versions. Please leave a comment on the Youtube platform or send me an email if you get stuck or are missing a feature and I will do my best to help you.
Other Posts You Might Like