

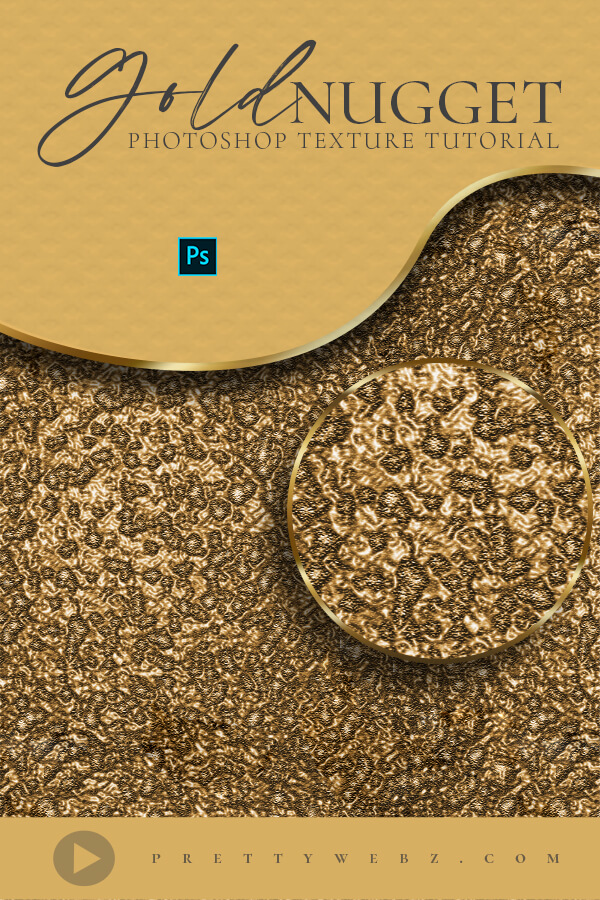
Gold Texture Photoshop Tutorial
In this gold texture Photoshop tutorial, I’ll show you how to create a gilded, gold nugget style gold background. This is a rough style gold texture that is great for typography styling, digital art and so much more.
LEARN DESIGN TOOLS ONE STEP AT A TIME
Learn and master the most frustrating aspects of overwhelming programs like Photoshop and Illustrator in a fun and entertaining way with PrettyWebz design tutorials.
Tutorial projects, like the ones we share here on the blog, are meant to help you grasp the use of the most powerful aspects of design software one step at a time. In the process, you will build your design assets. Before you know it, you will have created a good working knowledge of Adobe design software and a nice asset library for your business.
Don’t forget to sign up below in the footer to become part of the Prettywebz family and never miss another tutorial.
Also join me on YouTube as well to check out the playlists I’ve set up for Photoshop, PowerPoint and other software you can use to help build your online presence.
Resources for This Tutorial
Click for a direct download of the resources mentioned in the video. Resources are for reference, or in personal or client work. Tools can be used for creating your own resources but cannot be repackaged and sold on their own. Thank you!
____________________
More Posts on this Topic
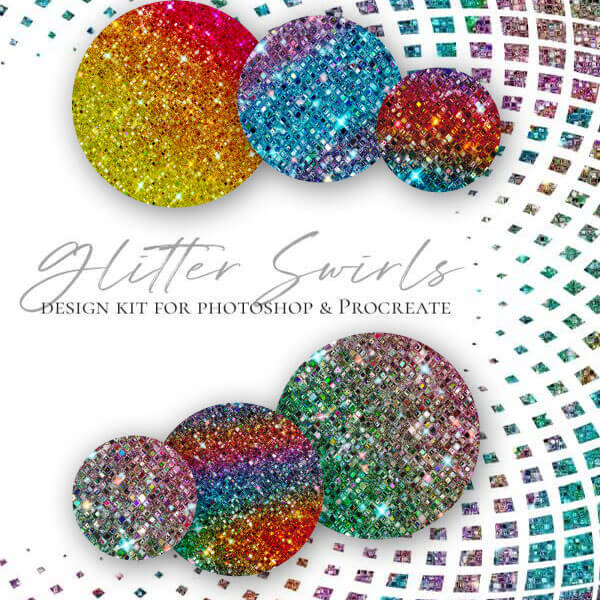
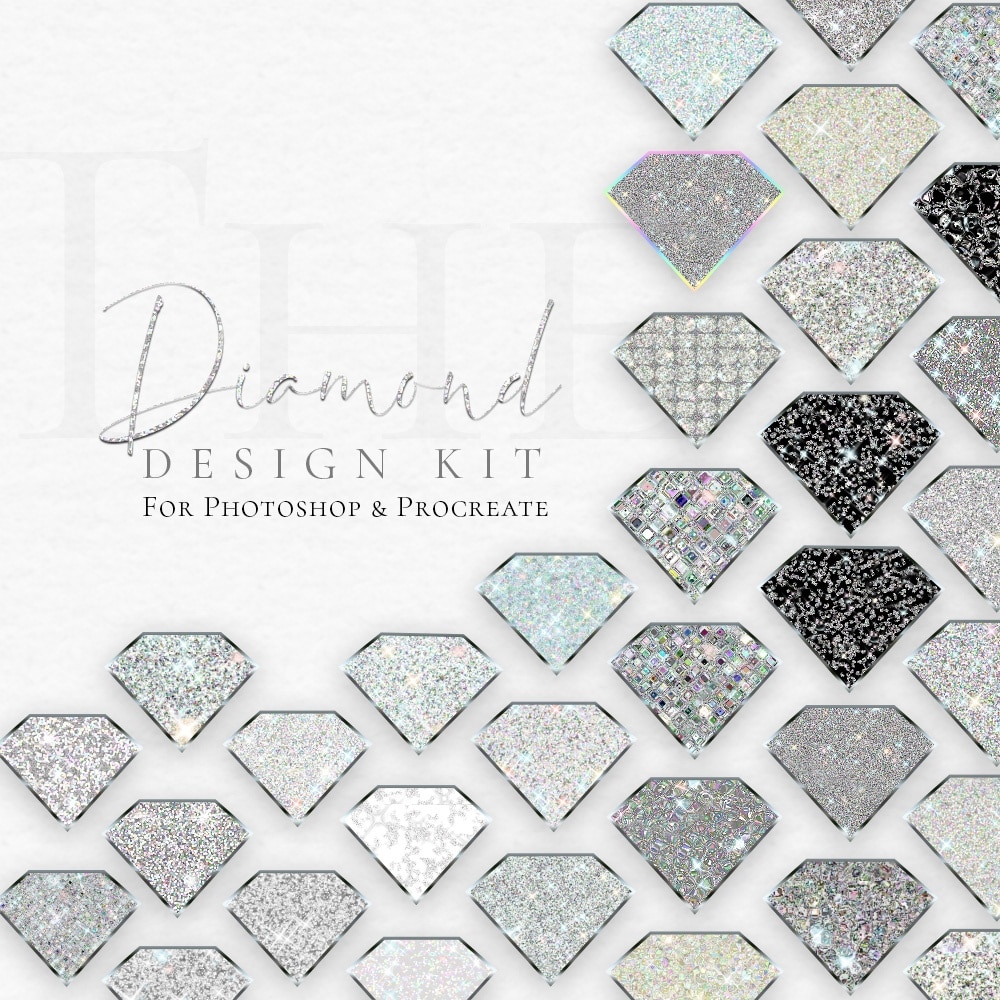
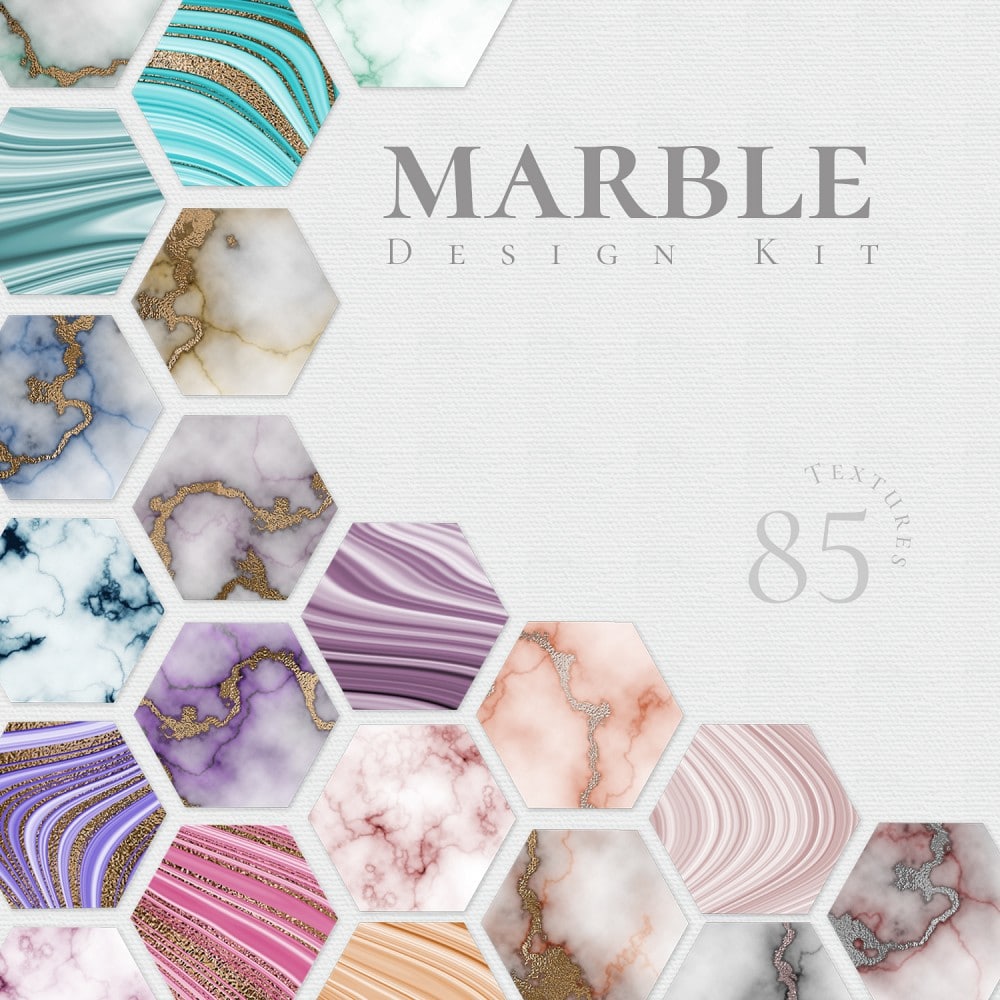
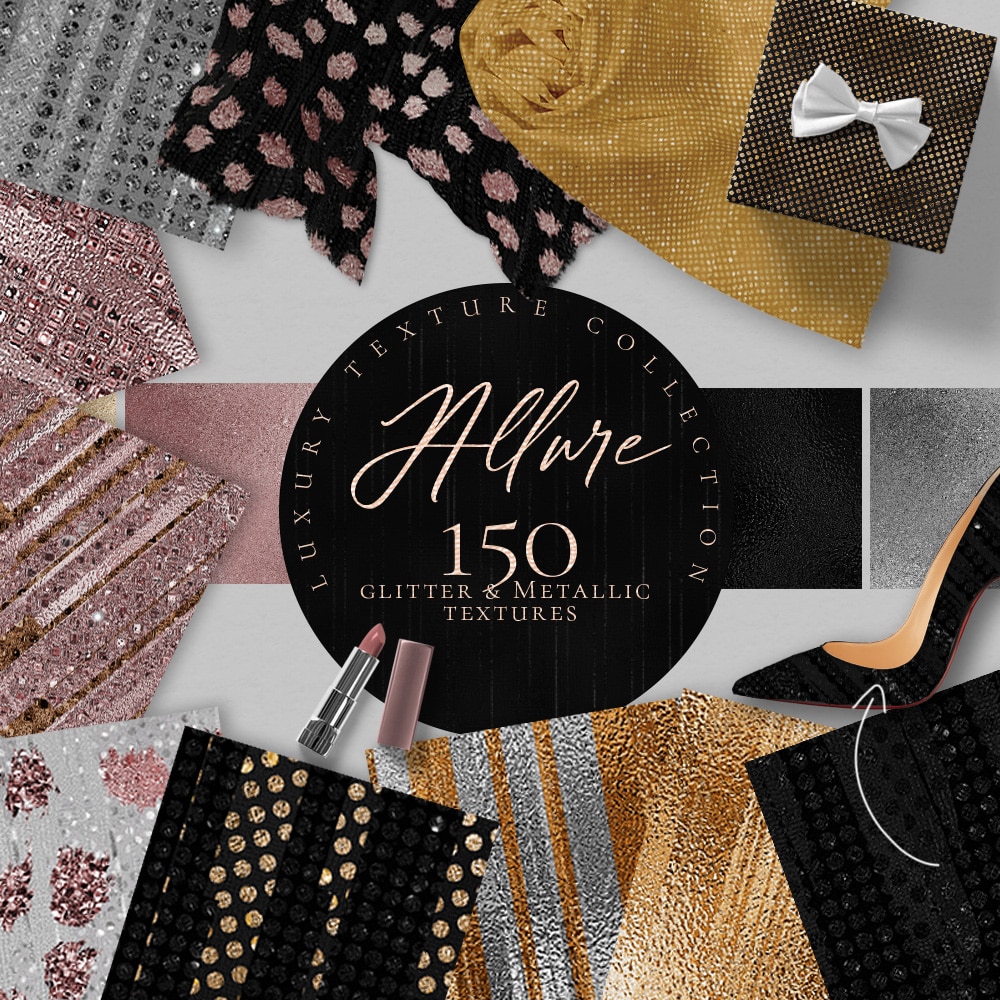
Similar Premium Products
Gold Texture Photoshop VIDEO TUTORIAL
Gold Texture Photoshop Tutorial Video Transcript
Hey there Mercedes here from Prettywebz.com and today I’m working on a gold texture Photoshop tutorial.
This gold background is going to be something like a gold nugget-style, very rough style gold.
And if you’re interested in other metallics I do have a ton of other metallic videos.
Golds, rosegolds, backgrounds, textures, typography, tons of tutorials I have on golds and metallics.
And I’ll go ahead and leave a link to a playlist that you can check out up here in the corner and down in the description for my metallics tutorials.
Document Size and Settings for the Gold Texture Photoshop File
So now that I got that out of the way let’s go ahead and get started.
I’m going to come up to file, new, and my canvas size is going to be 1024 pixels by 1024 pixels.
Resolution is 72, RGB, and we’re working in 8 bit, go ahead and click create.
Creating the Gold Texture Photoshop File
I’m going to open up my layers here. Unlock this layer just by clicking on this little lock icon. And I do have my foreground and background colors set to black and white.
So I’m going to fill this canvas with the foreground color so I”m going to press option and delete.
I’m going to right-click and convert this to a smart object.
Gold Nugget Texture Base
And then I’m going to come here to filter, noise, add noise.
My amount is 200 percent for this, distribution is gaussian, make sure that monochromatic is checked.
Next, I’m going to come here to filter, blur, gaussian blur.
I”m going to blur it three pixels. Click ok.
Next, I’m going to work with the levels, so command and the letter L on your computer Ctrl and the letter L on a PC. And I”m just going to start moving these [sliders] around.
So what I’m looking for here are more specs than I’m looking for stars.
So I want, you know, bigger chunks of the white here. So I’m looking for, you know, stuff like this.
It’s okay if we get the little stuff in there but I am looking for these little chunks right here.
What I ended up with here is 120, 4.17 and, 163 on the highlight.
I’m going to go ahead and click ok for that.
Brightening the Gold Texture Base
From here we’re going to duplicate this layer two more times.
We’ll have a total of three layers. So, command and the letter J twice.
So, there are three layers there. And we’re going to start with this first layer here. I’m going to come up here to filter, blur, motion blur.
My angle is 90 degrees.
My distance is 26 pixels.
I’m going to go ahead and click create. and I’m going to change my mode to screen.
I’m going to come here to the second one and do the same thing.
Filter, blur, motion blur, the only difference is that this time I’m going to change the angle to zero.
Our distance stays the same, 26 pixels. Change the blend mode to screen, and you can see how that has brightened. That’s exactly what we want.
So what I’m going to do is grab that top layer, hold the shift key, grab the bottom one.
Command and the letter E to merge these layers and then I’m going to come back up here to filter and we’re going to do one more blur.
So, filter, blur, gaussian blur and we’re going to go ahead and leave it at 3 for this one.
Click ok.
Creating the rough Gold texture
From here we can go ahead and get started with adding our filters.
I’m going to go ahead and convert this to a smart object again.
Come up here to filter, filter gallery, and we’re going to be working with these two, and let me turn this one off.
We’re working with texturizer. That’s going to be the first one. So, inside of these folders, it’s going to be in the texture folder. It’s the very last one called Texturizer.
For the texture, we’re using sandstone. So you’ll just click on the little drop-down and choose sandstone. Our scaling is 80 percent, our relief is 25 and our light is coming from the bottom.
Now we’ll go ahead and turn on that plastic wrap. Plastic wrap you can find right here in artistic.
It’s going to be the third row and the third column down.
The settings for that are going to be highlight strength is going to come all the way up to 20.
The detail and the smoothness you can work with because it’s going to be different, you know, depending on the starfield that you created.
So, you can make this a little rougher, or a little smoother. I’m going to go ahead and leave mine a little rougher.
So I’m leaving the smoothness at five, detail at eight. And then highlight strength at twenty. I’m going to go ahead and click ok.
I’m going to press the letter v on the keyboard because I have some areas out here that I just don’t like. So I’m just going to, just bring this out a little bit.
Just to get rid of, you know, just the edges there. From here we can start adding some adjustments to create that gold effect.
Color and Light Adjustments
Brightness and Contrast
So I’m going to come here. I’m going to choose Brightness and Contrast. I’m going to bring up the brightness to about 40 or so it doesn’t have to be exact.
Everyone is going to have their preferences. So I’m going to go ahead and leave mine at 40.
Vibrance
I’m going to add Vibrance. So I”m going to bring my vibrance all the way up. Because when you’re working with gold, vibrance is really going to help it to stand out.
We can come back and make some adjustments if we need to, later on.
So, vibrance, brightness, I’m going to go ahead and add the hue and situation. Make sure that colorize is selected. I’m going to go ahead and move this over into the gold color. I’m going to add some saturation to that.
Curves Adjustment
So let’s come back in here and we’ll just add a curves adjustment right away. I’m going to come up here to the presets and use medium contrast. Then you can come back and adjust your vibrance. Maybe add a little more saturation if you want something a little more vivid. Or take down that saturation.
So all of this stuff, you know, you’ll just kind of work with it until you get the color and the tone that you prefer. I’m going to leave a link to a copy of this particular PSD just so you can see all of the settings that I’ve created for mine.
So that’s going to be on the blog post for this tutorial. [Please see the yellow box above for the download button]
I’ll leave a link to the blog post down in the description so you can grab that there. I hope you enjoyed this video, if you did make sure to like and share it. If you like the type of content that I share on this channel please make sure to subscribe so you don’t miss another video.
And as always, visit prettywebz.com for more design resources and tutorials.
Until next time, thanks for watching.