Plaid Fabric Texture Photoshop Tutorial
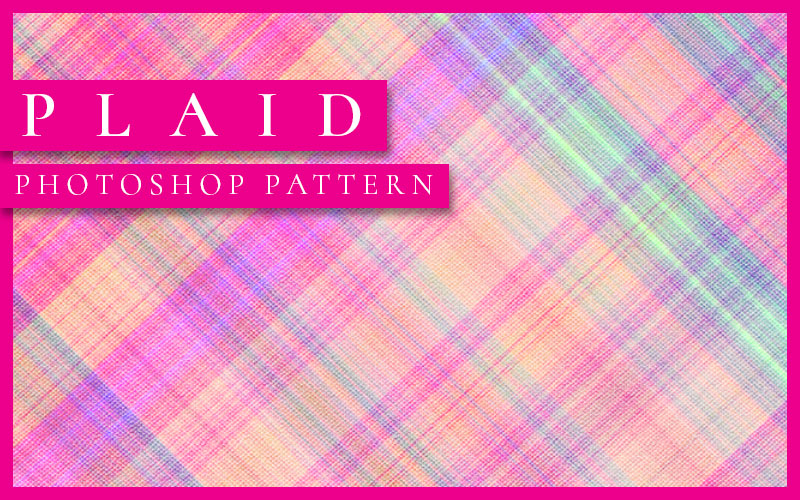
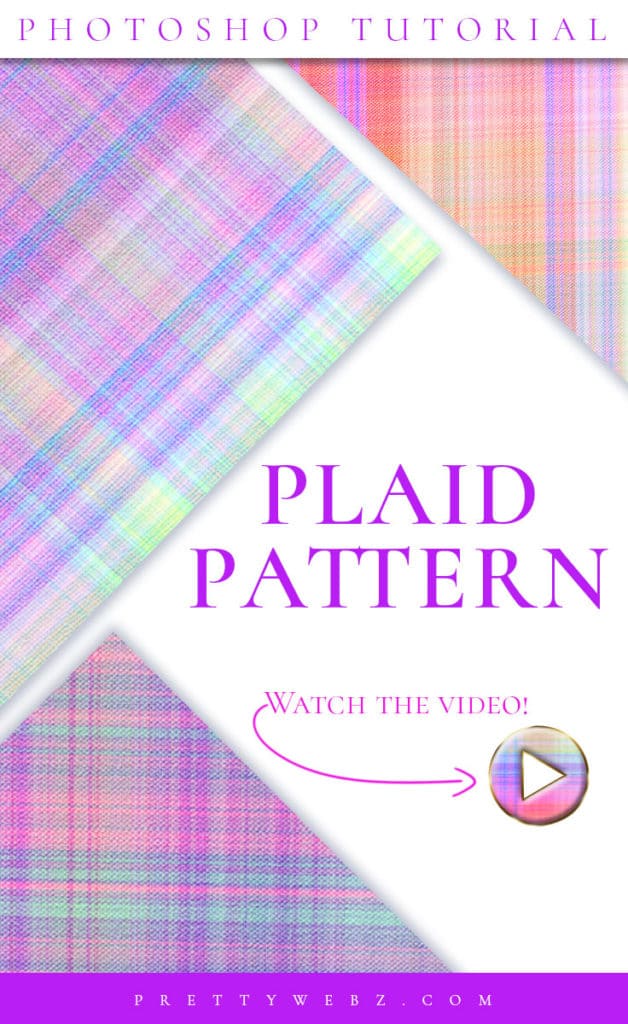
In this fabric texture Photoshop tutorial, I’ll show you how to make a plaid fabric texture from scratch.
Plaid is a beautiful pattern that you can use for anything from baking to camping designs. Depending on the colors used you can achieve a very masculine feel great for outdoors, camping, fishing, and that old-world feel.
You can also go in the opposite direction and get beautiful light and airy patterns as well. The lighter colors are great for cooking, baking, kitchen, and traditional Americana styles.
This is a super easy and quick tutorial perfect for digital art, backgrounds, accents, text effects, and more.
LEARN DESIGN TOOLS ONE STEP AT A TIME
Learn and master the most frustrating aspects of overwhelming programs like Photoshop and Illustrator in a fun and entertaining way with PrettyWebz design tutorials.
Tutorial projects like the ones we share here on the blog are meant to help you grasp the use of the most powerful aspects of design software one step at a time. In the process, you will build your design assets so that you can create a stunning marketing design for your business.
Don’t forget to sign up below in the footer to become part of the Prettywebz family and never miss another tutorial.
Also join me on YouTube as well to check out the playlists I’ve set up for Photoshop, PowerPoint and other software you can use to design your online graphics.
RESOURCES FOR THE Plaid Fabric Texture Photoshop TUTORIAL
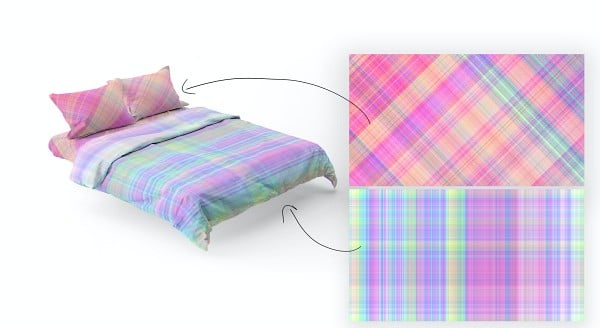
This Plaid pattern is made with only Photoshop textures and gradients. No other resources are required to make this. If you would like to use the mockup I used to show the patterns in bedding I have provided the link to this resource here.
More Posts on this Topic
Watch on Youtube
Similar Premium Products
Plaid Fabric Texture tutorial VIDEO
Image References
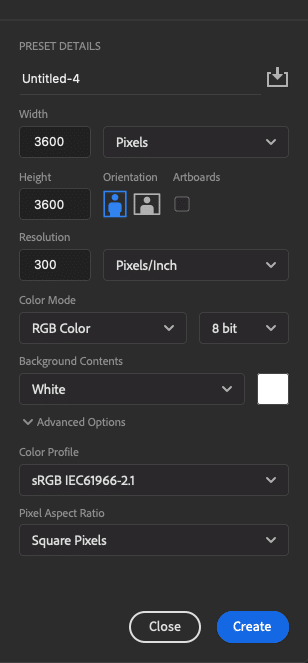
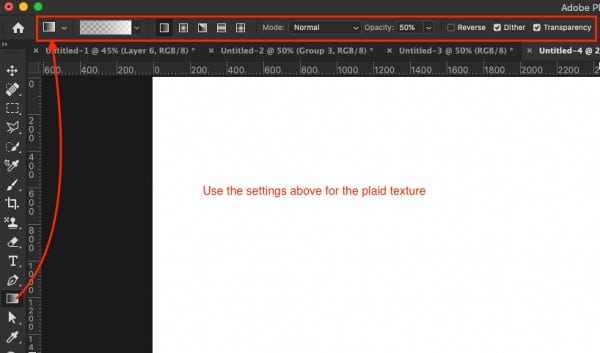
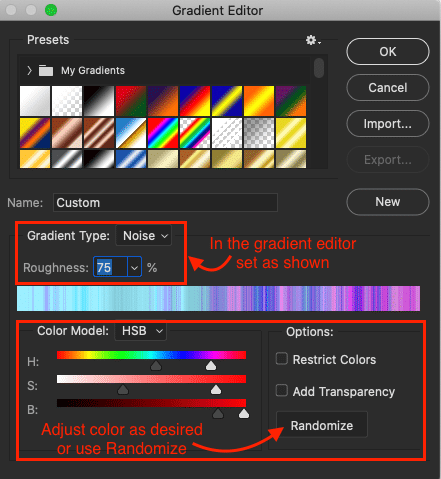
Click on the gradient color preview bar to open the Gradient Editor and set Gradient Type to Noise and Roughness to 75 percent. You can also make adjustments to the color as desired or choose Randomize to let Photoshop to set random colors for you.
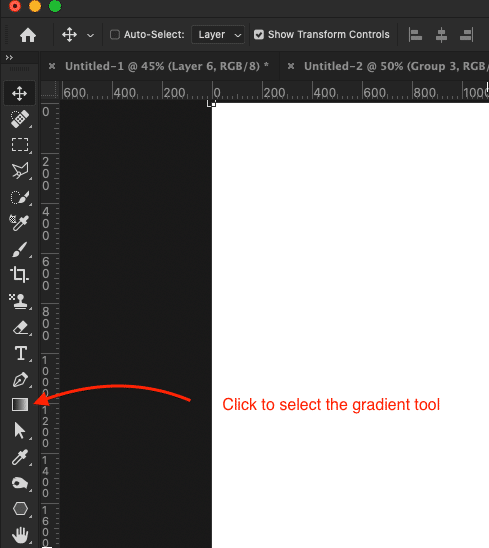
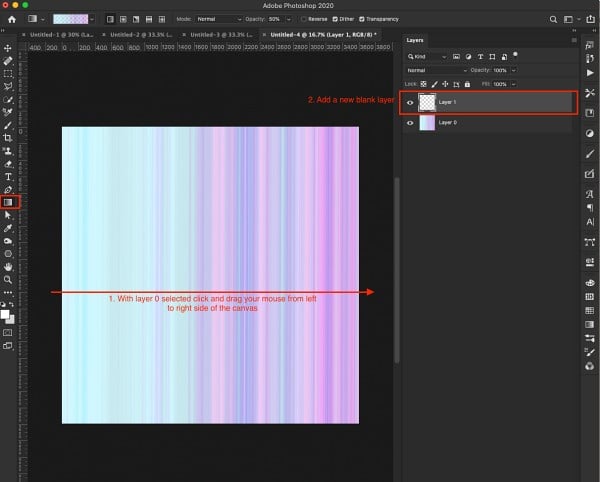
Make sure you have the gradient tool selected and you are on Layer 0 (background layer if you did not unlock it) then click and drag your mouse over the canvas from left to right while holding down the Shift key on your keyboard to keep the lines as straight as possible. Then add another blank layer and do the exact same thing with the new layer selected but this time going from top to bottom on the canvas.
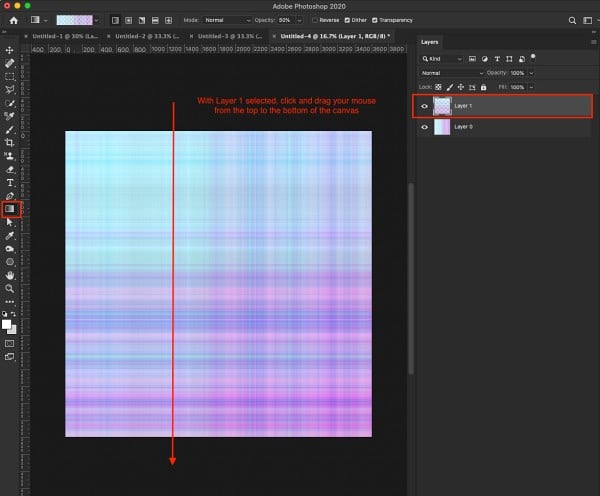
Select both layer 0 and layer One. On your keyboard press Shift+Option+Command+E (Mac) Shift+alt+Ctrl+E (PC) to duplicate and merge the layers. You should have the original layers and a new flattened layer above. Put the two original layers in a group (select both layers and command+g to group) and toggle the eye icon off. Select the new flattened layer to add texture.
Adding Texture
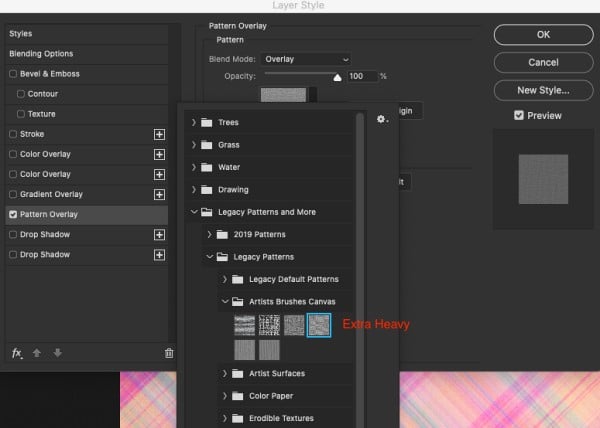
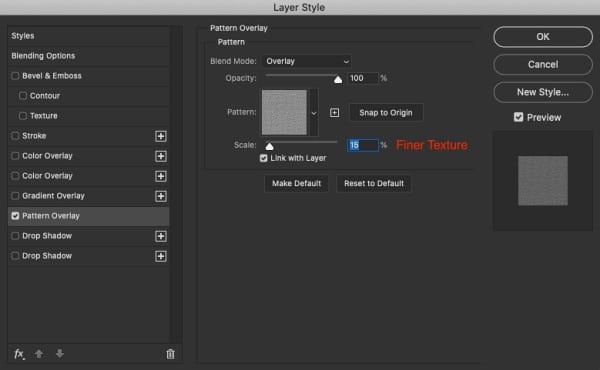
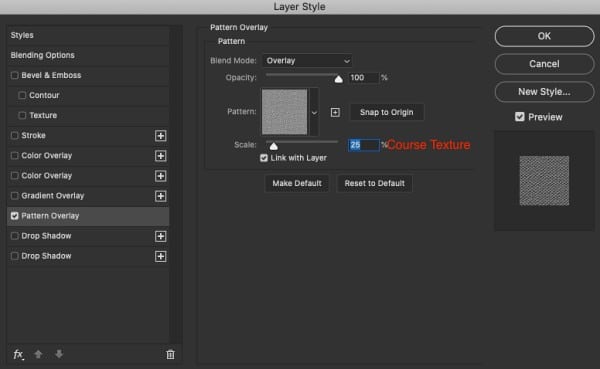
Right click on the new flattened layer and choose Blending Options from the list (first choice on top) to bring up your layer styles menu. Tick off and select “Pattern Overlay” and set as shown in the photos. You can make adjustments to the look of the texture by working with the scale.
Example in Use
