Denim Texture Photoshop Tutorial
The denim texture
This denim texture photoshop tutorial is an easy to follow step by step guide to creating your own denim fabric designs from scratch using filters, color, patterns, and blending options.
Denim, your next go-to design pattern?
Denim is a texture that spans all ages, gender, ethnicity. It works in extreme fashion trends, and it also has simple country charm. The range of this fabric style is endless. Why not learn the basics of how to recreate this timeless texture so that you can use it for years to come in your marketing designs.
In this denim texture photoshop tutorial, I will walk you through how to make the basic denim pattern. Sprinkle in a few Photoshop filters and just like that, a classic denim texture to use in typography, backgrounds, shapes, and other design elements.
Denim Texture Photoshop Tutorial Free Bonuses!
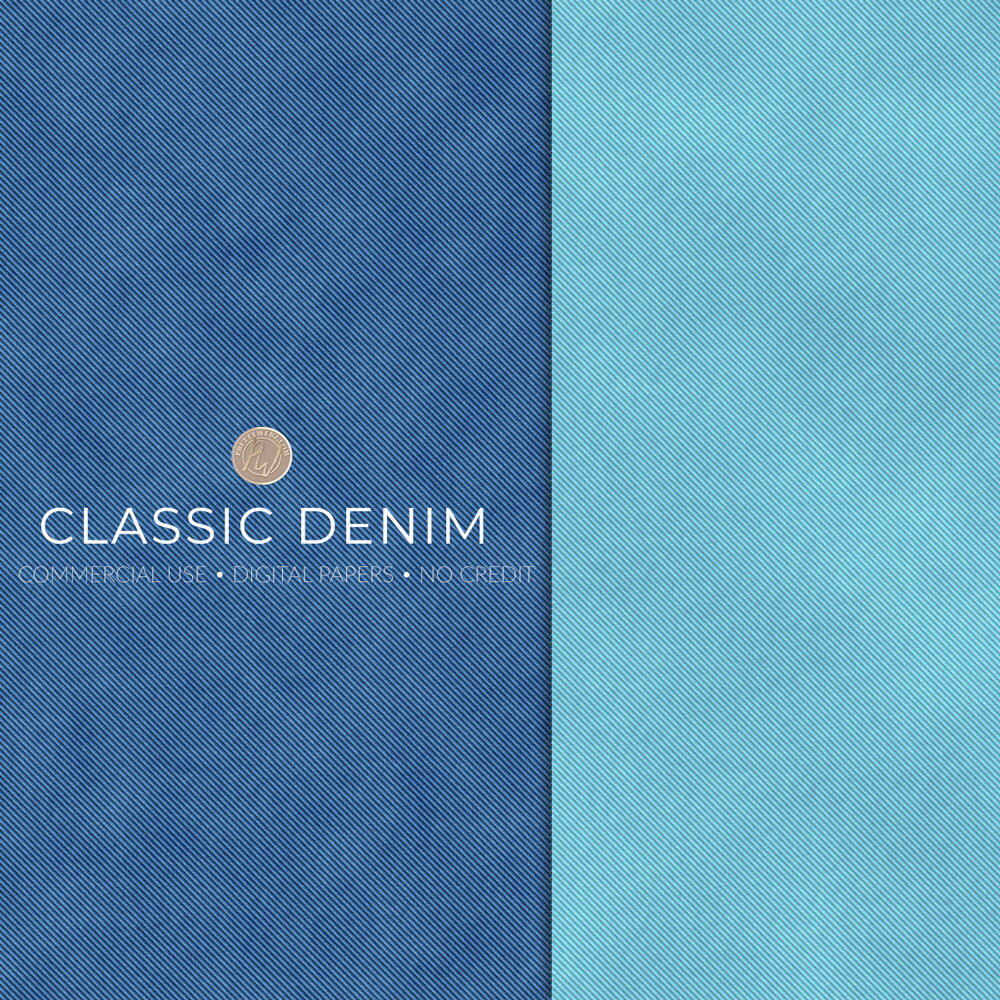
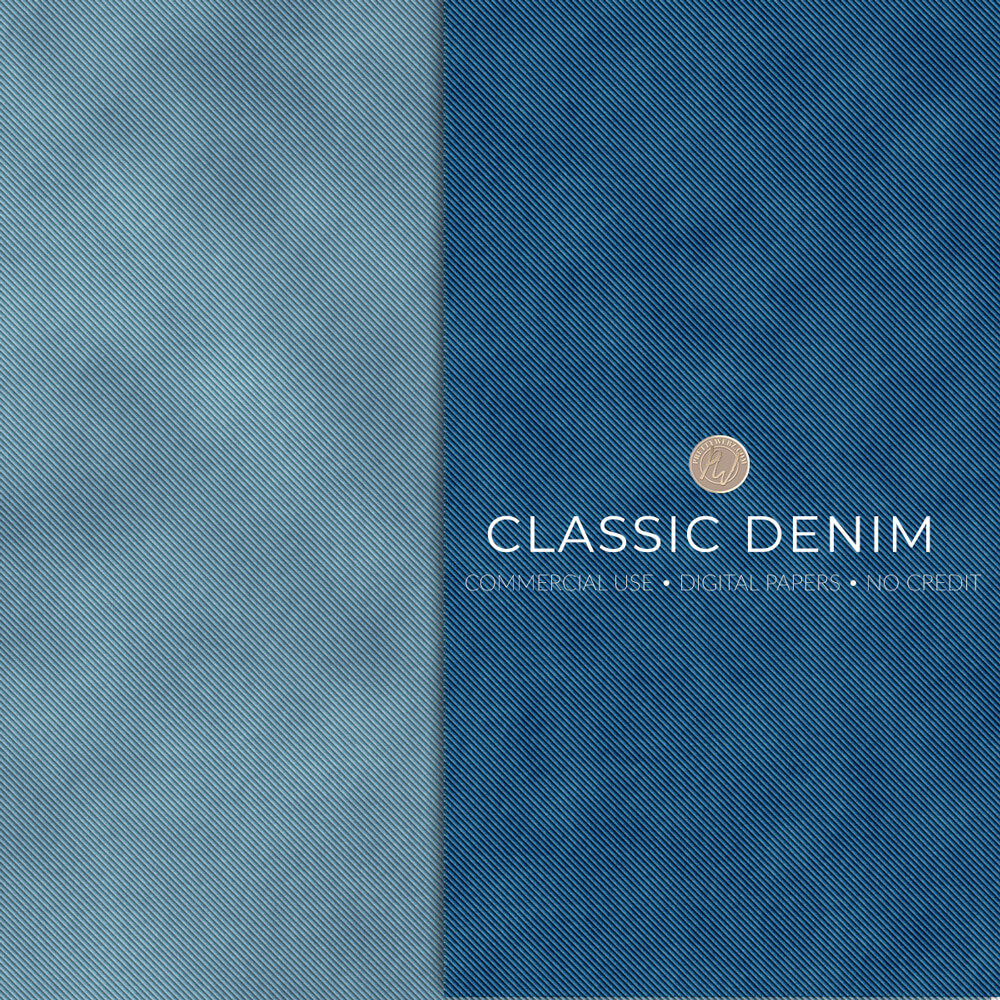
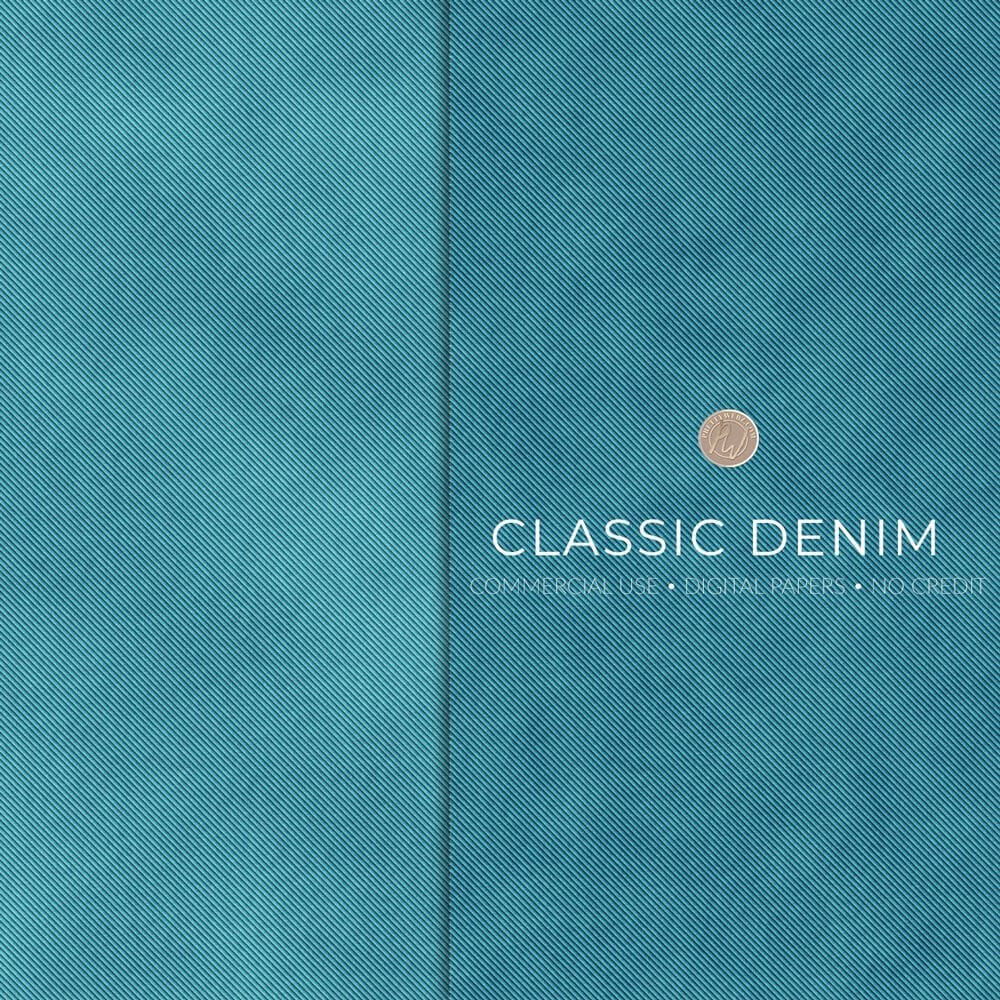
I have a few bonuses for you to go along with this tutorial. I’ve added a denim texture pack to the PrettyWebz shop. This denim texture pack comes with several denim designs from acid wash to classic indigo. Follow along with me as I work through the denim texture photoshop tutorial. Make your own patterns and download mine too! You can also grab the stitch brushes and the denim texture pattern created in this tutorial directly in this blog post.

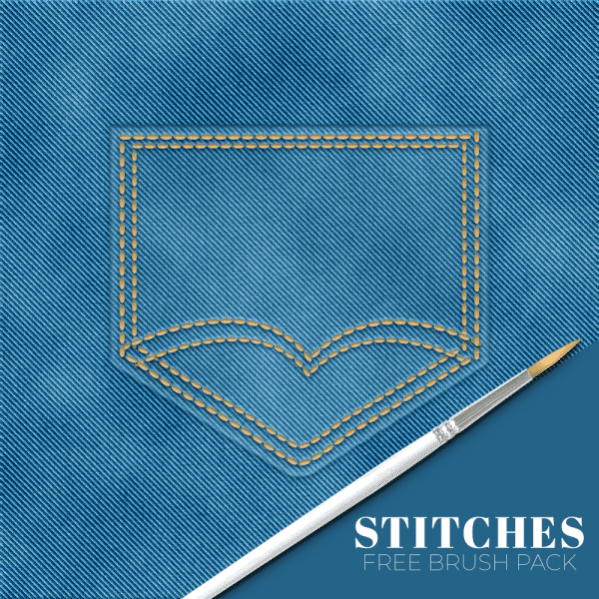
Download the Stitches brush pack here.
Download the Pattern file here.
Other Tutorials You Might Like
Did you know we have a collection of tutorials all focused on creating background textures in Photoshop? The latest background textures are focusing on fabric patterns, like leather, suede, and this denim texture Photoshop tutorial. Next, we will concentrate on linen & cotton fabric textures. Of course, all from scratch using filters and other tools inside of Photoshop.
I encourage you to follow along with any of these tutorials to build your design asset collection and your skill inside of Photoshop. You can also visit the shop to grab some free textures created using the same process used in the tutorials.
Leather and Suede Textures
Gold, Rose Gold and Silver Textures
Marble Textures
Liquid Marble / Agate Textures
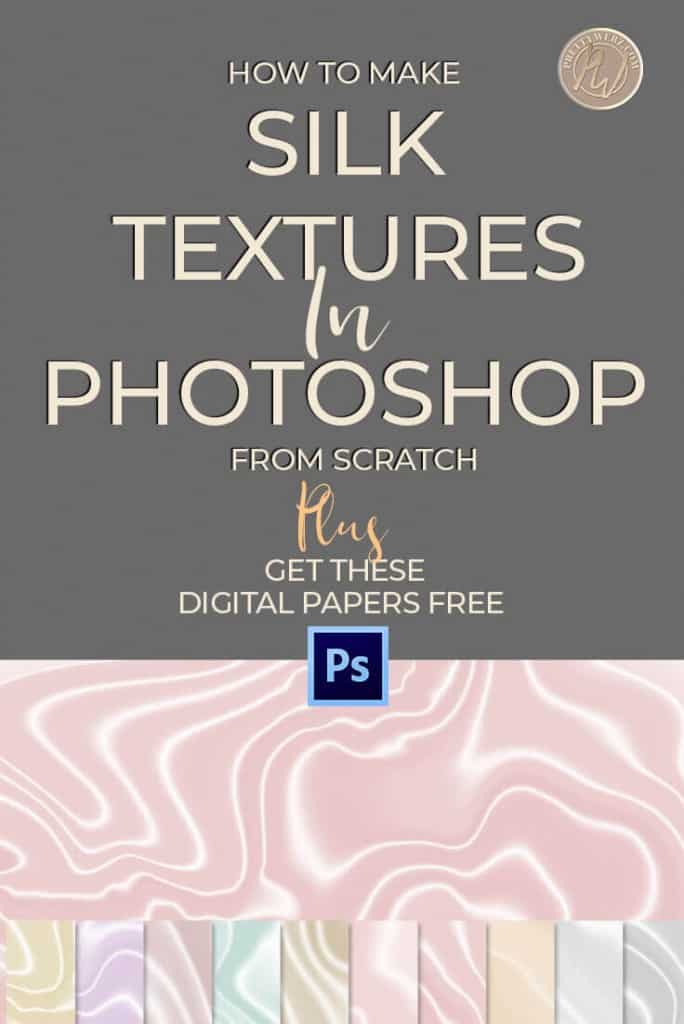
Silk / Satin Textures
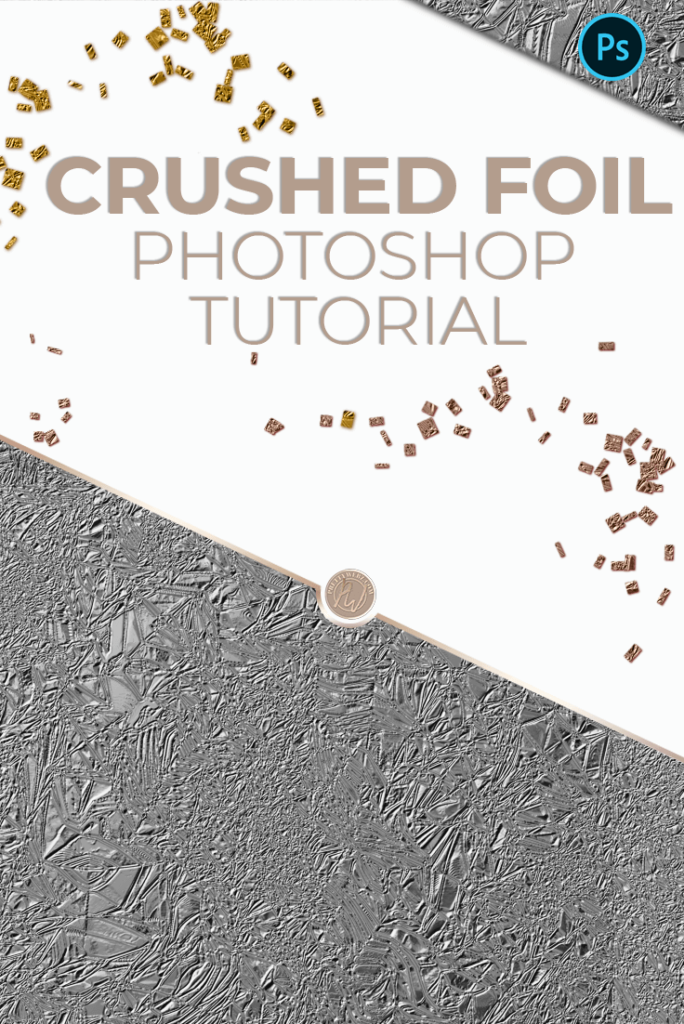
Crushed Foil
Diamond Plate

So Let’s Get Started!
You have two options here. You can watch the denim texture photoshop tutorial below or follow the written instructions directly following the video. Happy designing!
Creating the denim pattern
- Add a new layer with a transparent background
- Choose the shape tool – rectangle tool and draw out a square that is 30 pixels by 30 pixels
- Position the square in the upper left-hand corner of the canvas
- Duplicate the square and bring it down so that the upper left-hand corner meets the lower right-hand corner of the original square
- Duplicate the group again and move the third square underneath the second square
- Select all three squares, copy and position the new group under the first three
- Duplicate the group a third time and place these last three boxes under the first six boxes
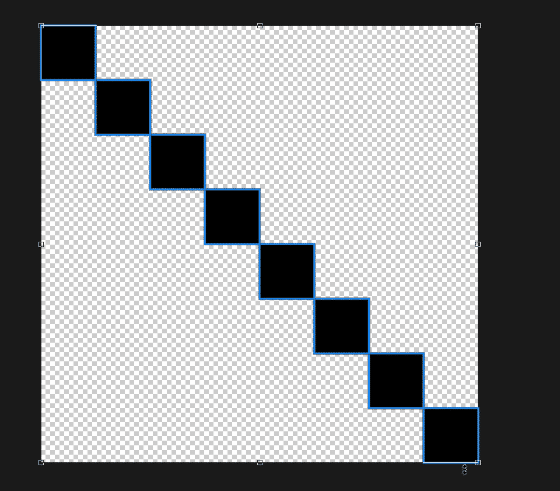
- Select all of the square shapes and click command + E or Ctrl+E to merge the shape layers into one layer.
- Adjust the new rasterized layer so that it fits from the top left-hand corner of the canvas to the right-hand bottom edge of the canvas.
Please see the photos for visual instruction on this. You should have something similar to a diagonal line at this point.
To create the pattern file
- Click on the “Edit” drop-down menu at the top of the screen.
- Choose “define pattern.”
- Name the pattern and click OK.
Creating the Jeans Texture
- Create a new document 3000 pixels by 3000 pixels
- 300 pixels per inch for print or 72 pixels per inch for the web
- click create
Step One – Fill the background layer with a neutral blue tone.
For this demonstration we will us the following hex color code #185e9f
Step Two – add noise
- Go to filter menu at the top of the screen then noise and then add noise
- In the pop-up dialog box set the following settings:
- Amount:14%
- Select uniform distribution
- Check “monochromatic” tick box
- Click OK
Step Three add a new Fill layer
- Create a new layer and label it “jeans pattern.”
- Fill the layer with a neutral gray color for this demo we will use hex color #88898a
- Go to filter menu at the top of the screen then noise, then add noise
- Set the following in the pop-up box:
- Amount to 200%
- Distribution of the noise filter is uniform
- “Monochromatic” option is checked
- Click OK
Step Four Adding More Detail
Duplicate the jeans texture layer by right-clicking on the layer and selecting “duplicate layer” from the menu
- With the duplicated layer selected go to filter drop-down menu at the top of the screen then “blur” then “motion blur.”
- In the dialog box set the angle to zero and your distance to 28 pixels
- Set the blend mode of this layer to “soft light.”
- Creating a new layer and fill it with gray
- In the “filters” drop-down menu at the top of the screen go to “noise” then “add noise.“
- In the dialogue box, use the following settings:
- Amount to 100%
- Distribution is uniform
- Monochromatic is checked off
- Click OK
- Go back into the “filters” menu at the top of the screen, choose “Blur” then “motion blur.”
- In the dialogue box, use the following settings:
- Set the angle to 90°
- Set the distance to 28 pixels
- Click OK
- Set the layer mode to soft light.
Step Five Adding the denim pattern & More Detail
- Create another layer
- Add a pattern fill layer, the pattern will be the one that we just created in step one above
- Scale the pattern down to 8%
- Click OK
Step Six Adding detail to the denim pattern
- With the pattern layer selected right-click and choose “convert to smart object” on the drop-down menu.
- Double click on the right side of the pattern fill layer to bring up to layer style blending options
- Select “drop shadow” from the list on the left and use the following settings:
- blending mode is “multiply.”
- Shadow is black #ffffff
- Opacity 50%
- Angle is 120 degrees
- Distance nine pixels
- Spread 7%
- Size 2 pixels
- Select “Bevel and Emboss” from the list on the left and use the following settings:
- The style is emboss
- The Technique is smooth
- Depth 750%
- The direction is up
- Size 8 pixels
- Shading options
- Angle is 90%
- Altitude is 30%
- Highlight mode is screen
- Opacity 40%
- Shadow mode is “multiply.”
- Opacity 30%
- Select “drop shadow” from the list on the left and use the following settings:
Adding a faded effect to the denim texture.
- Create a new layer
- Reset the foreground background colors to medium gray and halfway between medium gray and white. The foreground and background colors used in the demo are #bfbfbf for the foreground and #88898a for the background
- Go to the “filter” menu at the top of the screen
- Select “render” then “clouds.”
- Set the blend mode of the layer to soft light.
Note: To vary the faded jeans effect, make it more subtle or more dramatic change the background color range to any range of gray to solid black, for the most dramatic impact.
Adjust the coloring of the jeans pattern by adding a hue and saturation adjustment layer and adjust the sliders as desired.
Stitch Brush
To create the single stitch brush
- Create a new document that is 200 pixels by 200 pixels
- In the shapes tool, choose the Ellipse
- Draw out an oval on the canvas that is 120 pixels wide by 40 pixels height filled with black and no stroke.
- To save the brush click “edit” menu option at the top of the screen and choose “define brush pattern” name the brush and click OK.
For a double stitched brush
- Duplicate the original oval shape and bring it 50 pixels lower than the original
- Center both oval shapes on the canvas
- Save the brush as “double stitch.” click “edit” menu option at the top of the screen and choose “define brush pattern” name the brush and click OK.
Adding Typography Effects
- With the text tool, type out the word “Denim” across the screen.
- Press Ctrl or command key on your keyboard and click on the text layer at the icon area. This will make a selection. You should see “marching ants” in the shape of your text.
- With the selection made click on the denim layer and press command or Ctrl J to copy it into a new layer. You should have a layer with the word denim filled with the denim pattern.
- Select the jeans pattern layer, Press command or Ctrl + L to bring up to levels. Darken the layer to bring out the words. This effect should look faded so don’t use too much contrast here.
- Double click on the denim layer and the blending options menu will come up.
- Select inner shadow
- Select the denim lettering layer press command or Ctrl and click on the thumbnail to create a selection from this layer
- Choose “select” drop-down menu from the top of the screen, then modify then contract in the dialogue box contract by 10 pixels click OK.
Free Fashion Denim Digital Paper Pack
Another reminder, you can download a digital paper pack made from the denim texture Photoshop tutorial I taught you here in this post. The digital papers are available in the most popular denim “treatments” such as indigo and several different washes. Head over to the PrettyWebz shop it’s going to be in the “Free” section of my shop.
What Next?
Do you like the video tutorials that we share here on Prettywebz? Tutorials just like this denim texture photoshop tutorial. Make sure to subscribe to our newsletter to receive a notification every single time we send out a new video or a blog post. Ninety-nine percent of the time those videos and blog posts also come with a little extra bonus that we send out directly to our subscribers. I definitely don’t want you to miss out on that.
All of these template and pattern files can help you build your design assets so that you can create stunning marketing design for your business. So don’t forget to sign up below in the footer to become part of the Prettywebz family. Also, subscribe to PrettyWebz on Youtube so we can stay connected there as well.
Did you like this denim texture Photoshop tutorial? Share it with a friend or save it for later by pinning this image!