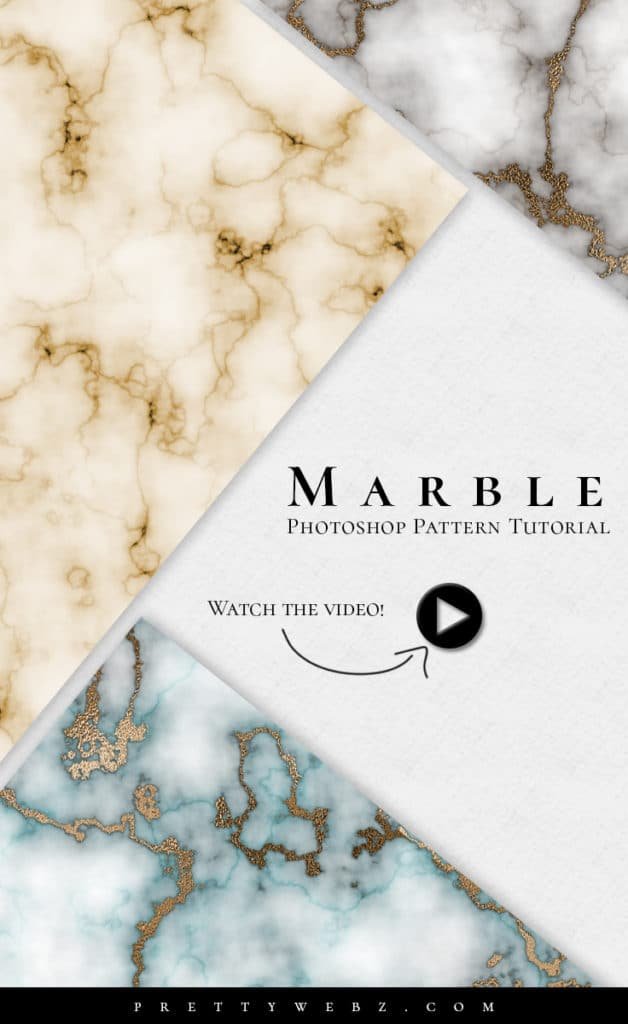
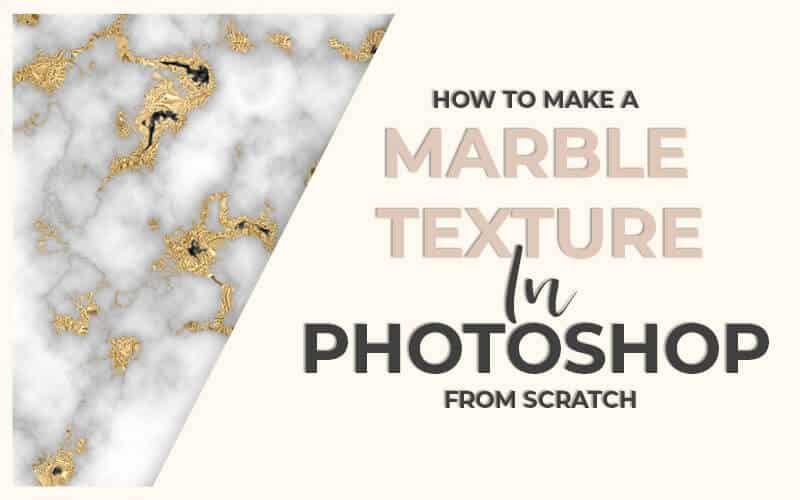
Marble Photoshop Tutorial
In this Photoshop pattern tutorial, I’ll show you how to create marble effects from scratch. This is an update to a previous video with a slightly different method for producing the marble pattern.
I will embed the original video here as well because it does give you an alternate method for creating marble. However, I warn you, it does have some audio issues which is why I re-recorded the video.
This new and improved (in my opinion) Photoshop pattern will give you more color dimension. I’ll show you different ways of applying color to your marble each will give you a slightly different pattern effect.
I will also show you how to add a gold-encrusted texture to your marble using a gold foil I showed you how to create from scratch in a previous video.
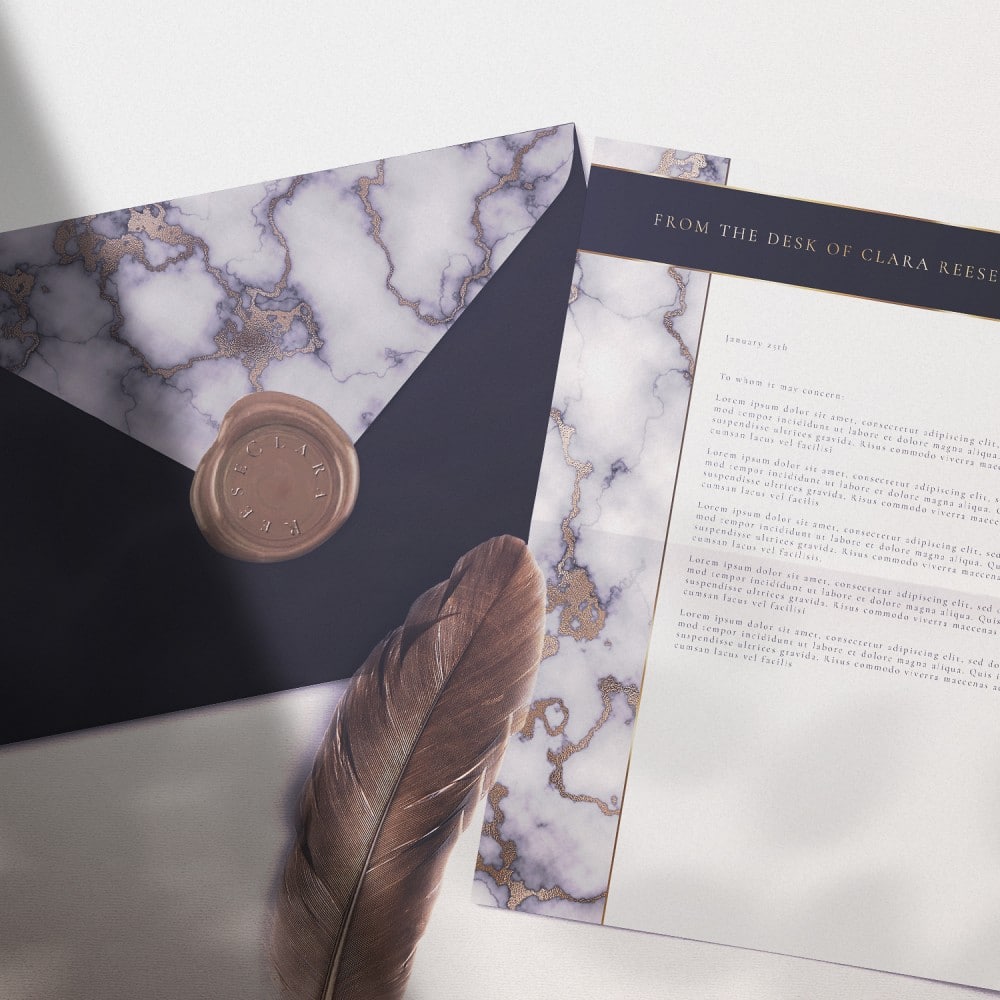
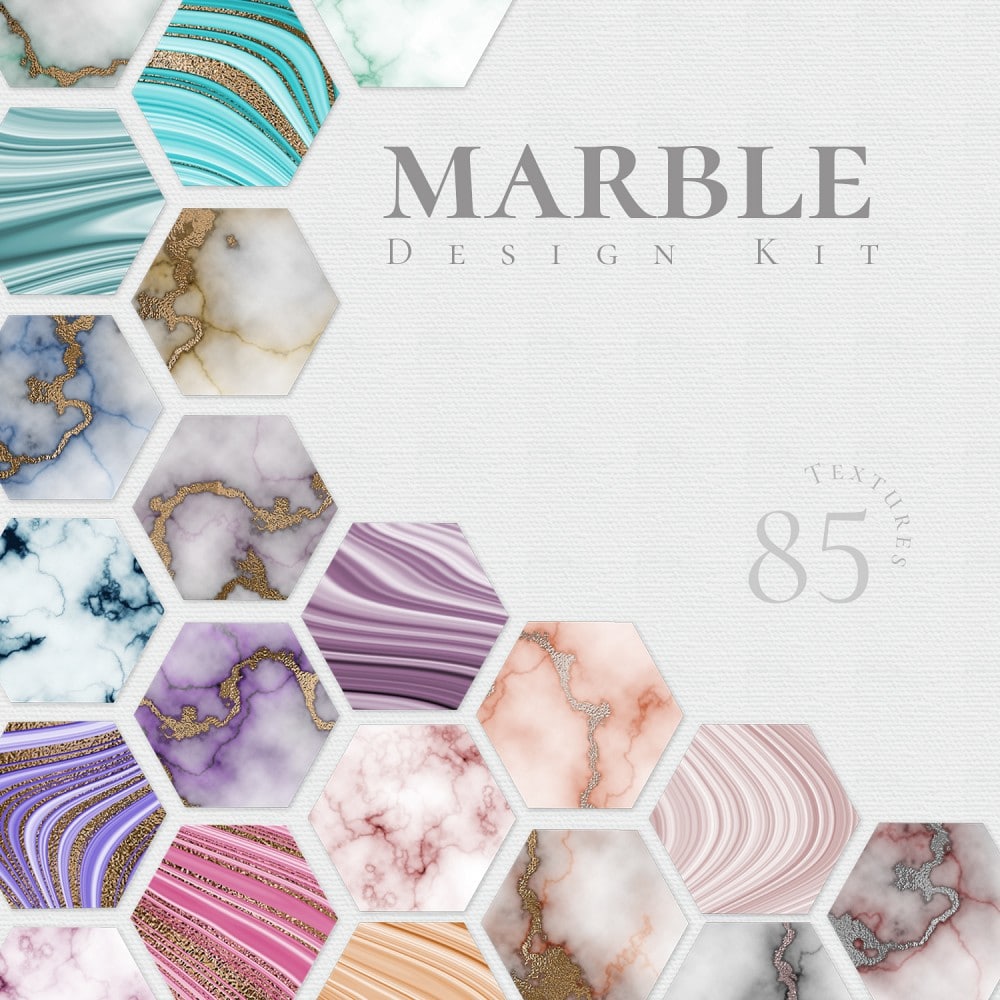
Marble is a versatile texture perfect for business cards, stationary, product packaging and so much more.
IMPORTANT NOTE ON SOFTWARE
In this tutorial, I am using Photoshop CC 2020. You may not have the same configuration in your version of Photoshop. Things get moved around in updates.
Some of the features in this version of Photoshop may not be available in older versions.
Please leave a comment on the Youtube platform or send me an email if you get stuck or are missing a feature and I will do my best to help you.
LEARN DESIGN TOOLS ONE STEP AT A TIME
Learn and master the most frustrating aspects of overwhelming programs like Photoshop and Illustrator in a fun and entertaining way with PrettyWebz design tutorials.
Tutorial projects like the ones we share here on the blog are meant to help you grasp the use of the most powerful aspects of design software one step at a time. In the process, you will build your design assets so that you can create a stunning marketing design for your business.
Don’t forget to sign up below in the footer to become part of the Prettywebz family and never miss another tutorial.
Also join me on YouTube as well to check out the playlists I’ve set up for Photoshop, PowerPoint and other software you can use to design your online graphics.
More Posts on this Topic

RESOURCES MENTIONED IN THIS VIDEO
You can watch the gold foil Photoshop texture video here. or here. You can watch the original Marble Photoshop texture video here or here.
Similar Premium Products


Marble Pattern VIDEO TUTORIAL
Image References for the Marble Pattern Photoshop Tutorial
Document Settings
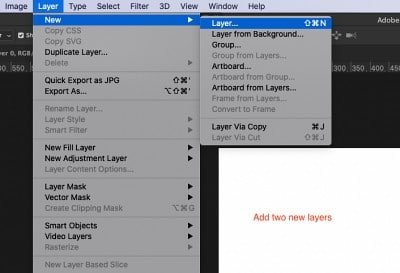
Create a new document with the following settings and reset the foreground and background color.


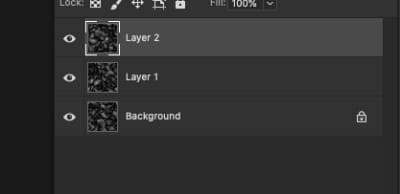
Add two new layers above the background layer.
Filter Settings
Clouds Filter
Filter>>>Render>>> Clouds for the background layer

Filter>>>Clouds This will be the last used filter, the first option at the top for Layer 1 and Layer 2


Difference Clouds Filter
Filter>>Render>>>Difference Clouds for the background layer
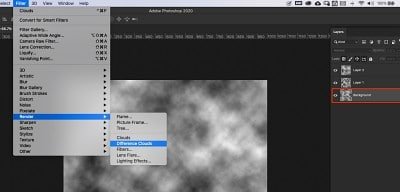
Filter>>>Difference Clouds This will be the last used filter, the first option at the top for Layer 1 and Layer 2

Layer Adjustments
Set level adjustments for all three layers (Background, Layer 1 and Layer 2)

Layer 2 levels settings

Layer 1 levels settings

Background layer levels settings for basic marble – use these settings if you will not be adding gold or if you want subtle veining.

Background layer levels settings for gold encrusted marble or if you want thicker veining.

Select Layer 1 and set it’s mode to “Screen”

Select layer 2 and set it’s mode to “Soft Light”

Optional – Select Layer 1 and rotate it 90 degrees for more variation in the veining.

For Gold Encrusted Gold
If you have followed the layer settings for the gold encrusted marble, as to not confuse you I have deleted Layer 2 for the basic marble texture. I added another layer above Layer 1, this is a new transparent layer. This is not the marbled layer used for the basic marble.

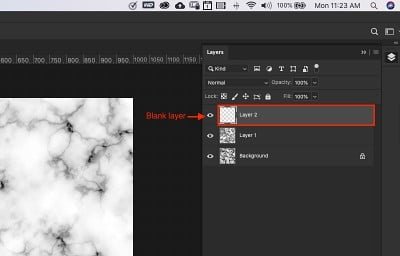
Turn off Layer 1 to show the thick veined background layer on the canvas.

Make a selection of the dark veining – Select>>>Color Range

When the Color Range dialogue box comes up select “Shadows” from the drop down menu at the top. Adjust Fuzziness and Range as needed to select the area you want to fill with gold.

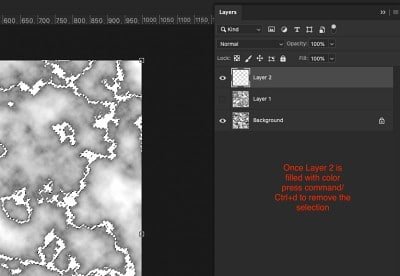
Select the blank Layer 2. On your keyboard press command+delete (Mac) Ctrl+Backspace (PC) to fill the selected are with color.

On your keyboard press command/Ctrl+d to remove the selection.
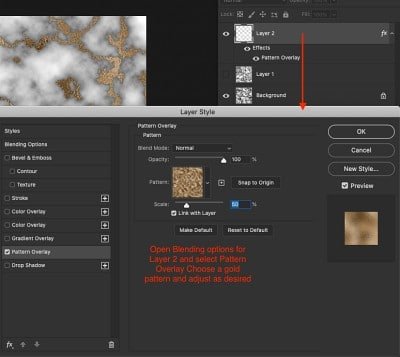
Adding the gold
Open blending options for layer 2 by right-clicking on the layer and choose “Blending Options” then select “Pattern Overlay” and choose a gold texture. Note: If you do not have a gold texture you can follow this tutorial to make the gold texture I used in the video.
Optional – To add more dimension to the gold layer you can add a slight drop shadow with the following settings.

Example in Use