How to Design an Amethyst Crystal Geode in Photoshop

Amethyst Geode
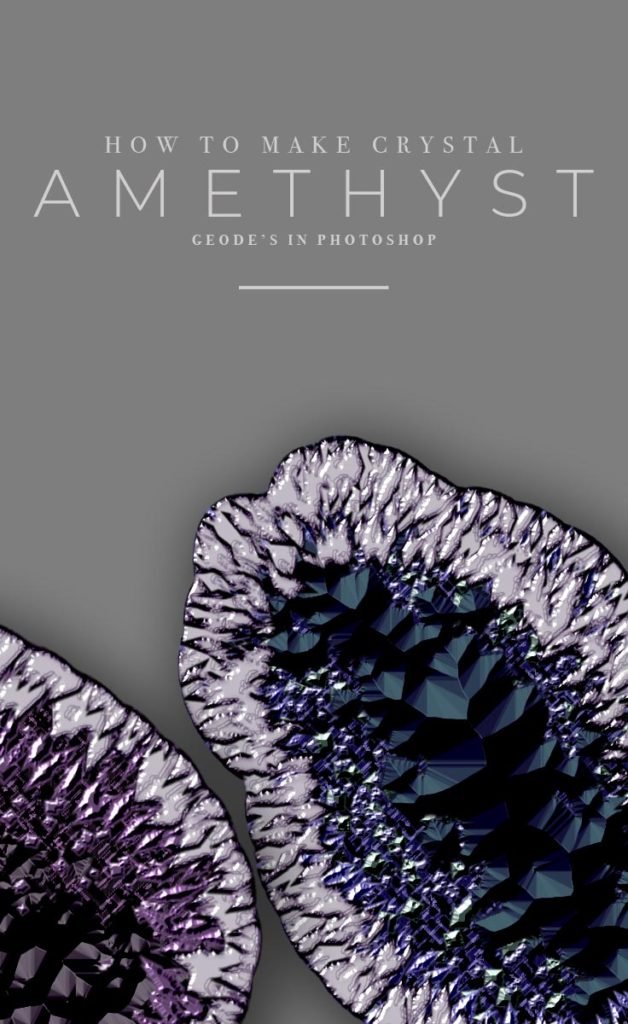
Learn how to make this beautiful Amethyst Crystal Geode Photoshop texture from scratch! I’ll take you through the process step by step of creating a multidimensional geode crystal effect using only Photoshop brushes and layer styles.
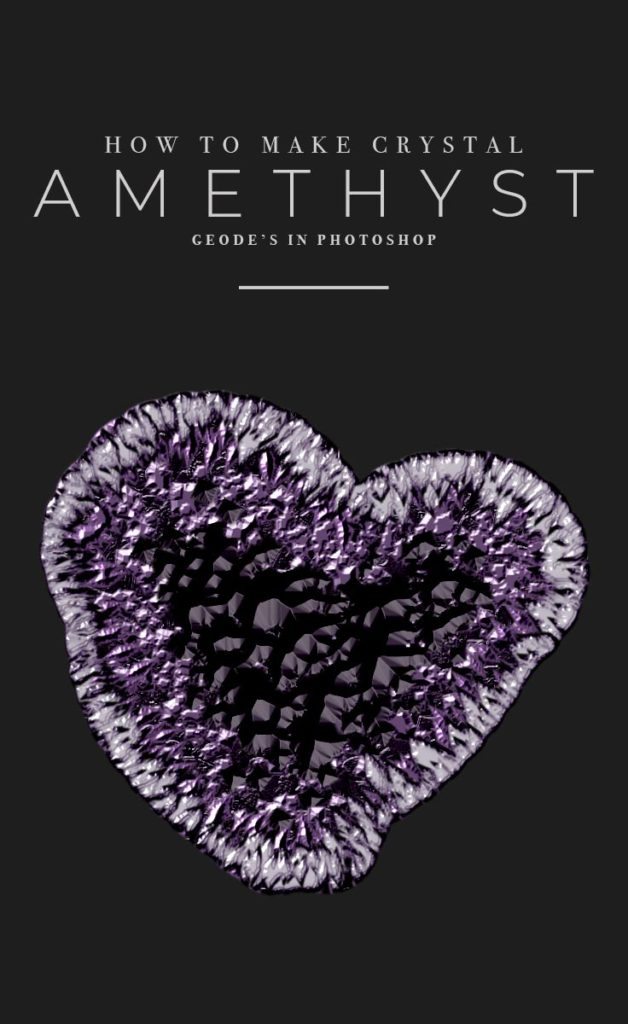
Make these Amethyst crystal geodes in any shape, any color and in any size. For virtually any type of design project you can imagine.
Where and How Can I Use This?
This crystal design is stunning and of course you can use it for anything you can imagine. I have a few ideas where I thought this design would fit well. Take a look at my examples down at the bottom of this post as well.
I love this for print work, posters, and wall art. Amethyst geode designs are perfect showpieces all on their own or with a quote. The symbolism of earthy minerals, the gorgeous shimmering stone and it’s natural beauty is all you really need to inspire.
If you’re not about inspirational prints there is a marketing use for this as well. This design is also great for specific industries such as health and wellness, mindfulness, spiritual workshops and so much more!
LEARN DESIGN TOOLS ONE STEP AT A TIME
Learn and master the most frustrating aspects of overwhelming programs like Photoshop and Illustrator in a fun and entertaining way with PrettyWebz design tutorials.
Tutorial projects like the ones we share here on the blog are meant to help you grasp the use of the most powerful aspects of design software one step at a time. In the process, you will build your design assets so that you can create a stunning marketing design for your business.
Don’t forget to sign up below in the footer to become part of the Prettywebz family and never miss another tutorial.
Also join me on YouTube as well to check out the playlists I’ve set up for Photoshop, PowerPoint and other software you can use to design your online graphics.
RESOURCES FOR THE Amethyst Geode TUTORIAL
Important Requirement
In order to follow along with the video below you will need to load the goede brushes into Photoshop. You can download them below.
Resources required to create this effect:
Geode ABR brushes (for Photoshop)
Other resources mentioned
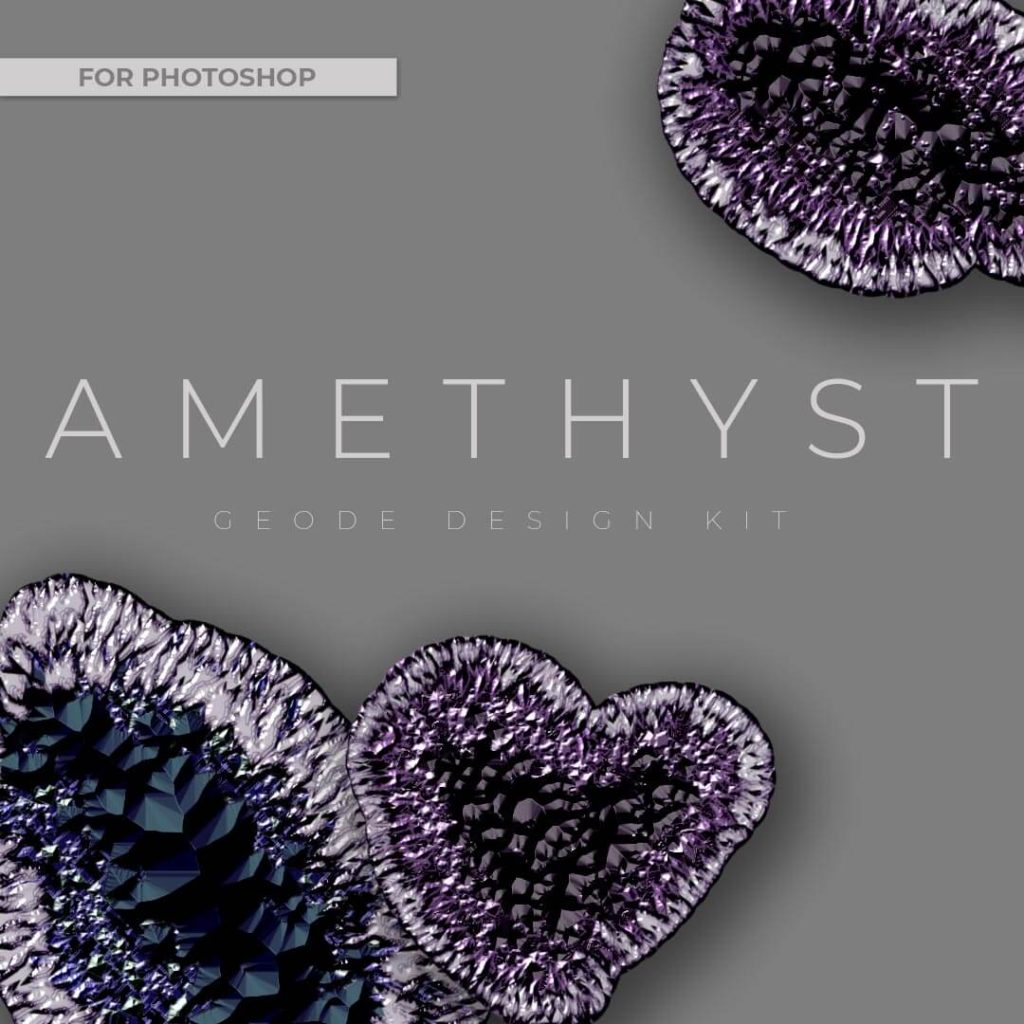
For your convenience, I’ve created a geode design kit that you can download for free from the Prettywebz shop in the freebies section.
More Posts on this Topic

Similar Premium Products


Amethyst Geode VIDEO TUTORIAL
Image References
The following are screen captures of all layer settings from the tutorial video.
Base Texture
These are two separate layers Base 1 and Base 2. Draw base one using the following color: #140319 and a basic hard round brush from Photoshop default brushes.

Base 1


After all settings for base one have been set, duplicate the layer and name it base 2.
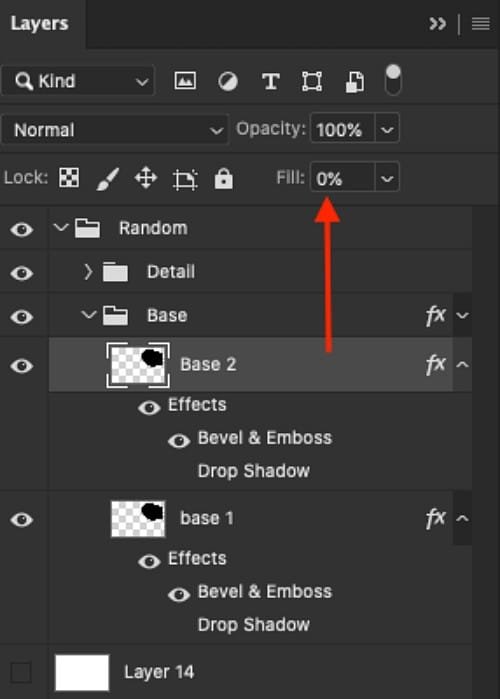
Base 2
This is the second layer in the “base” folder, make sure to set the fill to 0%

Drawing Detail Layers
The following are layer settings for the drawing areas. Please download the geode brushes and use the brushes along with these layer style settings to draw out the geode details.
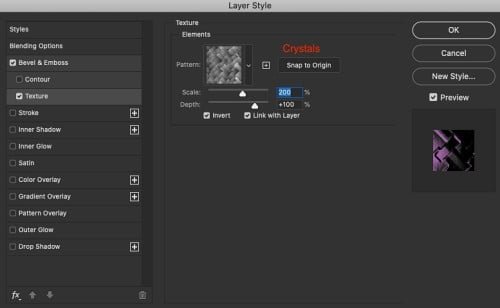
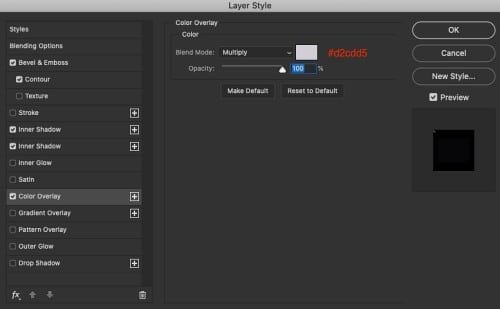
Large Crystal Layer Settings
Draw this layer using a basic white color.


Small Crystal Layer Settings
Draw this layer using a basic white color.


Dark Crystal Layer Settings
Draw this layer using a deep purple color used to draw out the base layer shape above.


Under Shard Layer Settings
Draw this layer using a basic white color.


Top Shard Layer Settings
Make sure to draw this layer using a basic white color


Examples in Use