Fabric Texture Photoshop Tutorial
Creating a Fabric Texture In Photoshop
In this
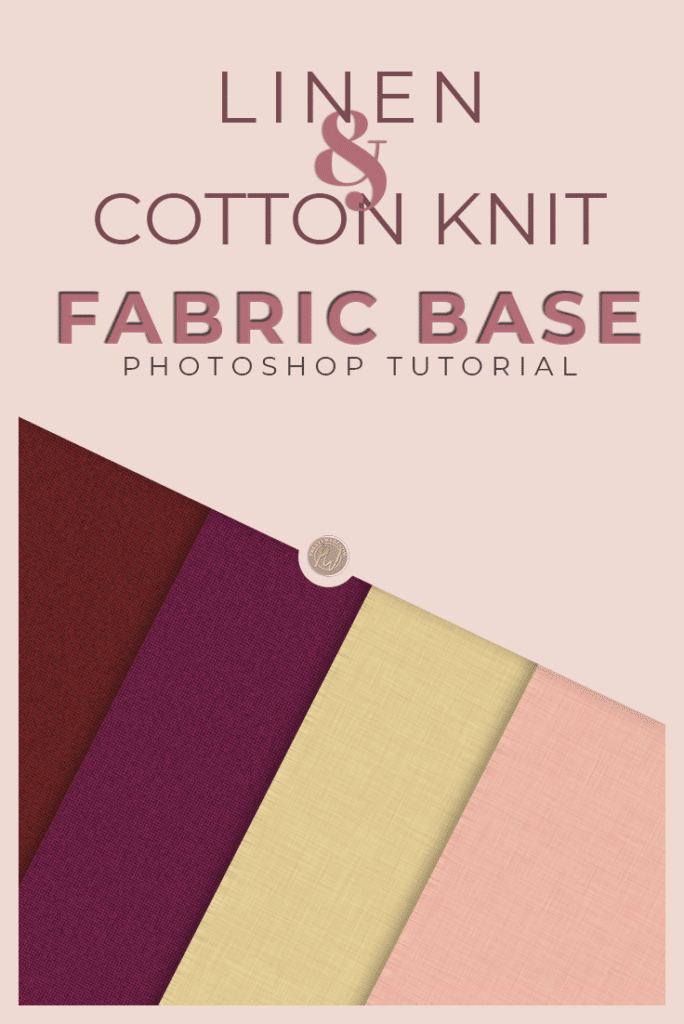
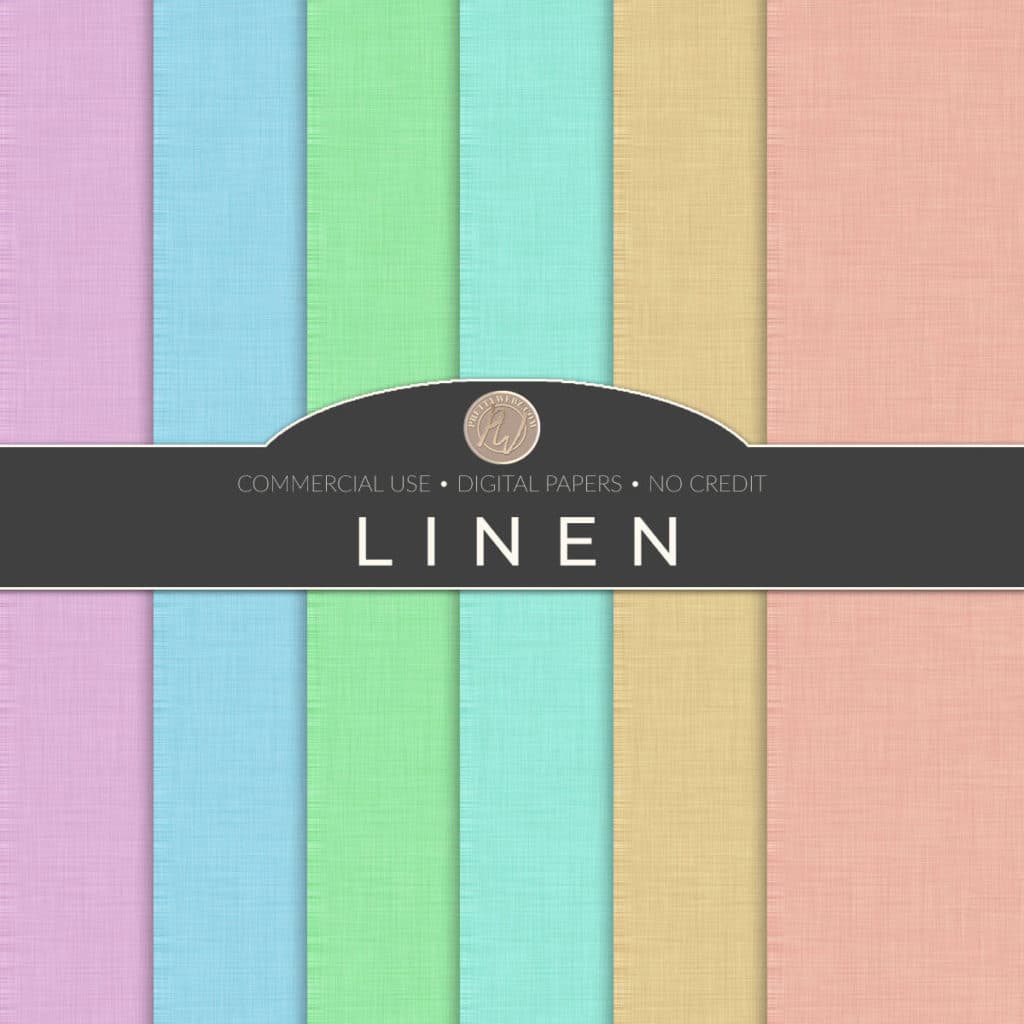
The first fabric texture that we’re gonna do is a base linen fabric. Linen is a simple texture with a crosshatch pattern that is very simple but mimics linen fabric very well.
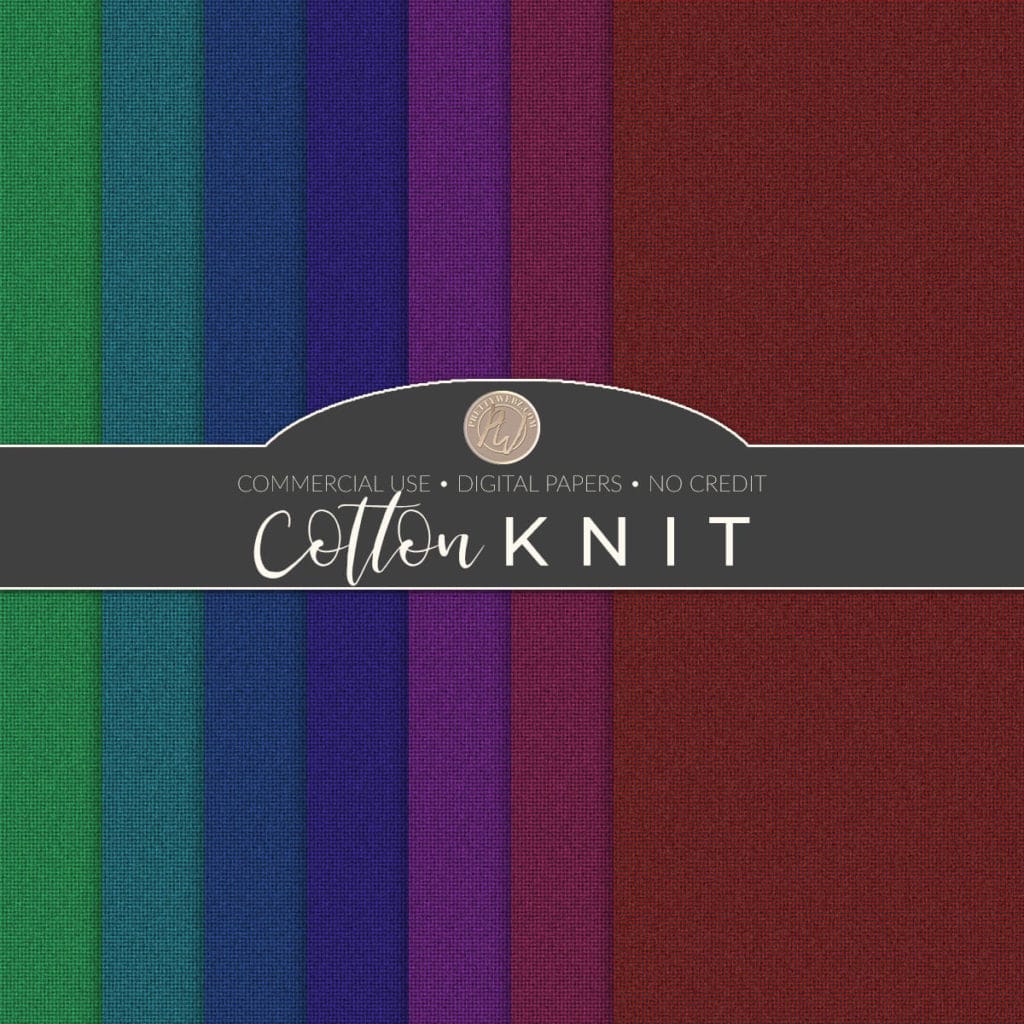
The second background texture I will show you is more like tweed or knit cotton texture. This one is also very simple and will look stunning behind text because it is deceivingly simple and will make text pop beautifully. You can adjust the knit cotton texture to create a fine jersey knit texture as well or go bigger for a rough tweed. I will show you how to do that later in the tutorial.
Free Fabric Texture Digital Paper Downloads
I’ve also created two digital paper packs featuring these two textures that we create in this tutorial if you’re interested in downloading that please go to the PrettyWebz shop with the following links.
Other Tutorials You Might Like
Did you know we have a collection of tutorials all focused on creating background textures in Photoshop? The latest background textures are focusing on fabric patterns, like leather, suede, denim and this fabric texture Photoshop tutorial all from scratch using filters and other tools inside of Photoshop.
I encourage you to follow along with any of these tutorials to build your design asset collection and your skill inside of Photoshop. You can also visit the shop to grab some free textures created using the same process used in the tutorials.
- Denim
- Leather and Suede Textures
- Gold, Rose Gold and Silver Textures
- Marble Textures
- Liquid Marble / Agate Textures
- Silk / Satin Textures
- Crushed Foil
- Diamond Plate
So Let’s Get Started!
You have two options here. You can watch the fabric texture photoshop tutorial below or follow the written instructions directly following the video. Happy designing!
OK so we’re gonna get started with a new file
And a new document is going to be a 3000 in pixel by 3000 pixels a 72 resolution RGB mode eight bit. Make sure you have your document set to eight bit. We’re going to use a white background click create.

Inside your new document select the background layer and click on the little lock icon to unlock the layer hey now that we’re going to start with this color right here which is F5D294 that is going to be the base color for our first texture. Click OK
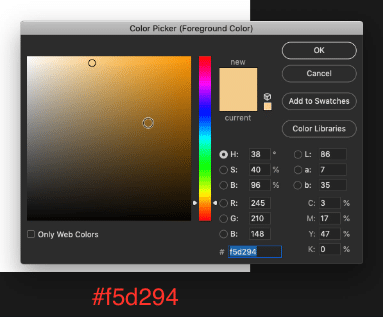
Press the letter X on the keyboard to make that the background color. On the keyboard press command + delete or control + backspace on the PC to fill the layer with color.
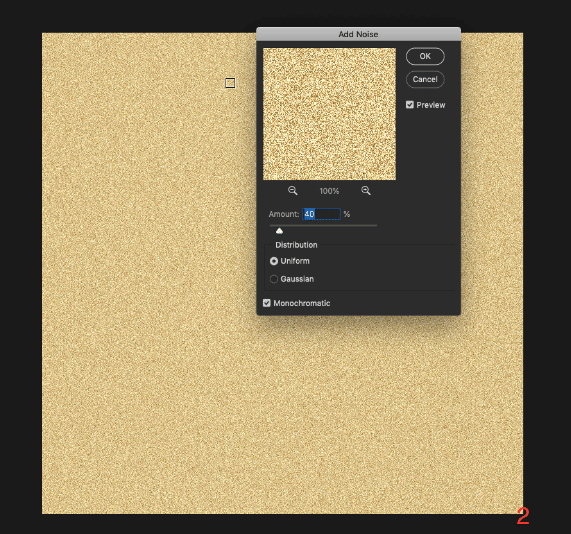
Add a noise filter to the layer
Go up to filter menu at the top of the screen the noise then add noise.
In the dialogue box use the following settings:
Leave the amount at about 40% you can increase the noise for a stronger streak or decrease it for a more subtle effect.
Distribution is Uniform
Monochromatic is checked off
Click OK
And now you’ve got something like a two toned him with a good litter
Next, we’re going to go back into filters at the top of the screen. This time we’re going to choose blur and then motion blur.

In the dialogue box, set the following settings:
Add an angle of 90° to create a vertical blur.
Distance will be 90 pixels, you can make it a stronger or you can make it less pronounced by increasing or decreasing the pixels.
Click OK

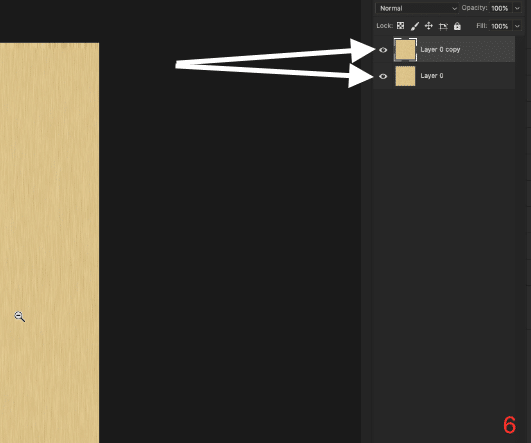
Once we have the base layer set up, select the layer. With the layer selected right-click. When the pop up menu comes up choose duplicate layer to duplicate the layer (5)

Now you should have two layers (6)
With the top layer selected we’re going to come up to Edit at the top of the screen then Transform and Rotate 90° so we have the top layer at a 0° horizontal and then we also have the vertical behind it. (7)

For the top layer take the opacity down to about 50% so you can see both front and back layers. (8)

This creates a weaved effect that is typical in linen fabrics. That’s pretty much all there is to it. I told you this one was quick and painless.
Again, if you want a stronger look you need to add more noise. you can also change the variation of the crosshatching by changing the length of your motion blur for one or both layers.
Once you have this set up all you have to do is grab both of these layers, to do this hold the shift key on the keyboard and then grab the top and bottom layers by clicking the command (MAC) or Ctrl (PC) with both layers selected hold the command (MAC) or Ctrl (PC) + E to turn that into one layer and then export the layer.
That was our first fabric texture, linen. Next we’re going to start working on something that looks more like tweed.
Cotton Knit – Tweed Fabric Texture
Add a new layer, this is going to be our tweed or knit fabric so we’re going to change the background color setting. I’m going to be using a red color. The hex code for this color is #a70707

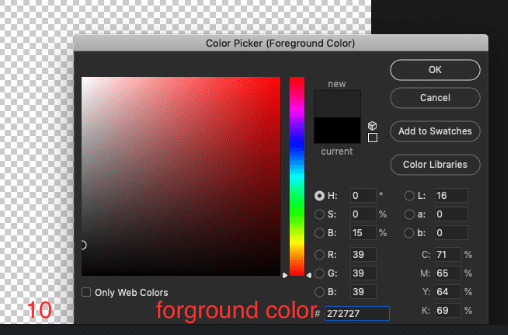
Next, we will set the top color we’re going to use something that’s pretty dark at this is going to be somewhat of a shadow or a bit of a darker area of the fabric that will add some depth to the design. The color code for this is #272727.
Click okay.
We want the color to be dark but not absolute black we’re going to go ahead and fill the layer with this bottom color command + delete or control + Backspace (PC) to fill the layer with the red color.

Now we’re going to add a filter. Go up to the filter menu at the top of the screen and then to sketch and then half tone pattern.
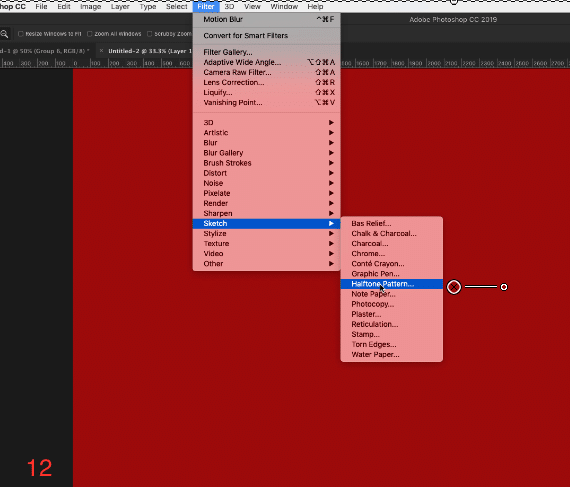
This pattern is going to be subtle, so you might want a jersey knit or something that’s much finer. If so, I would leave the size at one or two. For this tutorial we want a thicker knit so we’re gonna bump it up a little bit. I’m going to take it to four and we’re gonna leave our contrast at five and the pattern type is
Click OK.

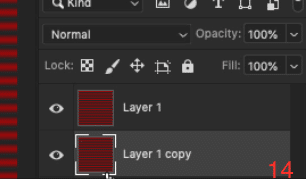
This is our first layer now we’re going to duplicate this layer make sure the layer is selected then hold down the option key on your keyboard or your the alt key (PC) and then drag the layer down with your mouse and you’ll get another layer or you can right click and select duplicate layer on the pop up menu either way is fine.
We have two copies of this layer one is going to be our horizontal and no one is going to be our vertical layer this is going to create a weaved effect.
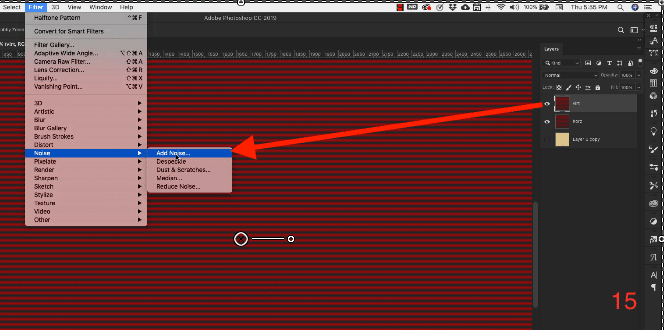
With the top layer selected go up to the filter menu at the top of the screen then noise then add noise
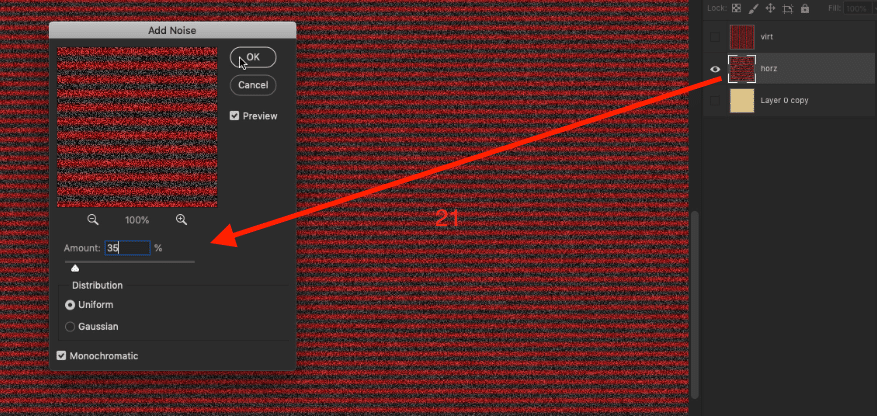
In the pop up screen set the following settings:
Noise for the top layer is 25%
Distribution is uniform
Make sure that monochromatic is selected.
Click OK

OK, so with the noise added change the direction of the layer.
Go to edit at the top of the screen then transform and then rotate 90° so we do want this to be a vertical pattern.

Next, go back up to filter menu at the top of the screen then blur then motion blur.

Set the following settings in the popup box:
Angle 90°
The distance is five pixels
Click OK

This gives us kind of like a yarn texture.
Next, we’re going to turn the top layer off and select the horizontal layer and do the exact same thing we did with the vertical layer with slightly different settings.

Go to filter at the top of the screen then noise then add noise.
Set the following in the pop up box:
We are going to give the horizontal layer a little bit more noise because it’s on the bottom set the amount to 35 percent
Distribution is uniform
Make sure to check off monochromatic
Click OK
Now will go back up into the filters at the top of the menu and we’re going to go to blur then blur motion.
This time we do want it to be horizontal so we’re doing our angle at 0°
Distance five pixels. Again, if you want them or him you can take it up to 10 as long as you don’t lose the yarn fibers effect.
Click OK.
OK, so now we have the two sections we’re gonna turn the top layer back on. Select the top layer and change the opacity of the layer to 50% this will give you the knit texture and you can see the darker colors gives this fabric a little bit of depth.

Free Fabric Texture Digital Paper Packs
Another reminder, you can download two digital paper packs made from the cotton and linen fabric texture Photoshop tutorial I taught you here in this post. The digital papers are available in beautiful colors. Head over to the PrettyWebz shop it’s going to be in the “Free” section of my shop.
What Next?
Do you like the video tutorials that we share here on Prettywebz? Tutorials just like this fabric texture photoshop tutorial. Make sure to subscribe to our newsletter to receive a notification every single time we send out a new video or a blog post. Ninety-nine percent of the time those videos and blog posts also come with a little extra bonus that we send out directly to our subscribers. I definitely don’t want you to miss out on that.
All of these template and pattern files can help you build your design assets so that you can create stunning marketing design for your business. So don’t forget to sign up below in the footer to become part of the Prettywebz family.
Also join me on Youtube as well to check out the playlists I’ve set up for Photoshop, PowerPoint and other software you can use to design your online graphics.
Did you like this fabric texture Photoshop tutorial? Share it with a friend or save it for later by pinning this image!
