How to Make a Diamond Plate Pattern in Photoshop
Designing with a Diamond Plate Pattern
A diamond plate pattern is a beautiful background or accent to a larger project. This pattern is commonly seen in industrial and construction design. However, this look also trends toward automotive design and for equipment safety as well.
However, don’t limit this pattern to industrial projects. A diamond plate design also lends well to all sorts of different design outside of industry, construction and automotive. Consider using a diamond plate pattern for an edgy rock band website, grunge styles, or as a contrast element for delicate textures in fashion and similar projects. A stripe pattern is also frequently paired with a diamond plate pattern. I encourage you to get your creative juices flowing and come up with some ways to use this type of pattern in more than just the general industrial and automotive industries.
Other Tutorials You Might Like
Did you know we have a collection of tutorials all focused on creating background textures in Photoshop? Follow along with any of these tutorials to build your design asset collection. You can also visit the shop to grab some free textures created using the same process used in the tutorials.
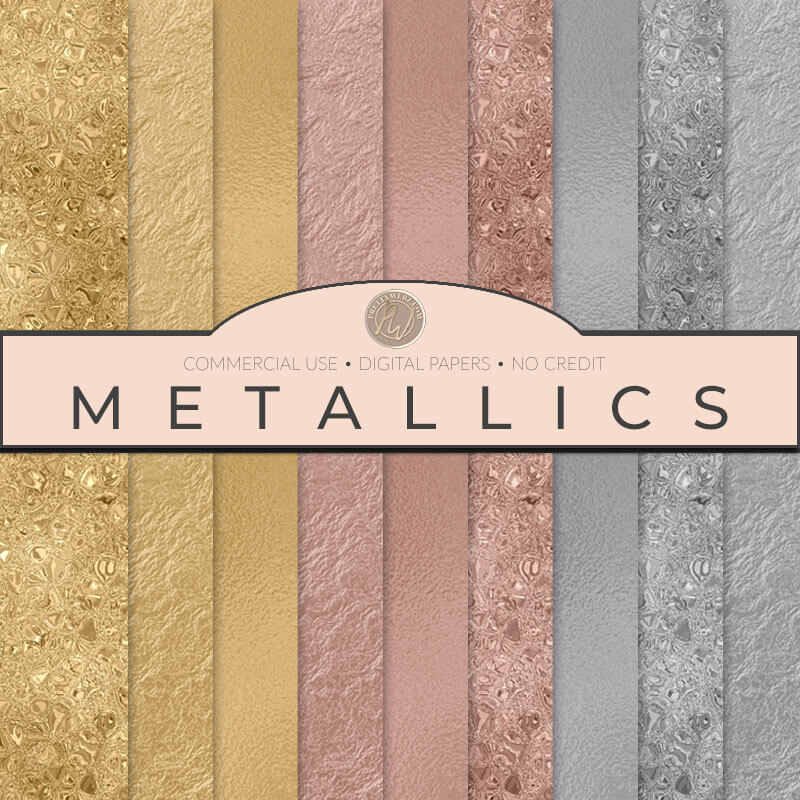
- Gold, Rose Gold and Silver Textures
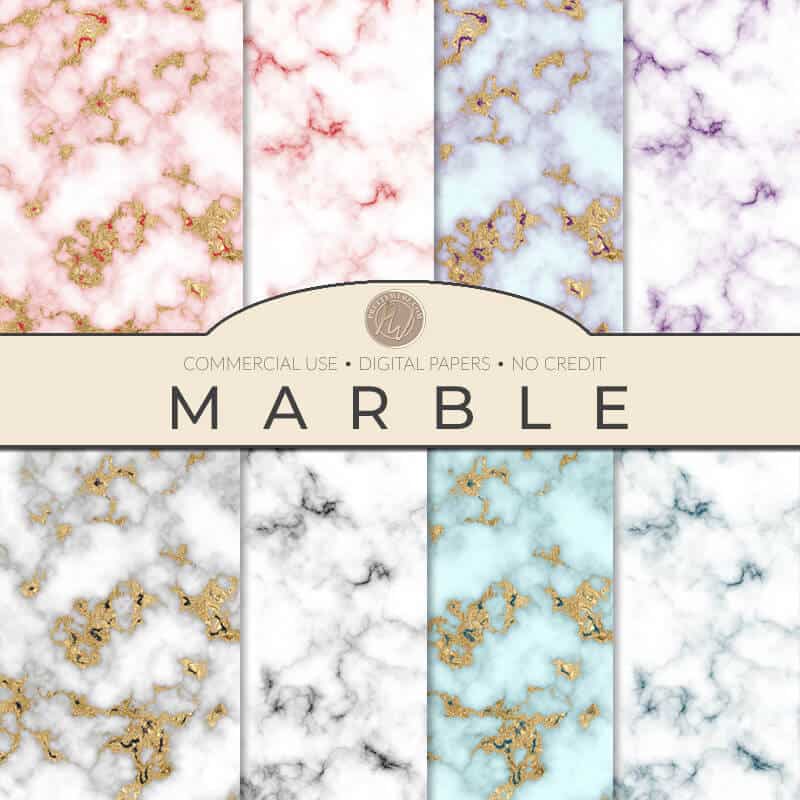
- Marble Textures
- Liquid Marble / Agate Textures
- Silk / Satin Textures
- Crushed Foil


Creating a Diamond Plate Pattern
The diamond plate pattern we will be learning how to make today is meant to be a versatile design. This pattern is seamless which means it can be scaled to any size. The ability to change the size of your diamond plate gives you much more flexibility in your work.
What You Will Learn In This Tutorial
In this tutorial video, we will go over how to create a diamond plate pattern from scratch. Making this pattern from scratch rather than using source images will allow you to have more control over the size of your diamond plate. Moving away from using source images also allows you to use it in larger designs and print work. Because this is a seamless pattern, it will multiply to the canvas dimensions you set, keeping your design cleane.
In addition to creating the diamond plate seamless pattern, I’ll also show you how to make a metallic background and how to style
Just in case chrome is not going to cut it for you, I’ll also show you how to add color to change the variation of metallic in your diamond plate background pattern. Setting the tone and color after the design is made will save you from having to remake the project with specific colors.
Written Step by Step Diamond Plate Tutorial
I hope you enjoyed the diamond plate tutorial. If you would like to read this tutorial step-by-step, please check out the rest of the blog post below.
Making the Diamond Plate Pattern
- Create a new document that is 250 pixels by 250 pixels make sure that the background is transparent click OK.
- Select the rectangle shape tool and create a square on the canvas. Hit enter.
- Hover over one of the corner handles with our mouse, when you see the double-sided bent arrow, hold down the shift key, click and hold the handle with your mouse and rotate to 45 degrees. You should see a black box next to the handle indicating the degrees.
- Change the dimensions of the shape to 130 pixels high and 16 pixels wide. Hit enter or return on your keyboard.
- Select the shape you just created, click and hold the option or alt key and hover over the diamond shape with your mouse. When you see the double arrows (one black, one white) drag the diamond out three times to create four.
- Select two of the diamonds by holding the Ctrl or command key on your keyboard and clicking on to of the diamond layers in the layers panel. With the layers selected, hold down the shift key and hover over the corner handle to rotate them 90 degrees.
- Select one of the shapes and arrange on the canvas so that the point of one diamond meets the middle of another. Then hold the shift key and press the left or right arrows twice to move it out 10 pixels this will give the design some space. Do this for all four shapes until you have a generally square shape with edges protruding out on all sides.
- In the layers panel, select all four shapes and hit Ctrl+G or command+G to group the layers. Select the group and rotate the entire group 45 degrees.
- Adjust the size of the group to 215 pixels wide by 215 pixels height. Hit enter or return on the keyboard.
- Select the group in the layers panel. Hold down the option or alt key then click, hold and drag the group down to create a second group. Right-click on the second group and select merge group.
- Turn off the first group by clicking the eyeball on the left-hand side of the layer.
- Select the merged group. At the top of the screen, select <<Filter>> scroll all the way down to the bottom of the menu then choose <<Offset>>
- The offset properties menu will come up. The values for the offset should be 125 x 125 horizontal and vertical. This value is half the size of your canvas.
- Turn group one back on by clicking on the eyeball icon.
- Make sure to check off wraparound and click OK.
- Turn group one back on by clicking on the eyeball icon.
- With the entire pattern visible on the canvas, on the menu at the top of the screen, go to <<Edit>> and <<Define Pattern>>
- When the pop-up menu comes up name your pattern whatever you like and click OK.
Styling Your Diamond Plate Pattern
Create a new document 1500 pixels by 1500 pixels
The Background
- Choose the gradient tool.
- The gradient should be Silver from the default gradients. You will find this under “Metals” if you don’t see this you can add it by doing the following:
- In the gradient editor, click on the small gear icon and to the right and choose metals from the menu. You can either append your current gradients or replace them. On the top menu set the following:
- We’re going to select the silver gradient, then click OK.
- The gradient should be set to “reflected”
- The layer mode is normal
- The opacity is 100 percent.
- Drag the cross cursor diagonally across the canvas from one side to the other.
- The gradient should be Silver from the default gradients. You will find this under “Metals” if you don’t see this you can add it by doing the following:
Adding the Pattern
- Create a new pattern adjustment layer by clicking on the black and white circle at the bottom of the layers panel.
- In the menu choose “pattern,”
- When the pattern fill menu comes up from the drop-down list select the new diamond plate pattern we just created.
- Scale as desired, in our case will scale to 50% click OK.
- Create a new blank transparent layer and move it underneath the adjustment layer by clicking and dragging the layer. Select the adjustment layer, right-click to bring up a menu and click <<Merge Down>>
- Double click the diamond plate pattern layer on the opposite side of the eyeball icon to bring up the layer options. From the layer options menu, select <<Gradient Overlay>>
- The gradient will be the same silver that we use for the background
- Blend mode is “normal”
- Opacity is 100 percent
- The style is reflected
- Angle 90°
- Scale 125 percent
- Click on <<Bevel & Emboss>>
- The style will be “emboss”
- The technique is “smooth”
- Depth is 100%
- The direction is “Up”
- Size is 10 pixels
- Soften zero pixels
- In the Shading Section
- The angle will be 90°
- Check off global light
- Altitude at 30°
- Highlights 50 percent (screen mode) and shadows will be 50% (multiply mode)
- Click OK
Optional Steps
The next steps are optional to give your design a more grungy realistic effect and to change the color of your base design.
Adding texture
You can add a texture overlay, the one we will be using today I downloaded for free from Transparent Textures, you can grab this file free of charge on Transparent Textures website.
Download the texture that you want to use, in our case we will be using the mocha grunge texture. On the top menu, go to <<File>> then <<Place Embedded>> in the pop-up menu locate the file you want to use. Stretch the texture over your canvas to cover the entire canvas. With the texture layer selected change the layers blend mode to “color burn.”
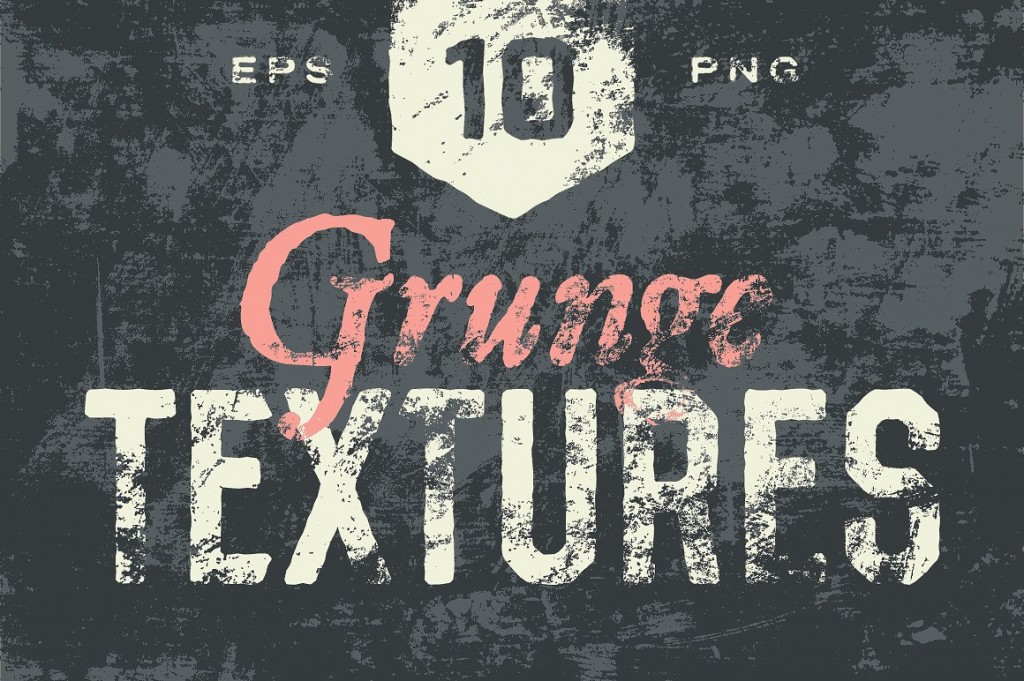
You can also find premium textures that are difficult to find on the free textures sites on The Creative Market, like this grunge texture pack for creating a distressed, grunge diamond plate background.
Adding Color to your Diamond Plate
To change the color of your diamond plate add a hue and saturation adjustment layer. You can do this by clicking on the black and white circle at the bottom of the layers panel. When the hue & saturation controls come up, make sure to check off “colorize” to make the color adjustment visible. Then adjust the hue and saturation sliders as desired.
Exporting the Diamond Plate Image
To export your new background pattern, go to <<File>> at the top of the screen the <<Export As>> and choose your file settings in the drop-down menu and click on export. Select a destination for your image, and you’re done.
What’s Next?
If you like the video tutorials that we share here on Prettywebz.com then make sure to subscribe to our newsletter to receive a notification every single time we send out a new video or a blog post. Ninety-nine percent of the time those videos and blog posts also come with a little extra bonus that we send out directly to our subscribers. I definitely don’t want you to miss out on that.
All of these pattern and texture files can help you build your design assets so that you can create stunning marketing design for your business. So don’t forget to sign up below in the footer to become part of the Prettywebz family. Also, subscribe to PrettyWebz on Youtube so we can stay connected there as well.
Did you like this post and want to save it or share it with the friend? Pinned this image!