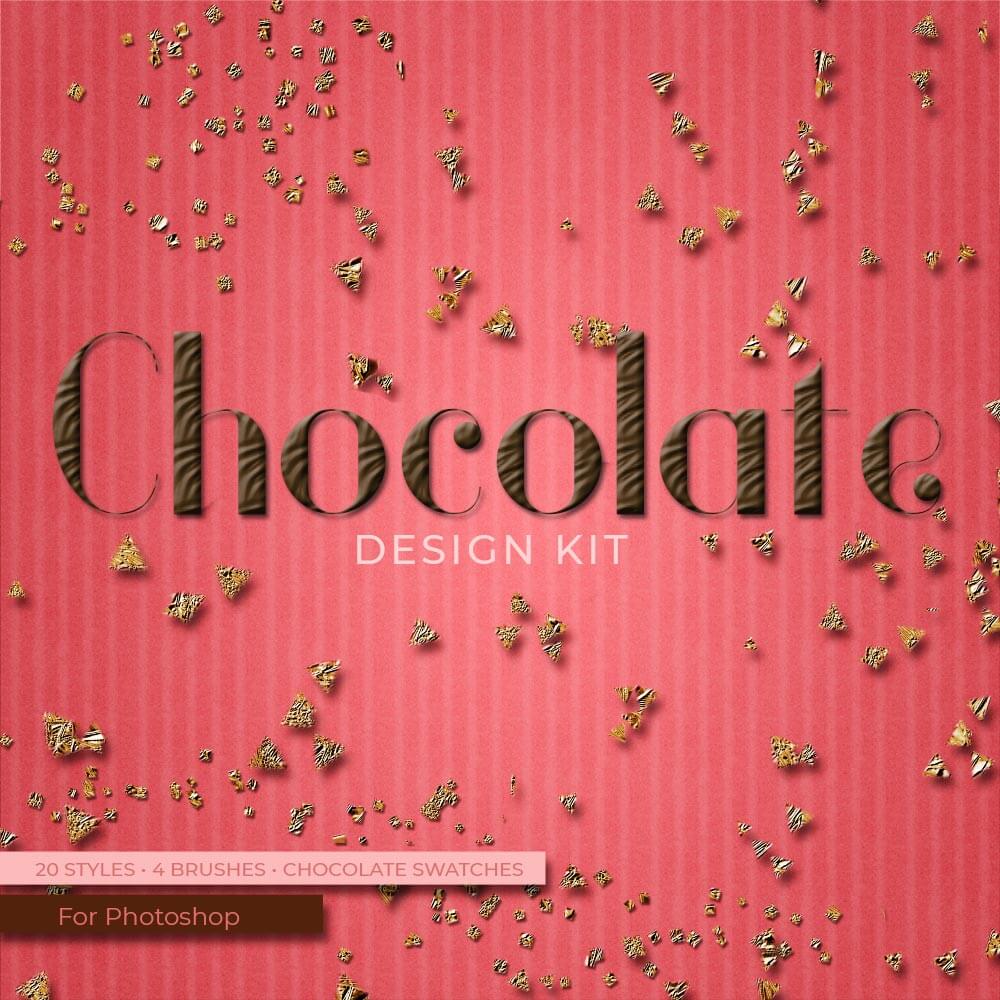
Chocolate Text Effect
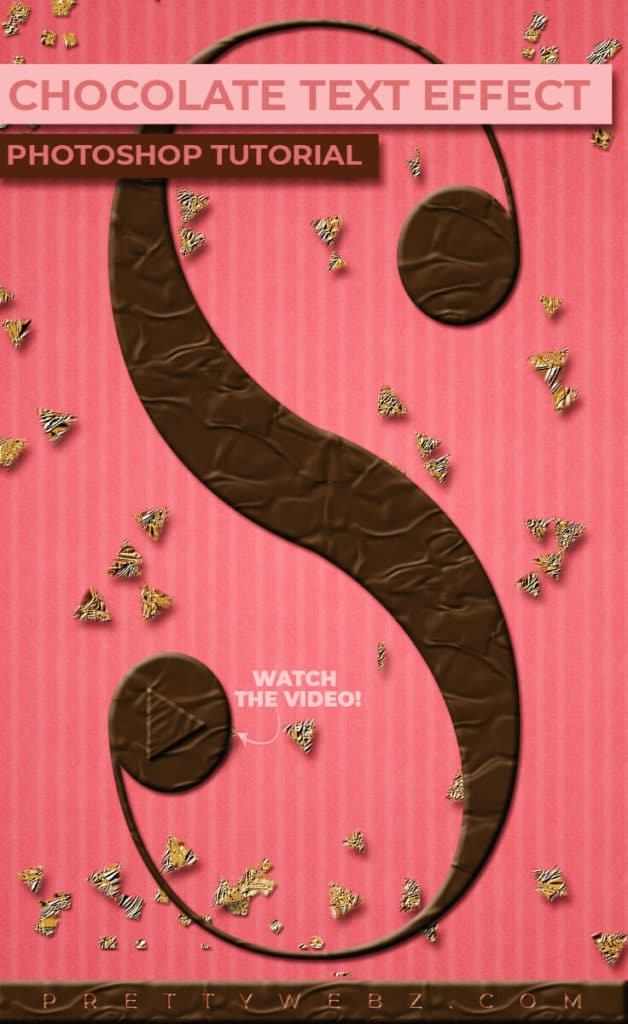
In this Photoshop tutorial, you will learn how to make a chocolate text effect completely from scratch! In this video, we will make a realistic chocolate style using only Photoshop layer styles.
The chocolate text effect is fun and easy to learn. But it’s not just for text. This beautiful and realistic text effect has so many different applications.
Web Design
You can use these layer styles for creating design elements like dividers, borders, backgrounds and of course, text for web design.
Marketing Design
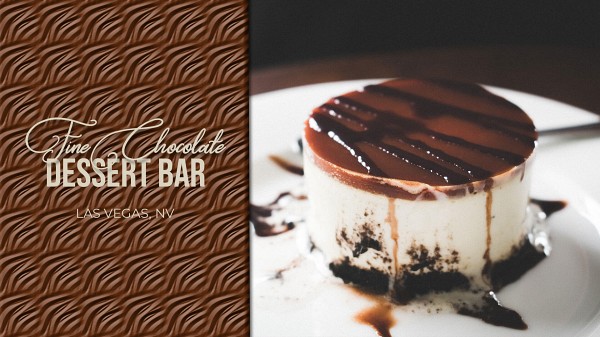
This style is perfect for designing for bakeries, food festivals, restaurants, whimsey designs and so much more!
LEARN DESIGN TOOLS ONE STEP AT A TIME
Learn and master the most frustrating aspects of overwhelming programs like Photoshop and Illustrator in a fun and entertaining way with PrettyWebz design tutorials.
Tutorial projects like the ones we share here on the blog are meant to help you grasp the use of the most powerful aspects of design software one step at a time. In the process, you will build your design assets so that you can create a stunning marketing design for your business.
Don’t forget to sign up below in the footer to become part of the Prettywebz family and never miss another tutorial.
Also join me on YouTube as well to check out the playlists I’ve set up for Photoshop, PowerPoint and other software you can use to design your online graphics.
Resources mentioned in the video:
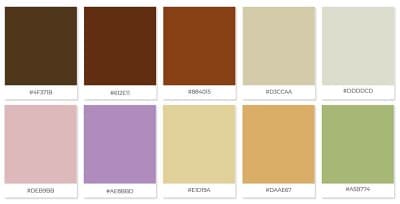
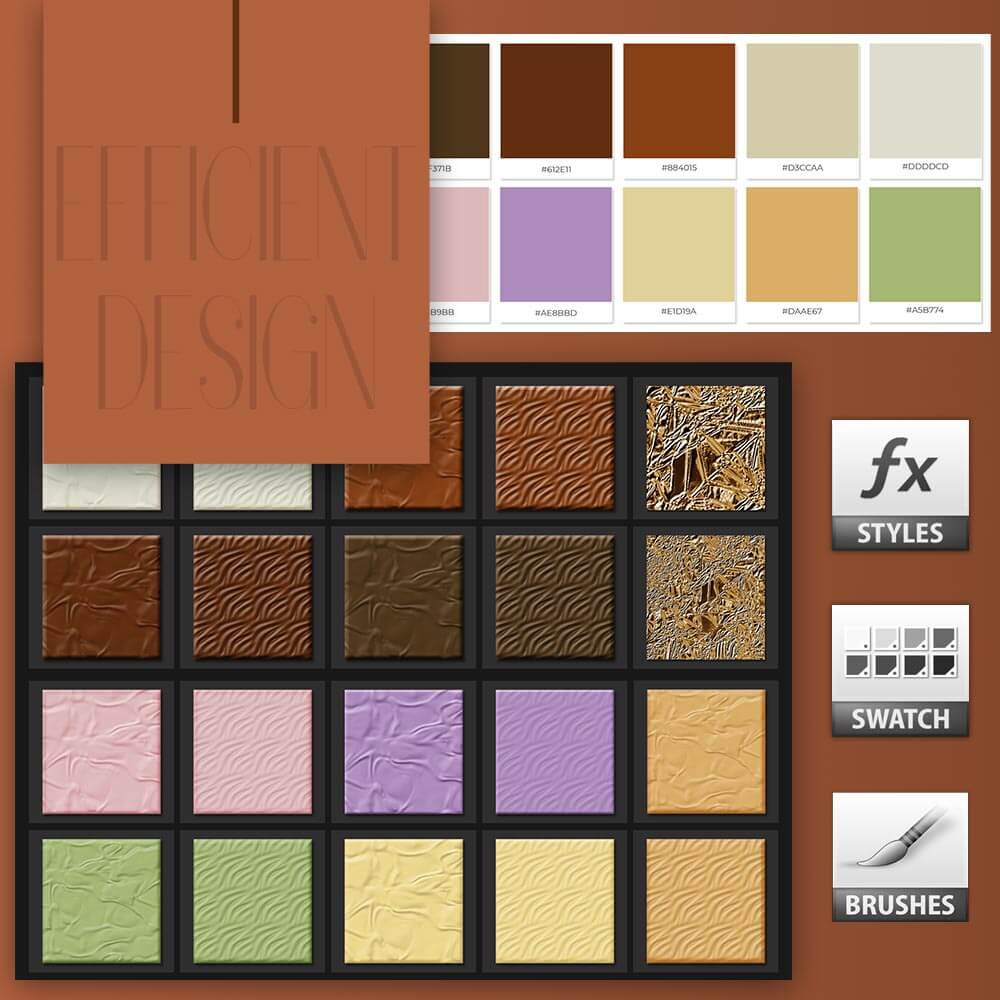
The Chocolate color swatch – copy this palette or grab the Chocolate design kit in the shop for a large high-resolution copy of this palette.
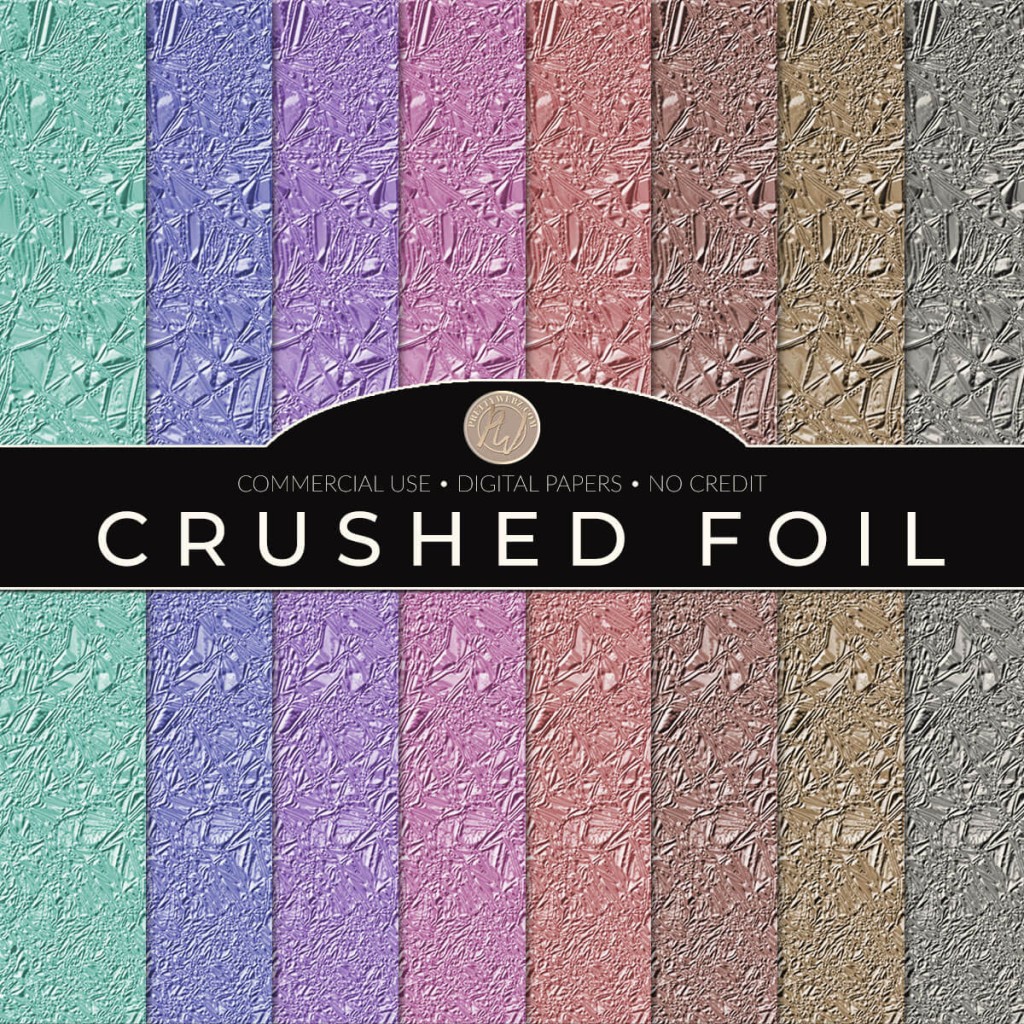
Gold Foil Digital Papers
Chocolate Design Kit
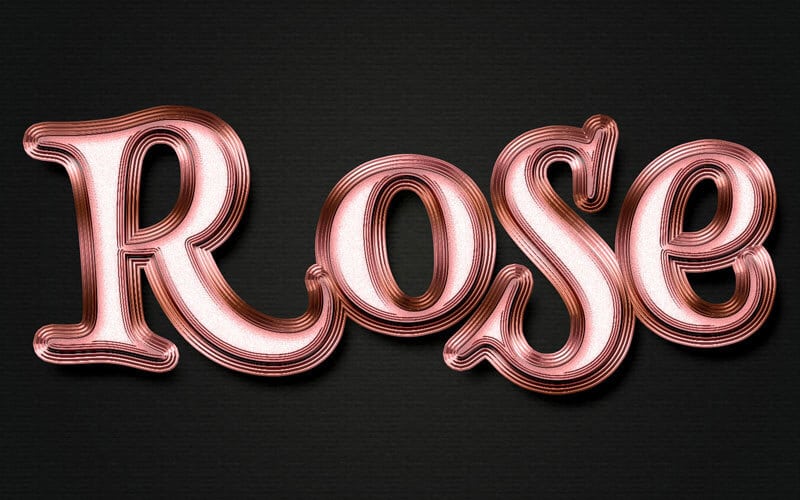
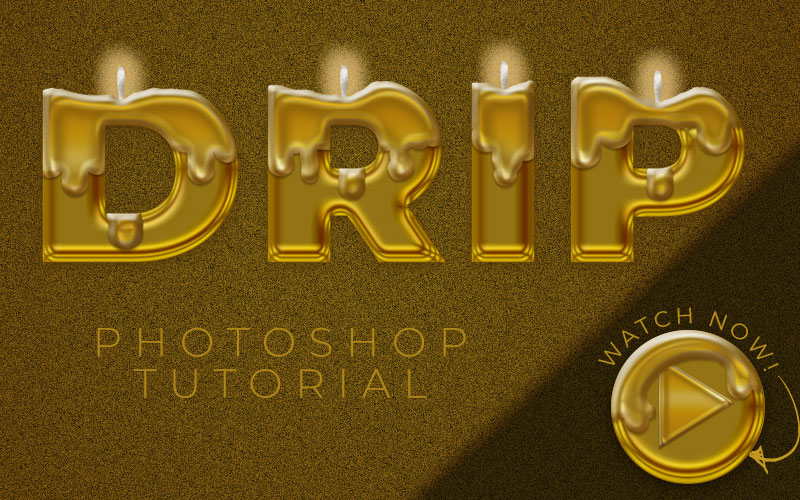
Other Posts You Might Like

Chocolate Text Effect Video Tutorial
The Background
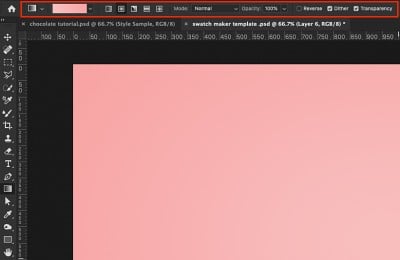
Set up the background for this text effect, we will be creating a simple gradient spotlight with the following colors and gradient settings.
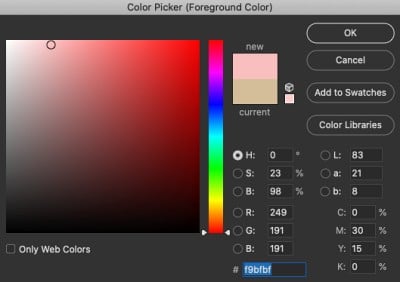
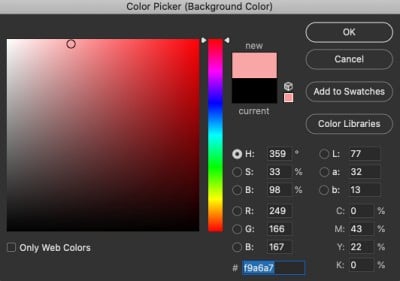
The gradient we’re using is the foreground/background from default Photoshop gradients set to radial. Click at the center of the canvas and out to one corner to create the spotlight.
Next, add a new layer and open up its layer styles by double-clicking on the far right-hand side of the layer. Choose pattern overlay and choose Gray Vellum from Legacy patterns, colored paper group.
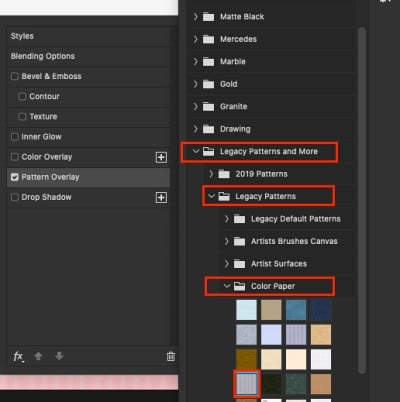
Set the blend mode of the pattern to “Overlay” to reveal the pink spotlight.

The Chocolate Text Effect
For this effect, we will be using Vanity Bold Narrow as our font with the following settings.
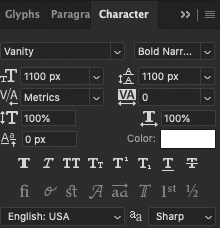
Open the layer styles for the text layer by double-clicking the far right-hand side of the layer and set the following settings.
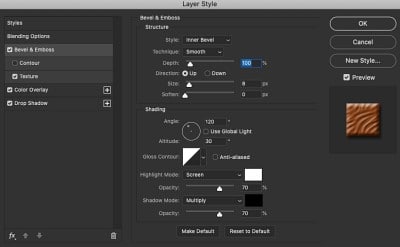
Bevel & Emboss
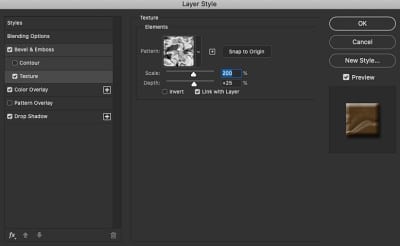
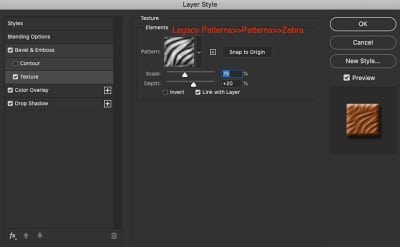
Textures
There are two textures in this group that look great for a chocolate text effect. The satin pattern is great for wide, large spaces like thick text and design elements. The Zebra pattern is perfect for a thinner text.
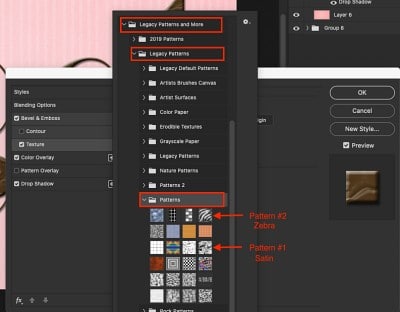
Texture #1
Texture #2
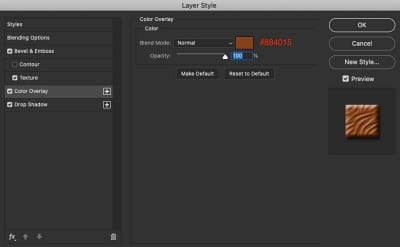
Color Overlay
The color overlay is a very important part of the chocolate appearance. I have also included a color palette with various chocolate colors in the resources section above.
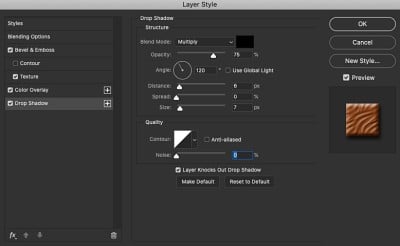
Drop Shadow
Use Examples
The following are a few examples of how this effect could be used for designing flyers, web graphics and marketing materials.