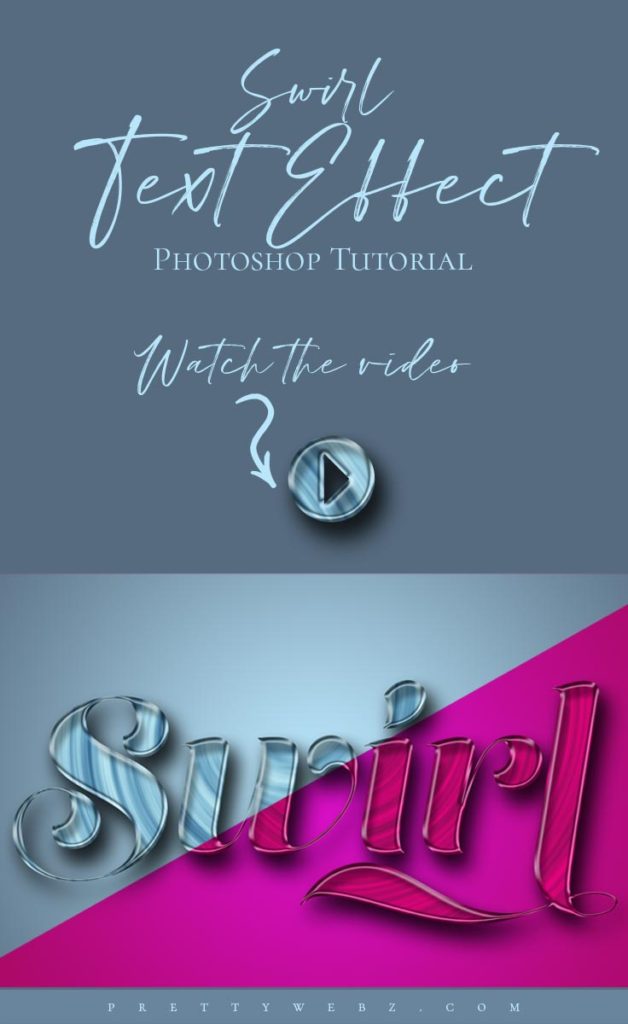
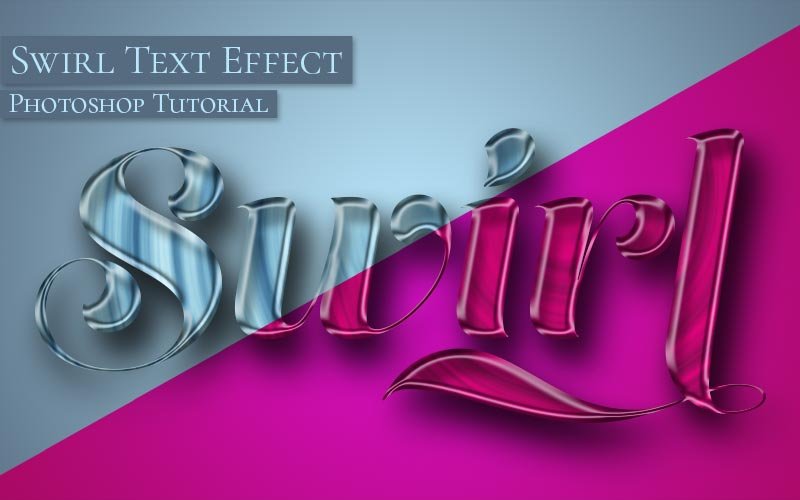
Swirl Text Effect Photoshop Tutorial
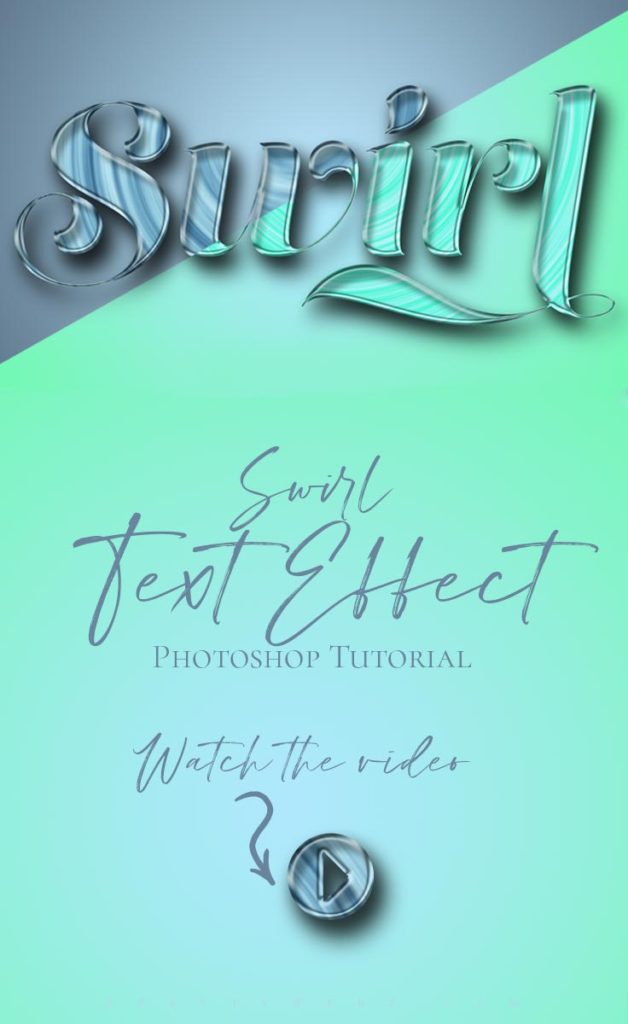
In this swirl text effect photoshop tutorial, I’ll teach you how to make a swirl pattern. This pattern can be created in any color for creating a swirl pattern collection or a set of layer styles.
Learn How to Save and Export Layer Styles
I will also show you how to save your text effect into photoshop styles. Styles allow you to reuse layer settings with one click in other projects. Finally, I’ll show you how to export a collection of styles. Saving and exporting styles allow you to share with others or to keep as a backup.
Creating and saving styles can be a great time saver. This is especially true when working on projects where the same styles are used in several pieces of the project.
Additionally, these text effects and patterns can be exported, shared, and even prepared and packaged for sale in online market places such as Creative Market and Etsy.
LEARN DESIGN TOOLS ONE STEP AT A TIME
Learn and master the most frustrating aspects of overwhelming programs like Photoshop and Illustrator in a fun and entertaining way with PrettyWebz design tutorials.
Tutorial projects like the ones we share here on the blog are meant to help you grasp the use of the most powerful aspects of design software one step at a time. In the process, you will build your design assets so that you can create a stunning marketing design for your business.
Don’t forget to sign up below in the footer to become part of the Prettywebz family and never miss another tutorial.
Also join me on YouTube as well to check out the playlists I’ve set up for Photoshop, PowerPoint and other software you can use to design your online graphics.
RESOURCES FOR THE Swirl text effect Photoshop TUTORIAL
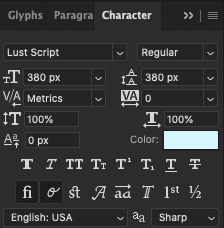
Font used in this Swirl text effect Photoshop tutorial: Lust Script free with CC membership.
More Posts on this Topic
Similar Premium Products

Swirl Text Effect VIDEO TUTORIAL
Image References
Pattern Set up
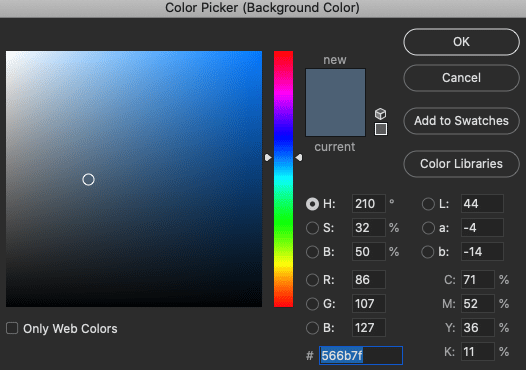
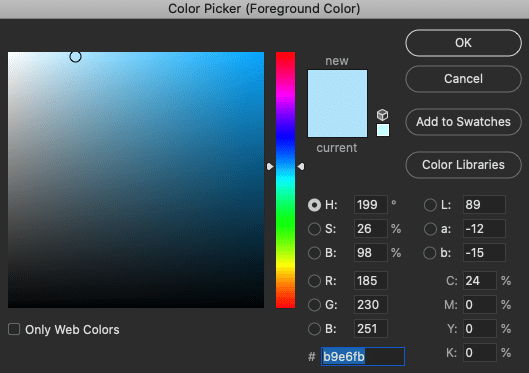
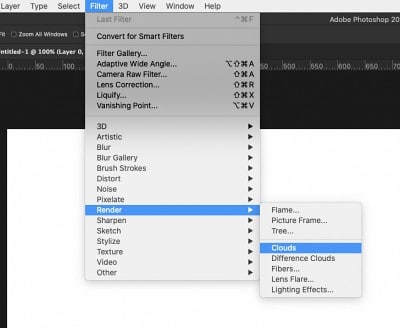
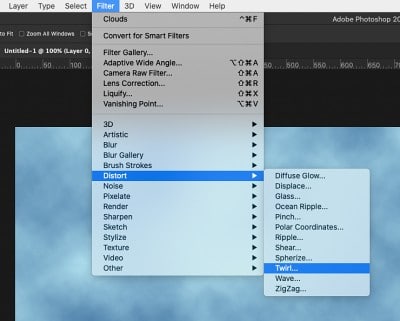
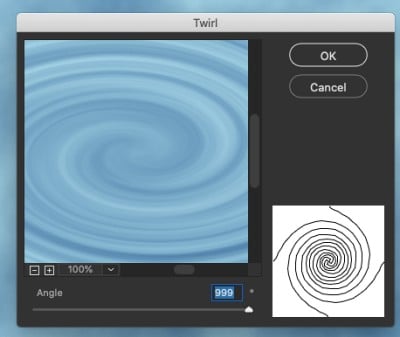
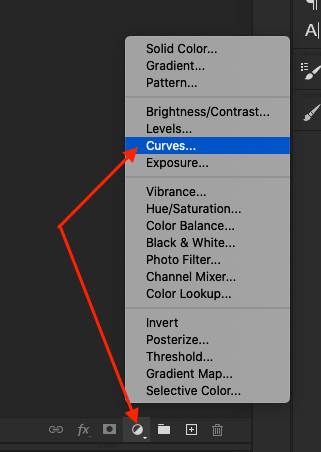
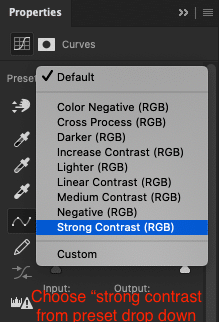
Next, add a curves adjustment layer above the swirl pattern layer. The curves adjustment will add more contrast and create much more depth in the pattern.
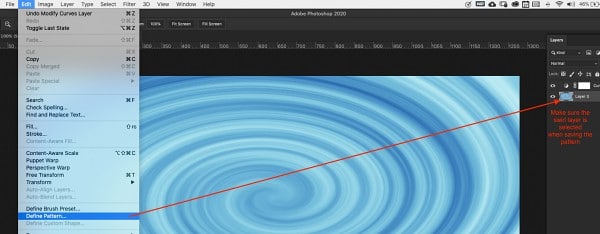
Define a pattern. Make sure you have the design layer selected, not the curves adjustment layer before defining the pattern as shown in the photo below.
Layer Styles Settings
The image below shows the text settings used in the tutorial. You can use any text you like. The color of the text doesn’t matter. We will apply the pattern we just created.
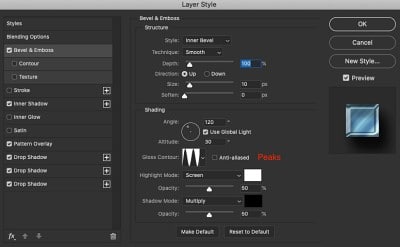
Right-click on the text layer and choose “Blending Options” and set the following settings:
Bevel and Emboss
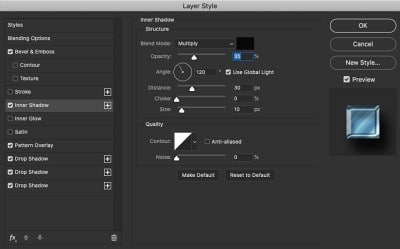
Inner Shadow
Pattern Overlay (use the pattern created in the first part of the tutorial.
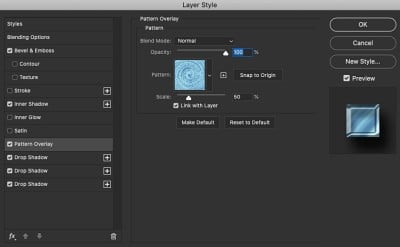
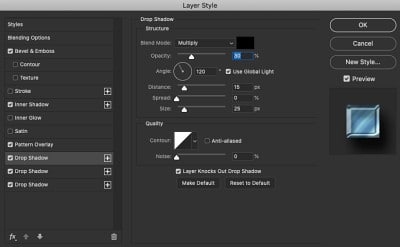
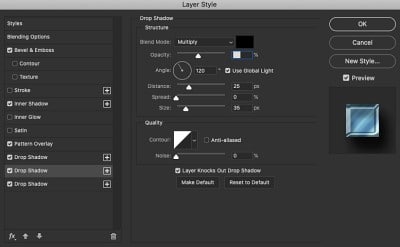
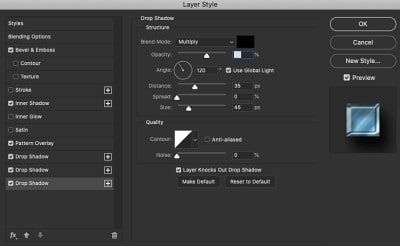
Drop Shadow – we will be using three separate drop shadows for this. Add a new drop shadow by clicking on the plus icon to the far right of the drop shadow blending option.
Example in Use
