Sparkler Effects in Photoshop
Learn how to make exciting sparkler effects in Photoshop to add dimension to your images or create stunning text effects to enhance social media and blog graphics quickly. This is a fun project focused on creating and stroking paths to create multi-dimensional graphics and typography.
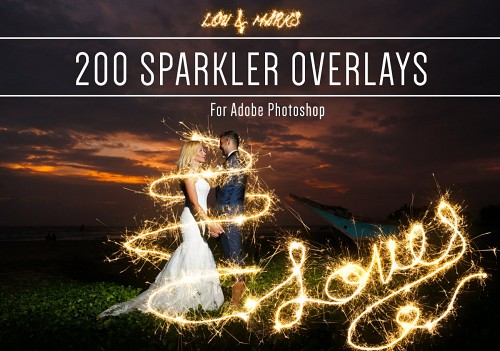
This sparkler overlay effect works perfectly for any celebration from birthdays to weddings. This is the perfect effect for New Year’s Eve invites, birthday cards, wedding photos, digital scrapbooking and so much more.
LEARN DESIGN TOOLS ONE STEP AT A TIME
Learn and master the most frustrating aspects of overwhelming programs like Photoshop and Illustrator in a fun and entertaining way with PrettyWebz design tutorials.
Tutorial projects like the ones we share here on the blog are meant to help you grasp the use of the most powerful aspects of design software one step at a time. In the process, you will build your design assets so that you can create a stunning marketing design for your business. So, don’t forget to sign up below in the footer to become part of the Prettywebz family and never miss another tutorial.
RESOURCES USED IN THIS TUTORIAL:
Images Used in this Tutorial
Pre-Made Brushes for this tutorial
More Posts on this Topic
Abstract Overlays 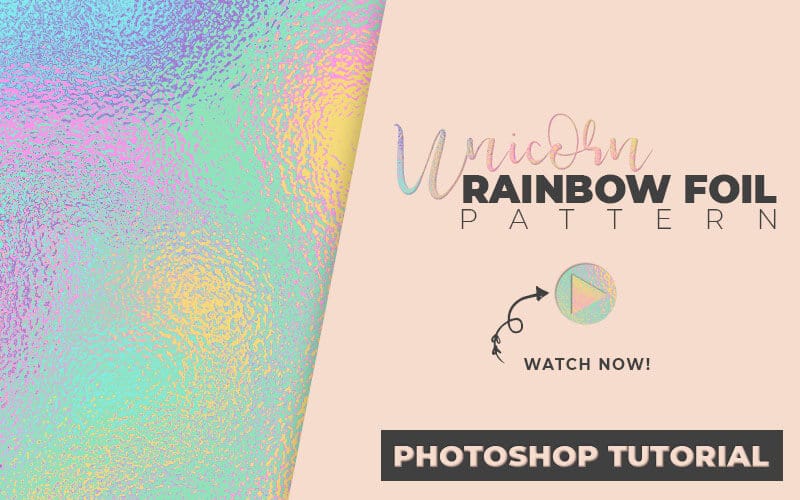
Unicorn Texture Background 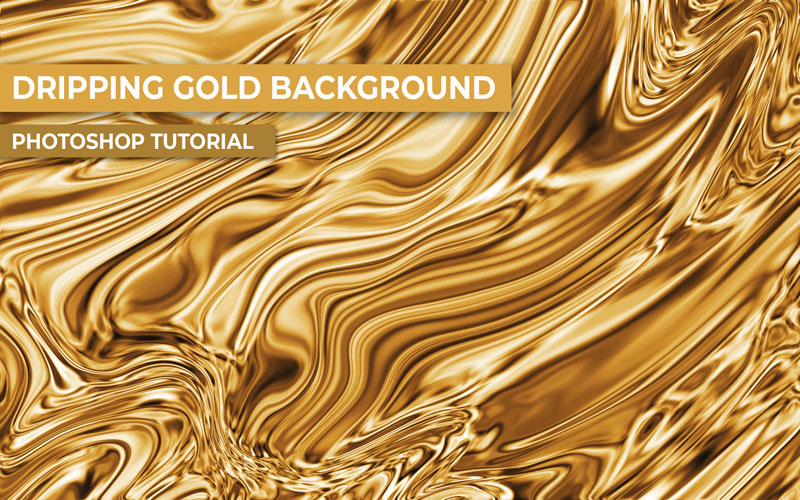
Liquid Gold
Also join me on YouTube as well to check out the playlists I’ve set up for Photoshop, PowerPoint and other software you can use to design your online graphics.
Watch the video or read the transcript below. Also, check out other tutorials you might like from my Photoshop tutorial collection, branding, social media design, and design principles.
Start of Sparkler Effects Tutorial Transcript
Today I’m going to show you how to make a beautiful sparkler overlay for your photographs and typography. Let’s go ahead and get started.
What We Will Cover in The Sparkler Effects Video
The first thing I’m going to do is show you all the brush settings that you’re going to need to make the sparkler effects overlays and typography. We’re using all default brushes for this. Everything you need comes with Photoshop. We’re just going to make a few little tweaks to the brushes and I’ll show you exactly what we’re going to do there.
Then I’m going to show you how to use the freeform pen tool to create work paths that you can use to create these overlays. Don’t worry about all of the stuff that people don’t like about using the pen tool. This is going to be an easier way to do that.
I’m going to show you how to mask your overlays to add dimensional sparkler effects to your photographs. Finally, I’m going to show you how to create work paths using selection to create a nice shimmering sparkler effect on your text.
Brush Settings
The following section will go over all of the brush settings for the brushes we will use to create the sparkler effects for the overlays and text treatments.
The first thing we’re going to do is work on the brushes that we’re going to be using. I’m going to come over to the brush panel. What I’m working with here are these legacy brushes. These come with Photoshop.
If you don’t have these legacy brushes installed yet, you can come over to the little hamburger menu here on the side and choose legacy brushes. You’ll probably get a prompt asking if you want to append your brushes. Just say yes and these legacy brushes will be added to your brush panel.
Base Brushes
We’re working here with the default brushes. When you come in here the brush that we’re mainly going to use this the star brush. There’s a few of them here, we’re going to start with this 70pixel star brush. The reason this one is great for this is because it already has a lot of built-in glow to it. It looks really nice as it is. You don’t have to add a lot of effects to make this one look beautiful.
Then we’re also going to work with these two brushes the dune grass and the grass brush. I’ve already made the brushes. I’m quickly going to go through the settings that I used.
I have this sparkle brush. The dune brushes I called the flicker brush. I don’t use these as much. If you want a real sparkler effect, you’ll use the flicker brush. If you just want a nice shimmering kind of whimsical effect you can just use the sparkle brush at various sizes to get that nice glow.
The Sparkle Brush
Anyhow, we’re going to start here with the sparkle brush and I just wanted to show you the settings quickly for this. so, we’re going to come over here to the settings for this brush.
Sparkle Brush General Settings
The size doesn’t really matter because we’re going to be moving the sizing up and down. Here our angle is zero the roundness 73% and our spacing is 100%
Sparkle Brush Shape Dynamics
Go over to the shape dynamics. In shape dynamics, our size jitter is 9% all of these will be set to pen pressure, by the way. Our minimum diameter 12%, angle jitter 96%, roundness jitter 20%. Our minimum roundness is 25%.
Sparkle Brush Scattering
We’re going to go over to scattering. Make sure both axes are checked. We’re bringing the scatter up to 238%. You can adjust these as you wish to get whatever looks best for your preference. This is just what I preferred when I created the brush. You can definitely make adjustments to this to get something that you like better. For this, the count is going to be 8. Jitter 48% and then our controls are off for this. I just have smoothing enabled.
Again, this is the brush that we’re using. It’s going to be in our default brushes it is the star 70 pixels. You’ll see here in a bit how we’re going to be adjusting the size of the brush. We’ll go ahead and start with this 70.
The Flicker Brush
Okay, let’s take a look at the settings for the flicker brush. This is the second brush you will need to make sparkler effects. Let’s go back over to the settings.
The Flicker Brush General Settings
Now we’re going to start with the brush tip shape. We’re using this shape right here, the Dune grass, one blade of grass. The size we have here is 125 pixels. Our angle is zero, roundness 21%, spacing 110%.
The Flicker Brush Shape Dynamics
Now we’ll go over to shape dynamics. In shape dynamics, our size jitter is all the way up to 100. Minimum diameter all the way up. Angle jitter is all the way up. Roundness is all the way up. The only thing that’s all the way down is going to be the minimum roundness. The pen pressure set here under size jitter and your controls are off for roundness. Make sure to check on flip X jitter and flip Y jitter.
The Flicker Brush Scattering
Now we’re going to go over to scattering. In scattering, we’re going to check off both axes and we’re going to set scatter at 10%. Make sure pen pressure is checked off. The count is going to be 4 count. Jitter is zero and the controls are off.
The Flicker Brush Dual Brush
Then we’ll come over to dual brushes. Inside of dual brushes we’re going to add this brush right here. This is the regular grass brush.
I’m only using this to break up the grass shape. I’m going to turn that off so you can see. If you want this stronger flicker then you can do something like this. You know you don’t need the dual brush but I kind of liked it to look more like sparks.
Back to dual brush settings, size 339 spacing 63% our scatter is 100% and our count is 8. So that is going to be the second brush that we’re going to be using.
I’ve saved these two brushes here if you don’t want to go through the hassle of making all of these adjustments, I will have a download on my website. ‘ll put a link down below.
Making Sparkle Overlays (Freeform Pen Tool Method)
So now that we have the brushes set, I’ve added a layer here. We’re going to go ahead and use this to make our sparkler effects, a sparkler photo overlay, to this image right here. With that we’re going to come over to the pen tool and just hold it down so you can get this fly-out menu here.
Create the Work Path
We’re looking for this one, the free form pen tool. It’ll have that little wavy line at the tip. Okay. I’m just going to go through and use the freeform tool to draw out a basic wave. Once you have this work path right here you created when you drew the wave. We are going to come back up to the brushes and choose a brush.
Choose and Set Brush Size
Let’s come back over here to the brushes and we’re going to choose that sparkle brush. I’m just going to use the color white. Okay, so we have the brush size at 125 pixels. So, this is going to be fairly spread out. Maybe I’ll make it a little bit bigger. Right here you can see I went up to 175 pixels.
This is all going to depend on the image that you’re working with. How big you’re going to want that brush. So, I’m going to just kind of check it out, okay that that works. I’m going to go with that. Now that I have the brush set where I want it, I’m going to come back to the pen tool. I’m still in that free form pen setting and I can just come in here hover over the work path and right-click to bring up the menu.
Stroking the Path for the Sparkler Effects
I’m not clicking to make another node or do any of that. I’m just going to right-click on it to get this menu and choose stroke path. With stroke path, if you do not have brush selected you can come to the menu drop-down arrow and choose brush. Make sure that simulate pressure is checked and click Ok.
Layering Multiple Strokes to the Path to Create Dimension on your Sparkler Effects
Now we’ve just added that shimmer to this path. We’re going to come back to the brush tool. We’re going to bring down the size. Now I’m at 125 pixels and I’m just going to hit Enter or return on the keyboard Return on Mac and Enter on the PC.
Come back over to the brush size at the top of the screen and do the same thing, adjusting the size of the brush. I’m using my left right brackets to control the size of the brush on my keyboard. Left bracket [ makes the brush smaller, right bracket ] makes the brush bigger.
On my keyboard, I’m bringing the size of the brush down some. I brought it down to 90 pixels. I’m going to hit return or enter again on my keyboard and use that left bracket to bring the brush size down to 70 pixels. Hit return again.
Repeat the Process with various brush strokes at different sizes
I will repeat this process several times using varying brush sizes.
Left bracket again. We’re bringing it to 50 pixels. I’m going to hit return again left bracket. Bring it this time down to 30 and hit return several times. I want it much more concentrated and darker toward the center.
Now I’ll bring it down to about 15 and I’m going to hit Enter or return. I hit Enter about ten times right there. I want it super, super-concentrated in that middle section.
Deselecting the Path
Okay, so now I’m going to come over to my work path and I don’t see mine here on the side window. I’m going to show you how to get there. If you come over to window and you go to paths that’ll bring that right up for you. Just in case you don’t see it over here.
I have this work path just click off of the path. I’m just clicking off of the work path so I can come back in and do a mask.
Adding Dimension to Your Photo with a Layer Mask
I’m on my layers panel, this is my layer with the sparkle that I just made. Come in and add a layer mask to the sparkler layer. Click on the mask make sure I’m on the mask itself.
Once I’m on the mask I’m going to come over to the brushes and I’m just going to use a hard-round brush. This is from default brushes as well. Just a regular hard round brush.
Come back into this mask. Make sure that foreground and background colors are black white. They should be but if not make sure that you reset them by clicking the small icon right above and to the left of the foreground and background settings. This will make the foreground and background black and white, respectively.
Masking Basics
Remember, if you have the black active it’s going to erase. The white is going to add. We’re just trying to remove some of the sparkle from our subjects. I’m going to bring up the size of my brush, you can zoom in real close and get it in very detailed. For this demonstration, I’m just I just want to show you how this would work.
Creating the Illusion of Dimension
We have the sparkler effect going behind his head and in front of them and then I want this to look like it’s going behind to give the illusion that the sparkler is wrapping around the subjects. Remove the sparkle from every other line that crosses the front of the subjects.
You can make these things as big and as detailed as you’d like. Change the colors with each stroke. Each stroke can be different colors. There are so many things that you can do when creating something like this.
Adding Glow with Layer Options
We’ll go back to the shape layer (sparkler layer). I’m going to double click here on the far right of the layer. I’ll add an outer glow to this sparkler layer. We can change the color so make it a little more yellow. Kind of fireworks sparkler look or we can go we can play off the dress here and go bluer.
Typography Effects – Making Sparkler Effects from Text with the Selections
Press the ctrl or command key on the keyboard and then click right here on the letter T (layer thumbnail). This is going to create a selection from the text.
Creating the Work Path
I’m going to come over to my paths and then I’m going to come down to the options at the bottom of the paths window. Choose make a path from the selection. I had a selection and I just turned it into a work path.
Set the Brush and Size
Now that I have the work path, I can come back to my layers. I’m going to add a new layer. I need to set my brushes so let’s go ahead and do that first. Come over to the brushes and use this flicker brush and I’m going to change the size of the brush to a larger size. Use the image you’re working with to determine the size of the brush. My brush was set to 150 pixels. My image was somewhere near 3800×3500
Layer the Strokes on the Path
From this point, you are going to layer your strokes using the same process from the first demonstration. Larger strokes leading to very small and concentrated strokes. I just wanted to show you a different way of actually selecting and creating a path other than using this free form tool. Of course, you can use the regular pen as well.
Come back into the pen tool, hover over the path, when you see the point appear, right-click to bring up the menu. Choose stroke the path in the pop-up window choose simulate pressure and choose the brush tool from the drop-down menu, click OK
Changing Your Brush and Size
Choose the sparkle brush. Come back over to the layer and the size is 150 pixels. Hit Enter/Return to apply the stroke. Bring the brush size down to about 80 hit the Return/Enter again. Bring the brush size down to 60, and hit enter/return as many times as desired.
This graphic is about layering your strokes. Bring the brush size to 30 and hit Return/Enter several times again. Bring the brush size down to ten pixels. This is where you want the most concentration. Hit Enter/Return several times here to apply many concentrated strokes in the center of the work path.
Click off the work path and you can see that you’re getting that sparkler effect. Where it looks like it was moved. Where it’s fading in and out in different areas. Of course, you can always come back to the layers and add a glow to it.
Adding Color Glow
In the layer effects panel choose outer glow add that that color glow hex #e78800 is the color that we use for that. It looks like a sparkler effect. You can save text without the background. I can turn all of these (layers) off and turn my image back on. You can see how I now have sparkler words over my image.
Premium Products You Might Like