8 Easy Tips to Make Blog Headers More Effective
Flower Themed Blog Headers
Blog headers are one of my favorite ways to get a message across on a website. Does your business have an important event or sale coming up? Imagine having a message that follows your website users everywhere they go? There are so many things you can do with website and blog headers other than just simply adding a tagline and a logo.
Although logos are an essential part of branding and you want your logo front and center. Sometimes you have a message that needs to be front and center. Say you have a special announcement for your readers. Have you ever thought about using the header for displaying this information? We’ll go over a few examples. Here are a few ways you can use your blog header to display your most important messages:
- Branding and logo (of course)
- Sales and specials
- Marketing and promotions
- New or upcoming events
- New or coming soon products
- Featured products, classes, events, etc.
- New menu items
- Today’s special
Take a look at these examples:


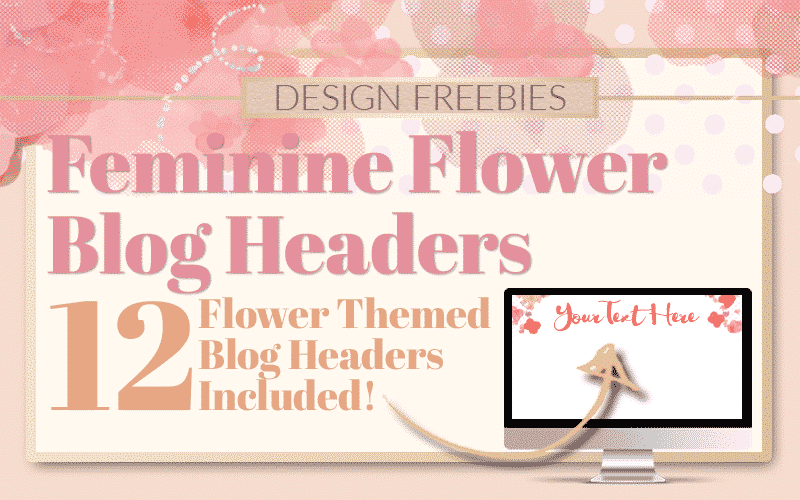
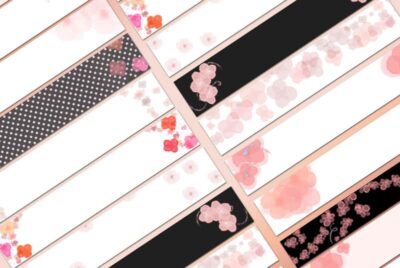
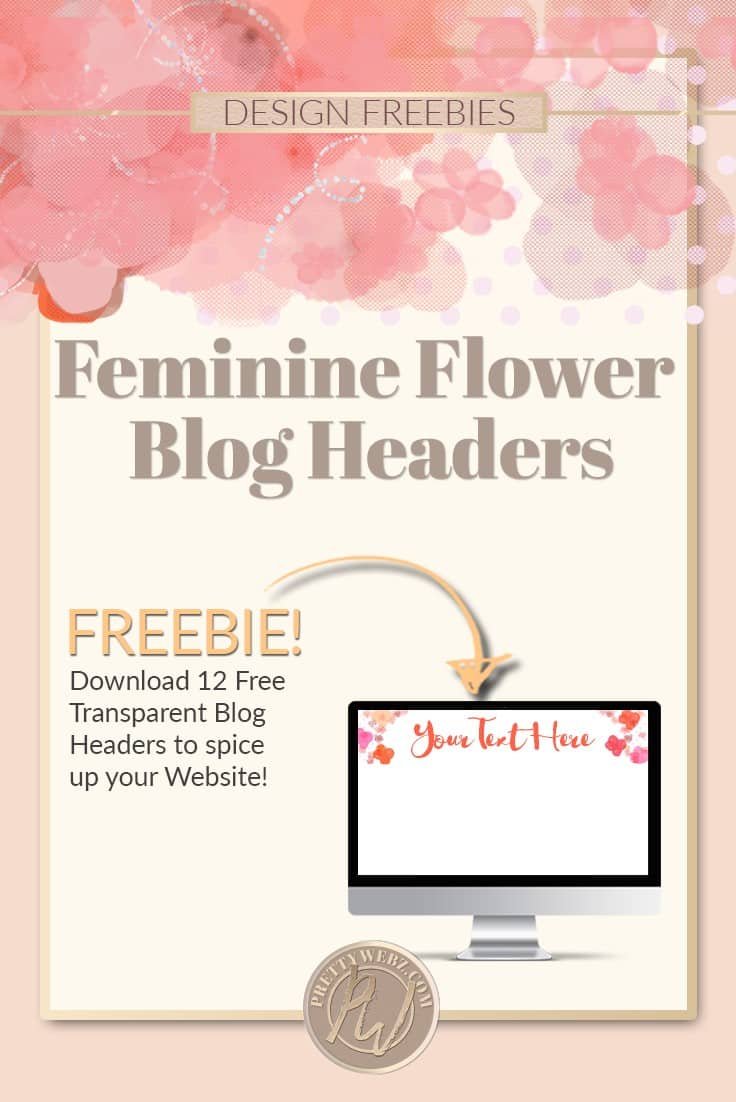
In this months freebie, I have twelve transparent headers with a pink flower motif. These transparent blog headers are super flexible to use with any feminine design. I can definitely see these on a beauty website, salon or spa, feminine zen inspired websites, ultra-feminine blogs, tea shops, flower shops and blogs and so much more!
These Blog Headers are Transparent!
This months freebie comes in two sizes and they’re all transparent png images. The transparent quality of these images makes it is so easy for the image and text overlay to blend well with the existing backdrop on your website. You can also add your own branding colors to the background when adding your text.
Our free blog headers come in a standard 1920 x 360 pixels at 72 PPI for use on the web. I’ve also included the same images in a little longer size at 1920×480 to give you extra height when needed.
These Blog Headers are Optimized for the Web
If you’re worried about website speed, I don’t blame you and I thought of that too. Luckily you don’t have to worry about that with these blog headers. Every header has been optimized using lossy compression, you keep the transparency and quality of a PNG image without the extra weight bringing down your website speed.
How to Use These Blog Headers
You can easily add your logo and tagline as a text overlay by uploading the header to Canva and making your edits there. Alternatively, you can open your image inside of PowerPoint, resize your canvas and add all of your text.
These headers are meant to serve as a base foundation for enhancing your message, typography, or logo design. The images do not have a base, you can add a simple rectangle using Canva or in PowerPoint. If you’re using PowerPoint to add your base color and text this is what you need:
Step one – Resize the canvas
You can resize your canvas by going to <<<DESIGN>>> tab and then select <<<SLIDE SIZE>>> then <<<CUSTOM SLIDE SIZE>>> when the pop-up window opens up use the following dimensions:
- For 1920×360 headers: 26.67-inch width and 5-inch height
- For 1920×480 headers: 26.67-inch width and 6.7-inch height
Step Two: Insert BG image and Resize to fit
Insert the background image (the blog header image) by selecting the INSERT tab then choosing PICTURE, navigate to where you saved your files and choose which blog header you want to insert.
Step Three: Change Canvas color
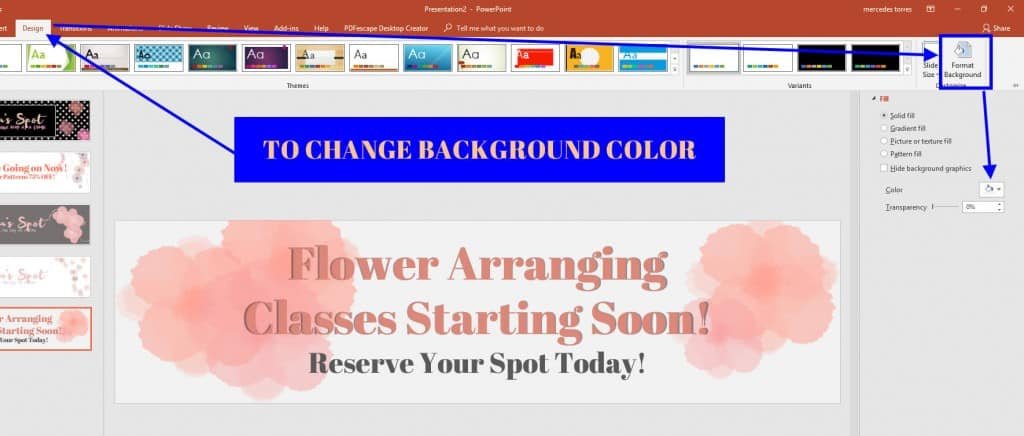
You can change the canvas color by adding a rectangle shape to the back of the blog header image and adjusting the color or you can change the background color of the canvas as follows:
In the <<<DESIGN>>> tab go to <<<FORMAT BACKGROUND>>> the format menu will come up then choose the color you want from the drop-down menu under COLOR.
Step Four: Add Text
Once you have size and background color formatted all you have to do is add your text.

Step Five: Export the file
You can export one or more slides as images as follows:
Select the FILE tab then EXPORT under export choose CHANGE FILE TYPE then select either PNG or JPG click SAVE AS when you do this another dialog box will come up, choose where you want the file to save. Another dialog box will come up, here you can choose whether you want to export one slide or all slides. That’s it!
To Save the Transparency
If you want to save the header in its transparent form using PowerPoint so that the image blends perfectly with the backdrop of your website you have that option as well. All you have to do is select all of the elements of the design leaving out the background, RIGHT CLICK, then choose SAVE AS PICTURE. Powerpoint will save it as a PNG transparent image to the location on your computer that you specify.
More Free Blog Header Styles
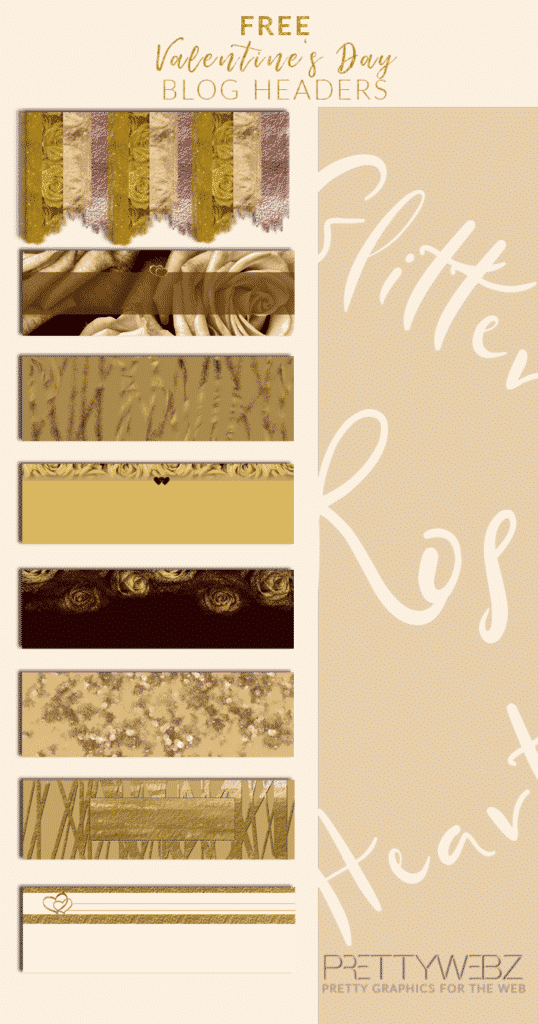
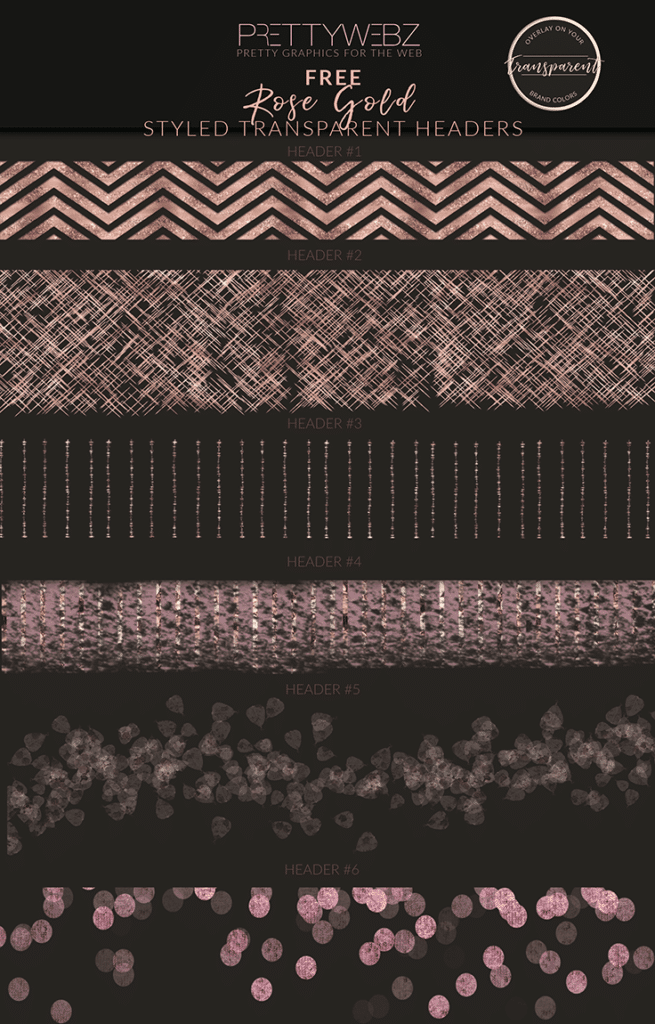
In the past, we have featured several different headers. Feminine style rose gold and our Valentine’s Day Love themed headers are also available for download.
If you don’t have a website or would rather use these on social media you can definitely resize them and re-purposed them as a cover page as well. Because these images are large, the quality will not be affected by resizing and cropping.
What’s Next
The website header is the one place that will follow your readers everywhere they go on your website, take advantage of it with transparent headers backgrounds for your messages. If you are interested in more design tutorials in PowerPoint check out the PrettyWebz Youtube channel and subscribe to us there. Also, make sure you sign up to receive the PrettyWebz newsletter by filling in the form in the footer of this page! I send out tons of resources, graphics freebies and update you on everything that’s going on at PrettyWebz every single month.
Did you like this post and want to save it for later? Pin this image!

