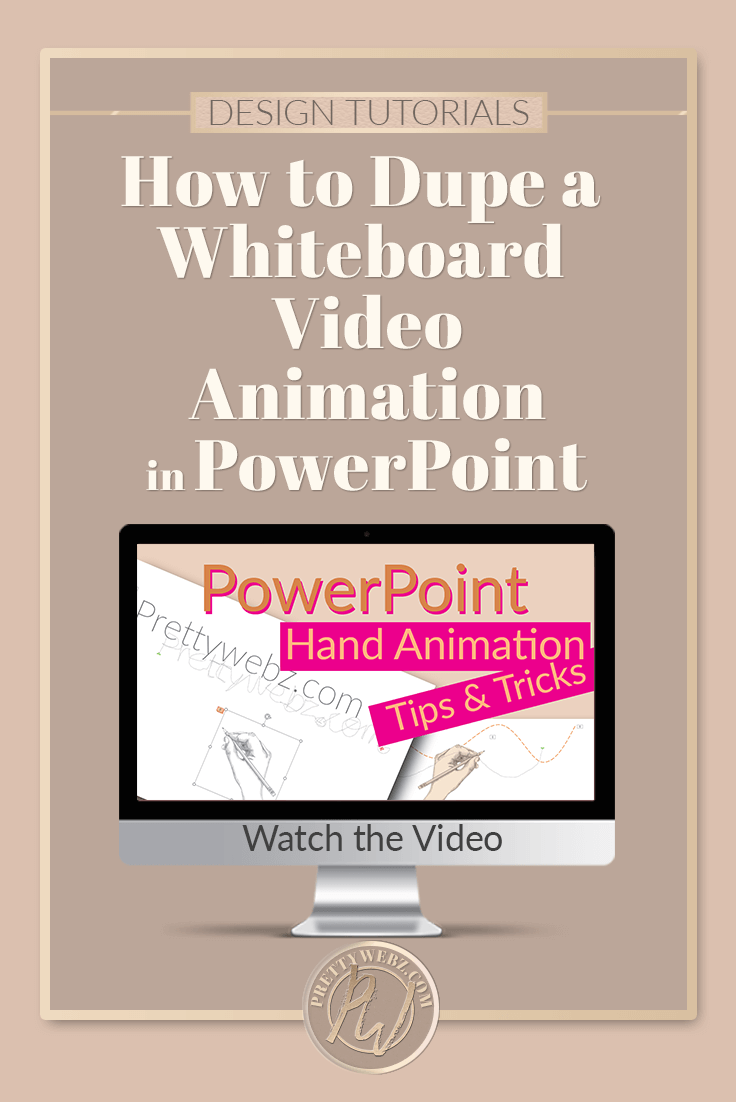
how to dupe a whiteboard Video Creator in PowerPoint
The Whiteboard Video Creator Dupe
Have you ever watched a whiteboard video creator do its magic? The letters and graphics are drawn out right before your eyes by a hand that never once drops the pencil. I know I’ve been captivated by these videos for no reason other than I want to see what that hand draws next. I needed to close the loop. A whiteboard video creator is used to reveal information just in time because the marketers know that our brains are desperate to know the end. We need to close the loop.
When your favorite show ends in a cliffhanger (or part one of your favorite book series in my case), it drives you crazy. You feel annoyed and desperate to know how it will end. In these videos visuals, motion and the message all come together to create maximum stimulation for the brain, and our brains love it!
In today’s post, I’m going to show you how to simulate a whiteboard video creator to make a similar hand drawing animation effect using PowerPoint.
•••The following is a loose transcript of the video.•••
Creating Handwritten Animation Effect in PowerPoint
Step One
- Create a blank slide and add the text you want it has to be reasonably big to accommodate the animated hand that we will be adding in later and to be visible on the screen.
- You can use any text you like. I find that simple letters that have some separation are the best application for this style. Serif and sans serif fonts are easy to read and the lines are more straightforward than script fonts. These styles are more natural to trace too.
Step Two
- Insert hand clipart holding a pencil in PNG format. You need the transparent layers for a realistic motion over the top of the object or letters.
- You may have to adjust the size of the clipart depending on the size of your text.
Step Three – Creating Animation for Your Text
- Select the text that you have created then go to the animations tab and select appear.
- What we want to do is create a text effect where each one of the letters will appear on screen individually. To do this while inside the animation tab, navigate to the animations pane. When the animation pane pops up on the left side of your window, click on the text animation. This animation should be the only one on the screen.
- Right-click the animation and a new menu will pop up.
- Navigate down to effect options.
- A new pop-up will come up for the “appear” text animation which is the animation that you have applied to your text.
- There are two tabs here, one is the “effect” tab, and the other is “timing.”
- To start, we will begin working with effects. Go down to the “animate text” drop-down menu and choose “by letter” and click OK.
- We will work with timing and duration a little bit later.
Step Four – Creating an Animation for Your Hand Clipart
- Select the clipart to apply an animation. In the animations tab, choose “custom path.” You will find it by scrolling all the way down to the bottom under “motion paths.”
- Click where you want to start drawing and drag the cursor along the path of the font in the way you would naturally write. You want us to look as natural as possible it doesn’t have to look pretty. In fact, it will probably look like a jumbled mess. The only thing that we’re concerned about is the motion that you’re creating in writing the letters.
- Once you have all of the letters traced out, double click on the animation path to complete the animation.
- Click on either the end or the beginning arrow for the animation. Doing this will show you a transparent copy of the hand beginning and another to show where it will end. So you want to position the pencil at the beginning of your lettering as much as possible.
Step Five – Work on timing for the animation
- The easiest way to get the timing of the letter animation and hand animation is to set your letters to start with previous and then drag your duration using the animations pain.
- A general place to start will be adding one second for every two letters in your animation. If you have a word that has ten letters, then you will let the animation run for five seconds. This calculation is just a starting point, and then you can use the animation pain slider to tweak it further.
- For the lettering, you’ll see a solid green bar inside of the bigger empty outline bar. The green bar is the number of seconds that it’s taking to animate each letter. The empty bar is showing how much time it’s going to take to animate the entire set of letters.
To tweak the amount of time each individual letter will take to animate
- Hold your mouse pointer over the top of the green bar within the larger empty bar until you see two lines with two arrows.
- Once you have that, hold down your left mouse button and drag to adjust the number of seconds. When you do this, it will change the amount of time the entire animation will take. Hover over the end of the animation and then drag it back to the number of seconds that you want the animation to run.
- Work with the timing until you have a result that you’re happy with.
Step Six (optional) – Remove the hand from the screen
The last thing that you will do is remove the hand from the screen. To do this, select the hand and go to the animations tab. Instead of choosing an animation from the main menu you will click on the blue star with the + in the corner to add an animation.
Since it already has an animation applied you’ll need to add a second. This second animation is going to run after the previous one. Instead of choosing from the original menu, select “add animation” and select flyout animation underneath the exit section and adjust the timing as desired.
Whiteboard Video Creator Dupe Example Two
- For the second example, we will be using a shape to do the same thing that we did with the lettering. Follow step two above to insert the hand onto the screen.
- Go to the insert tab. Choose the shape drop-down menu. Then choose the curved line. You’ll have crosshairs appear on the screen.
- Click the location on the screen where you want to start the line. Click the next area to create the first curve. From there keep clicking to make the entire line.
- Double-click your mouse to end the shape.
- Click the shapes bounding box to activate it
- Go to the animate tab and use the wipes animation. The wipe animation will automatically apply a circular wipe, to change this go back into the animation tab and choose the “effects options” drop-down menu. Select “from left” to wipe from left to right.
- From here you will add the hand animation following step four above.
- Sync the timing between the hand and the shape following step five above.
Editing the Shape
- If you want to change or reposition the shape, you’ll go to the format (drawing tools) tab >>>edit shape and then select edit points.
- When you’re happy with the shape you can also change the color of the line, change the weight, make it a little bit thicker. You can also add dashes if you like and you can add arrows.
- You can use the same steps to create lines shapes lettering or anything else that can be drawn out using animations.
More PowerPoint Graphic’s Editing Tutorials
Want to learn more about animations in PowerPoint? Check out this video that will show you how to make video animations in PowerPoint.
Learn more about using PowerPoint to design graphics for blogging and digital marketing, check out any or all of these posts!
 How to Convert Text to Images in PowerPoint
 How to Make Rose Gold Font Effects Super Easy
 How to Make a Mood Board Template
 Branding Worksheet in PowerPoint
 How to Create Social Media Content Quick and Easy (PowerPoint Frame Templates)
What’s Next?
Would you like to receive free design resources for your marketing and blogging graphics? I send out a monthly newsletter to all my subscribers with links to everything that was made available on the blog for the previous month. You’ll get resources we made available in blog posts and also “freemium” resources available in the shop. Don’t miss out! Make sure to sign up for the newsletter. The sign-up form is in the footer.
Did you like this whiteboard video creator dupe tutorial? Want to save it for later? Pin this image!