

How to Create Social Media Content Quick & Easy With Font Design
Creating Unique Images With Font Design
Hey there! Welcome to this follow-up demo to the cool text fonts roundup post. We’re going to demonstrate how to create font design image templates in PowerPoint and how to vectorize letters from artistic fonts to create a unique and stunning look for your blog and social media posts.
For this demonstration, we’ll take a couple of those cool text fonts from last week’s roundup and create graphics for your blog, promos, and social media. If you haven’t seen that you can check that out here.
Fonts Used for This Tutorial
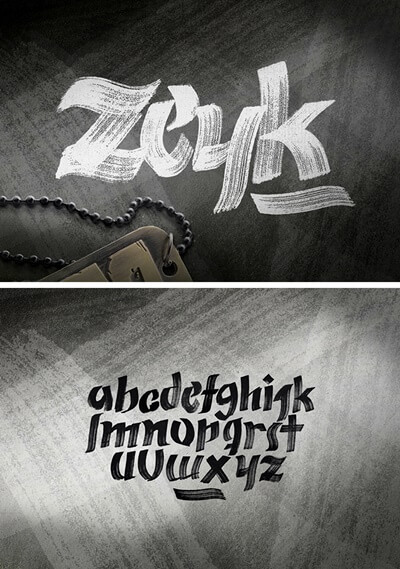
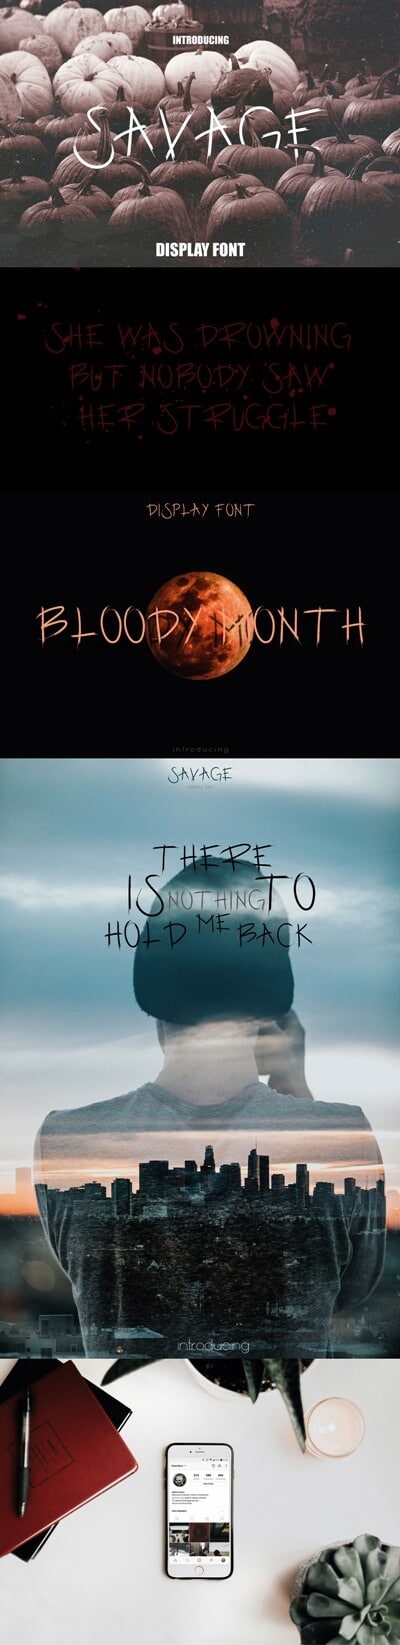
Here we will be working with Zeke and Savage fonts, these are both cool text fonts that have fantastic versatility. Both these fonts also look amazing on a variety of different backgrounds.
I have a little secret though. There was also an ulterior motive for adding those fonts in particular to that post. I wanted to introduce them to you because not only are these cool text fonts versatile in different contexts, but they can also be used to create graphics and elements for blogs and social media content.
Font Design Image Templates
Specific fonts lend well to creating frames, picture, and graphic holders, using fonts to develop social media designs is an efficient way to create unique graphics for your posts.
Zyke and Savage happen to be two font design typefaces perfect for doing just this. You can even add a video to a graphic created from a font design, and it would look amazing.
However, that’s a little bit more advanced than what I want to go over today. Still, I just want you to understand the potential of using fonts and turning them into graphics for your blog social media and marketing efforts.
Video Overview
Today in our video tutorial, I’m going to walk you through how to vectorize individual font design letters and use them to create stunning graphics that will attract attention to your message.
I’m also going to show you a nice time saver for creating exciting picture holders in PowerPoint that you can use over and over again.
But first…
What is a Vector?
If you don’t know what a vector is, it is a graphic that’s size is mathematically calculated so that it can either shrink or be expanded to any size without losing quality. I’m sure if you’ve ever zoomed in on a JPEG or PNG image you’ve noticed the pixelation of the image. That happens because these specific types of images are assigned a particular number of pixels per inch.
As a result, if they’re expanded past that point, the image tends to thin out. This happens because there’s no information in place for the extension of that image. In contrast, vectors hold all of their information in mathematical calculations, and it dynamically changes the calculation every time you change the size of your image.
Where are Vector Graphics Used?
Because of their dynamic traits, vectors are the best and most flexible types of graphics to use when you’re working on large format printing. For instance, large posters, billboards, and other signage. You will typically see a vector format used in these instances.
When will I use Vector Graphics?
We are not working with those types of large format media online. However, having the ability to manipulate details of an image puts a lot more flexibility into your designs. Using vector objects allows you to change and modify the image and node’s (which we will also go over) to create something very distinct and unique.
Vector for the Web
SVG which is a form of a vector image is something that is also used online regularly and is an amazing alternative to PNG and JPEG formats, in that you can scale them up and down.
This quality lends very well to mobile responsiveness and viewing on larger screens as well. SVG is a subject for another post, but that is something to keep in mind if you’re looking for scalability in your images for your website.

Step by Step
Creating Vectors From Letters
- First, open up a new PowerPoint document>>>Set the layout to a blank
- Under the insert tab at the top>>> choose, insert a text box
- Click anywhere on the canvas, once you have a blinking cursor click on the home tab
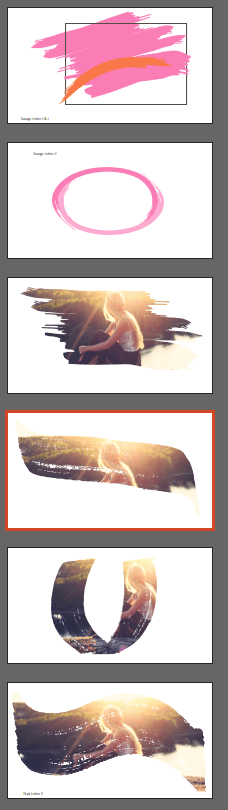
- In the home tab set the font to “Zeyk,” and font size to 600 then type the letter “S.”
- Rotate the letter to place it on its side and adjust it to fit the canvas
(The L the letter O the letter X and the Z are all so good options for a brush frame as well) - Go to the insert tab on the top and insert a shape >>> choose a rectangle. Make the rectangle cover the letter that we’ve placed completely.
- With the shape selected>>>in the format tab right underneath the orange section that says drawing tools >>>click send backward when the drop-down menu appears select “send to the back” to send the rectangle behind the letter
- Once you have the rectangle behind the letter with the rectangle selected press and hold the CTRL key on your keyboard, then click on the letter itself. At this point, you should have them both selected
- In the format tab >>>drawing tools>>>select “merge shapes” from the drop-down menu>>>select “intersect”>>> when you choose “intersect” it’s going to get rid of all of the excess areas of the rectangle>>>> you have now created a vector brush shape
- You can make it bigger and change it any way you like because it is a vector shape it’s not going to lose the quality of the shape.
Editing Vector Nodes
If you select “edit shape” and select “edit points”, you’ll see the points of the shape that you’ve created. These can be manipulated simply by moving them around. If you’re looking to change the shape slightly, you can do that as well.
Steps for More Flexible Editing
Now that we have our vector shape we can use it to create a picture holder or create other decorative shapes.
In another video, I demonstrated how to add a photo to text, this time we’re going to go ahead and do a shape fill because we’ve gone one step further here and turned our letter into a shape
Creating Image Placeholder Templates
- Select the shape or letter you’re going to use >>>hold down CTRL key and C on your keyboard
- Select the View tab >>>slide master >>>insert layout>>>remove any existing placeholders by selecting it and using the delete button on your keyboard (you have your new placeholder on the clipboard and cutting will remove the selection from the clipboard)
- On the blank slide hold down CTRL key and V on your keyboard to paste the letter or graphic
- In the “insert Placeholder” drop-down>>>select “Picture.”
- Place your object ON TOP of the picture placeholder>>>Select the picture placeholder and the object>>>while holding down SHIFT key select the Picture place Holder FIRST then the object
- In the Drawing Tools “Format” tab>>>select “merge shapes” dropdown list>>>select “intersect.”
- Close the slide master
Creating Image Placeholders with Letters
Please note: if you’re not creating a new shape from the original letter, for instance, if you’re going to use the letter as is then you don’t need to take steps to vectorize the shape. You can go directly into the next steps without turning your letters into a shape.
How to Use Your New Template
Create a new slide by right-clicking on your mouse and selecting “new slide” from the pop-up menu
On the Home tab>>>select the “Layout” drop-down menu>>>select your new slide’s layout
Click on the picture Icon in the middle of the object>>>select the photo you wish to use
Editing Your Photo
With the photo placed, in the Picture Tools “format” tab>>>select “Crop” you will see your entire image and will be able to resize and adjust the positioning very quickly from here
If you want the templates used in the tutorial you can download them here:
Stock Photos used in this demo
https://creativemarket.com/springsandcostock/1794561-Coral-Desk-Styled-Stock-Photo-Bundle
Unsplash.com
Check out other fonts used in our font design here.
Did you find this post helpful? Would you like to receive more resources and tutorials from us? Sign up for our newsletter to get all the resources and freebies available on the site directly in your inbox every single month.