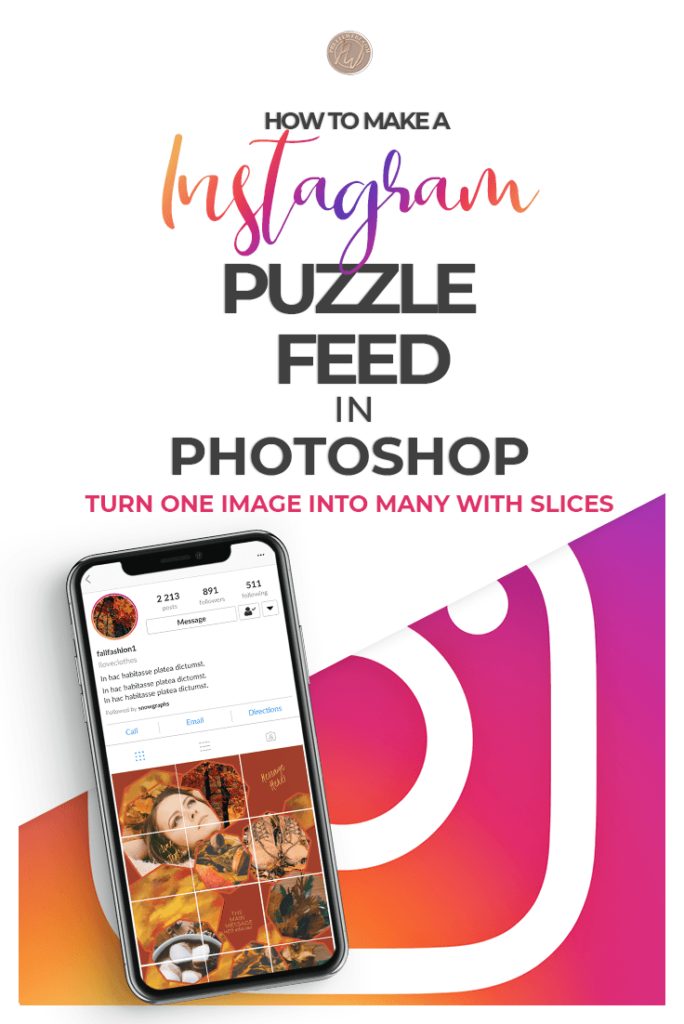
How to Make an Instagram Grid Puzzle Layout
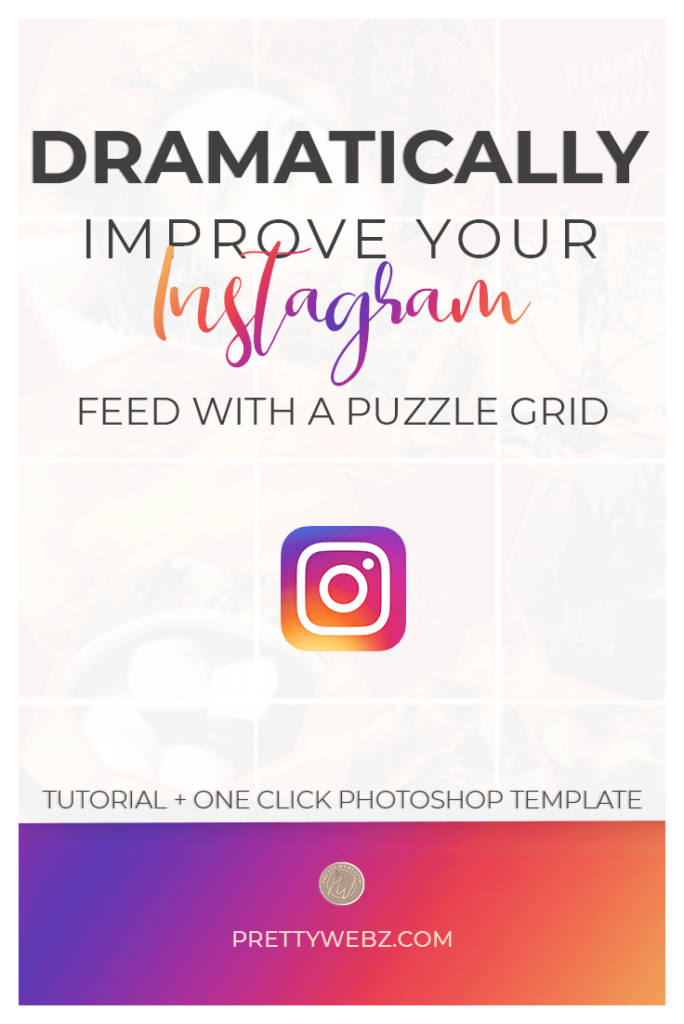
In this post, I’m going to show you how to make a beautiful Instagram grid template that will help you get a drool-worthy feed. Your Instagram grid will look like it took forever to make. Your little secret? You can do it in just a few minutes with this template.
I know you’ve seen at least one gorgeous Instagram grid where everything seems to fit perfectly together and flows so naturally from one image to the next. Maybe you wondered how in the world they did that. Quite possibly you thought it was too complicated and time-consuming to attempt doing it yourself. If that sounds like you, keep reading because I’m going to show you how easy it really is.
This weeks video tutorial is going to cover how to create a puzzle Instagram grid inside of Photoshop using the slice tool.
If you’re interested in all things Instagram, make sure to check out some of our other posts all about Instagram planning and a creating Instagram templates for your entire brand account including Instagram story icons, profile picture, in feed templates, and more. Also, make sure to come back next week where will follow the Instagram theme once again. This time we will be working on creating and styling Instagram story icons.
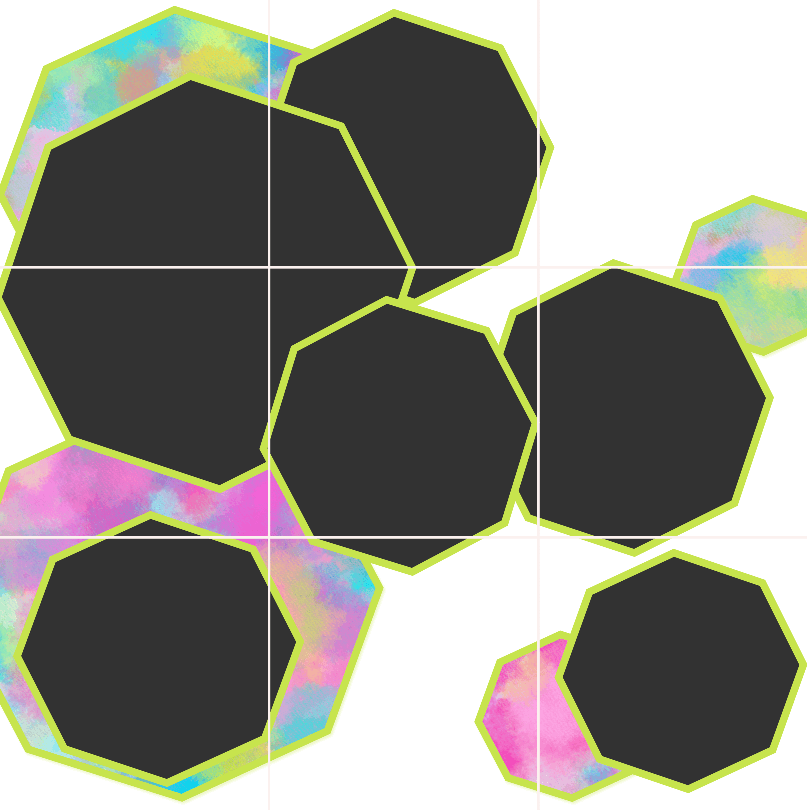
Ideas for Using Puzzle Instagram Feed
A puzzle grid is a great way to make your images flow from one to another so that your Instagram grid looks cohesive when viewed as one piece. This type of Instagram layout also lends well to telling a story, dripping information for marketing purposes or to create anticipation for an announcement in your business.
There are so many reasons you might want to use a puzzle Instagram grid for business and marketing, but this type of IG grid is also handy for keeping your branding in order. After all, you control the background colors and other design elements that are going to enhance and frame out your Instagram posts. This flexibility will make it so much easier to keep your branding together even with images that don’t use your brand colors.
Why you shouldn’t use a puzzle Instagram feed.
Of course, I love the aesthetic that an Instagram grid using this puzzle format creates. However, there is one severe drawback to utilizing a puzzle Instagram feed. When one image gets sliced up, you can end up with some photos that don’t make any sense. In fact, the feed often times doesn’t make sense until the entire puzzle has been uploaded to your Instagram account.
Seeing incomplete images may not be a big problem for people determining whether or not they want to follow you. Yet, for those who already follow you and are receiving individual images that you upload in their own feed, this can become annoying. So annoying that you run the risk of your Instagram friends unfollowing your account.
In today’s tutorial video, I will go over some of the design aspects that you will need to consider when creating a puzzle Instagram grid that looks so beautiful as a whole but also makes sense during the process of uploaded the incomplete puzzle grid onto Instagram.
What you will learn in This Instagram grid tutorial
In today’s video, you’re going to learn how to create an Instagram puzzle grid from scratch inside of Photoshop.
We will be using the slice tool and the slice select tool to create a grid that will tell Photoshop how you want the large image you created to be sliced into smaller files with specific sizes, naming and more.
I will show you exactly how to turn one large image into several smaller images. Some good naming practices to keep all of your photos in order and some design pointers to help you create the best possible Instagram grid for your brand and business.
Get these Instagram Grid Templates Free
In addition to this tutorial on how to create your own puzzle Instagram feed, I’m also giving you a set of two nine grid templates that you can use to get started. All you have to do is go to the shop and grab them!
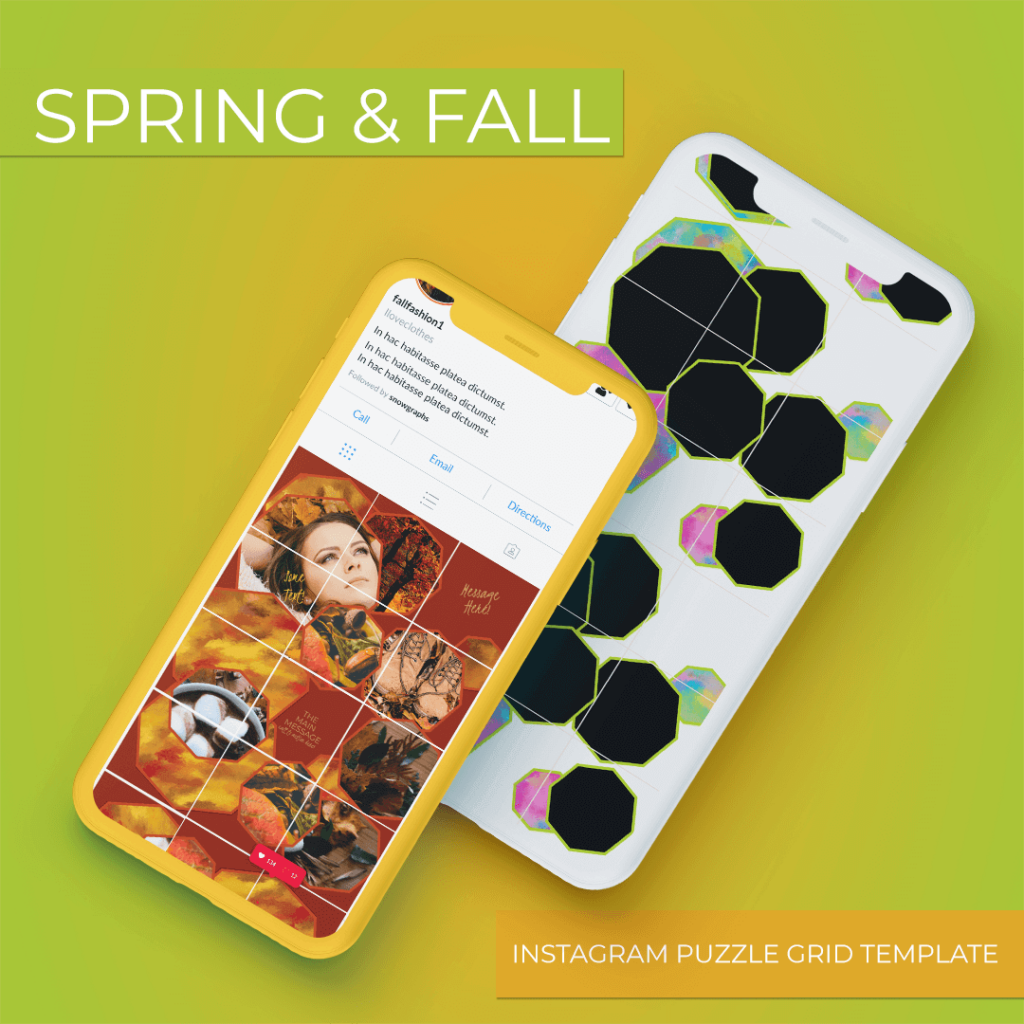
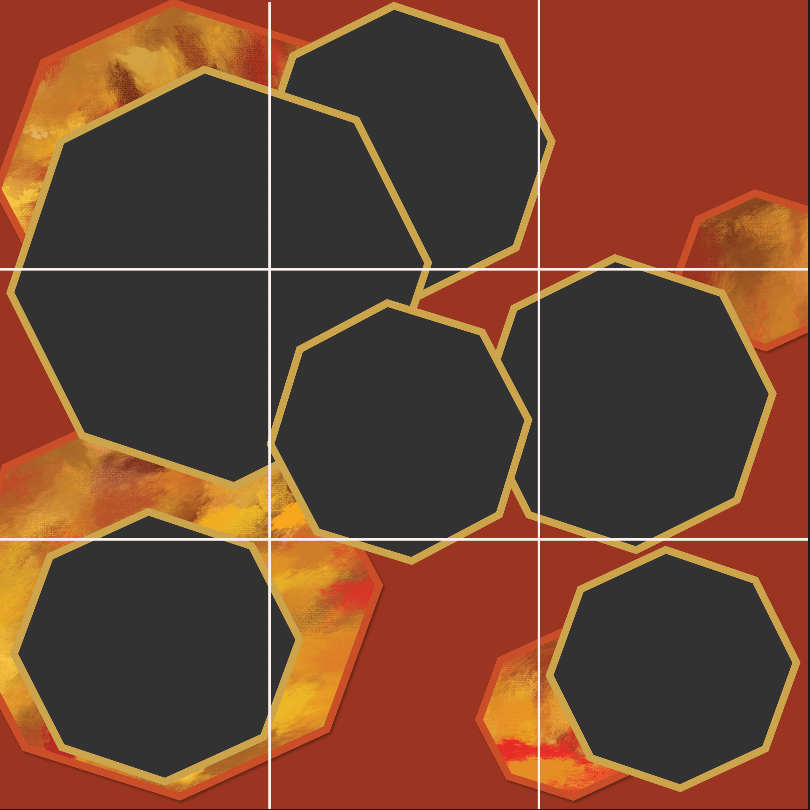
These free templates are themed for Spring and Autumn or Fall (depending on the word you like best) template. Both designed for seasonal sale, promotion or highlight of your business or brand. If you don’t own a company, you can also use this on your blog or for personal use as well. The design is very flexible and is not at all corporate style. This template design is enjoyable to use and has an easy flowing feel. Which means you can use it for personal photos as well.
I hope you enjoyed this weeks tutorial. If you would like to follow written step-by-step instructions for this tutorial instead of watching the video, you can. I have also added my script notes below so that you can follow the step-by-step. The video goes into a lot more detail about the design and aesthetic of your puzzle Instagram grid. I do encourage you to watch the video if you’re interested. Otherwise, you can follow along here.
Step by Step Instagram Grid Tutorial
- New document 3240 pixels wide
- Note: that is 1080 pixels for each image in your three-row grid and 3240 pixels height. These dimensions will give you a nine square grid were each box in the grid will be 1080 Pixels. 1080 x 1080 pixels are the dimensions of one single Instagram post image. If you would like to create a larger Instagram grid all you have to do is add 1080 pixels to the height for each additional row that you would like to add. For example, if you want to create a 12 box grid, then your image dimensions would be 3240 pixels by 4320 pixels.
- Set your resolution to 72 pixels, color mode will be RGB then click Create
- With your blank document open, set your background color.
Defining the slices
- Select the slice tool from the left-hand panel. If you do not see it, it’s right under the crop tool. Your cursor should look like a little blade.
Slice tool settings
- With the slice tool selected, at the top of the screen change your style from “normal” to “fixed size” in the drop-down when menu.
- Once you have “fixed size” selected you’ll have the option to change your width and height. Adjust the width and height to 1080 pixels wide by 1080 pixels height.
- To start on the second row click on the lower left corner of your very first slice. Continue on to create the rest of this row and do the same for the very last row, in the end, you should have a grid with nine boxes.
- Take your cursor to the upper left-hand corner of your canvas and click once. You should see a square with a yellow outline. This square is your first slice. Continue slicing your image by clicking on the right-hand top corner of the slice before to create another slice.
- To start on the second row click on the lower left corner of your very first slice. Continue on to create the rest of this row and do the same for the very last row, in the end, you should have a grid with nine boxes.
Formatting your grid boxes
- Once you have all of your boxes set on your canvas, go back to the slice tool option and select “slice select tool.”
- With the “slice select tool” selected, your cursor will look like the same blade with a little arrow pointing upwards. Use this tool to double click on the very first box where you see the blue number and a small image icon.
- The slice options properties box will come up. In this box, you can name your slice. This is the name that it will have when it’s exported. You can add a URL, alt tag and you can double check your width and height to ensure that they are 1080 pixels wide by 1080 pixels height.
- Naming and assigning numbers to your Instagram grid boxes is very important. Once this image is sliced, it will be difficult to tell what image should be uploaded first. Therefore, using sequential numbers will help you to schedule your pictures in the right order.
- Go through all of the slice options for each one of your grid boxes to ensure the naming and formatting is correct.
- Create your design as desired add your photos design elements frames and anything else you’d like to use in your image design it as one large image but also keep in mind that they will be uploaded one at a time. Make sure that there is the focus to each part of this larger image.
Exporting a puzzle grid design
When the entire grid is designed and ready to be exported take the following steps.
- In the top menu bar select “file” then “export” then “save for web”
- A new dialogue box will come up. In this new dialogue box make sure that the slice select tool is selected, and toggle slice visibility is turned on. At this point, you won’t be able to see the entire image. Zoom out to 12% to see the whole image
- The slice marks of your image it will be visible in this preview window. You can click on any of the slices to look at formatting and size information for individual slices.
- On the right-hand side, you can choose the format of your image in the drop-down window and the quality of the image in the drop-down window directly under. At the very bottom right-hand side you’ll see the images size. This image will not be exported as an entire image at this specific size. This is the size of the whole image, your slices will be exported at 1080 x 1080.
- If you are happy with how the puzzle image is laid out click the “save” button. A new dialog box will come up. Navigate to where you would like to save the images. Make sure that “all slices” is selected at the bottom and the format is “images only” click the “save” button. Now all of the images have been saved as individual PNG or JPEG images.
What next?
If you like the video tutorials that we share here on Prettywebz then make sure to subscribe to our newsletter to receive a notification every single time we send out a new video or a blog post. Ninety-nine percent of the time those videos and blog posts also come with a little extra bonus that we send out directly to our subscribers. I definitely don’t want you to miss out on that.
All of these template and pattern files can help you build your design assets so that you can create stunning marketing design for your business. So don’t forget to sign up below in the footer to become part of the Prettywebz family. Also, subscribe to PrettyWebz on Youtube so we can stay connected there as well.
Did you like this post? Share it with a friend or save it for later by pinning this image!