Gradient Map Color Writing
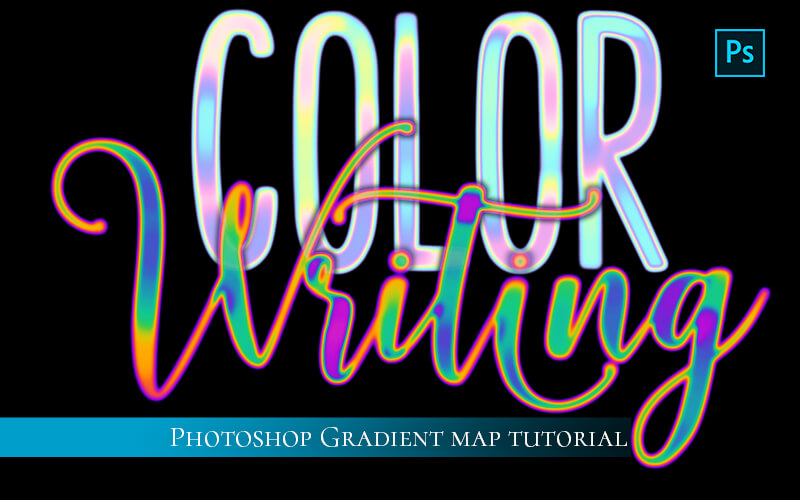
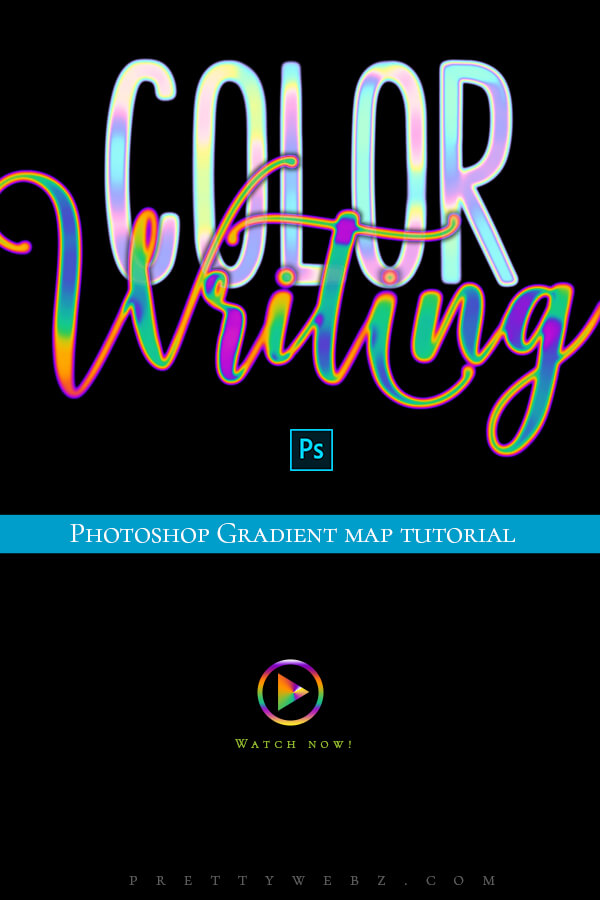
In this gradient map Photoshop tutorial, you will learn how to use the gradient map adjustment to make colorful strokes for hand lettering, backgrounds, illustrations, and more. I will go over the general functions of the gradient map and how it works so that you have ultimate control of how color is applied to your canvas. You will know exactly how color is applied using a gradient map and how to make adjustments to the gradient map to get the perfect colors in all the right places.
A drawing tablet is strongly recommended for this tutorial but it’s not required. I’ll show you how to get similar effects using mouse clicks as well.
Make sure to scroll to the yellow box below for a copy of the PSB file created in this tutorial. This Photoshop file can serve as a drawing pad template for color writing or just a close-up view of how I set it up.
Gradint Map Overview
First, I will go over how to access the gradient map adjustment. I’ll show you all the basic color layout information you need to start drawing your own designs with this method.
Document Setup and Brushes for color Writing
Then I’ll get into the document set up, brushes, and why the right brush is important. Learn how to adjust your brushes for the best results.
Drawing with a mouse
Finally, I’ll show you how you can get similar effects to what you can get with a tablet with a mouse and adjusting your brush settings.
IMPORTANT NOTE ON SOFTWARE AND TOOLS:
To get the same effect I achieved in some videos you will need a drawing tablet. You can get some inexpensive tablets. These are the two that I personally own, both are very good drawing tablets.
Wacom Intuos Pro Paper Edition (I recommend this one for Mac users): https://amzn.to/2Zno9X8
Huion H610 Pro (works perfectly on PC): https://amzn.to/2DBLqw5
***These are affiliate links which means that I will get a small commission if you click through and purchase. There is no additional cost to you and I will never recommend a product that does not add to the value I work to provide with my content.***
In this tutorial, I am using Photoshop CC 2021. You may not have the same configuration in your version of Photoshop. Things get moved around in updates. Some of the features in this version of Photoshop may not be available in older versions. Please leave a comment on the Youtube platform or send me an email if you get stuck or are missing a feature and I will do my best to help you.
LEARN DESIGN TOOLS ONE STEP AT A TIME
Learn and master the most frustrating aspects of overwhelming programs like Photoshop and Illustrator in a fun and entertaining way with PrettyWebz design tutorials.
Tutorial projects, like the ones I share here on the blog, are meant to help you grasp the use of the most powerful aspects of design software one step at a time. In the process, you will build your design assets. Before you know it, you will have created a good working knowledge of Adobe design software and a nice asset library for your business.
Don’t forget to sign up below in the footer to become part of the Prettywebz family and never miss another tutorial. You will also get access to the Design Lab. This is where all of the finished products from my tutorials live. Plus, a few extras like samples from premium products, templates, and design assets I’ve made especially for newsletter subscribers. I hope you’ll join!
Also join me on YouTube as well to check out the playlists I’ve set up for Photoshop, PowerPoint, and other software you can use to help build your online presence.
Resources for This Tutorial
Click for a direct download of the resources mentioned in the video. Resources are for reference, or in personal or client work. Tools can be used for creating your own resources but cannot be repackaged and sold on their own. Thank you!

