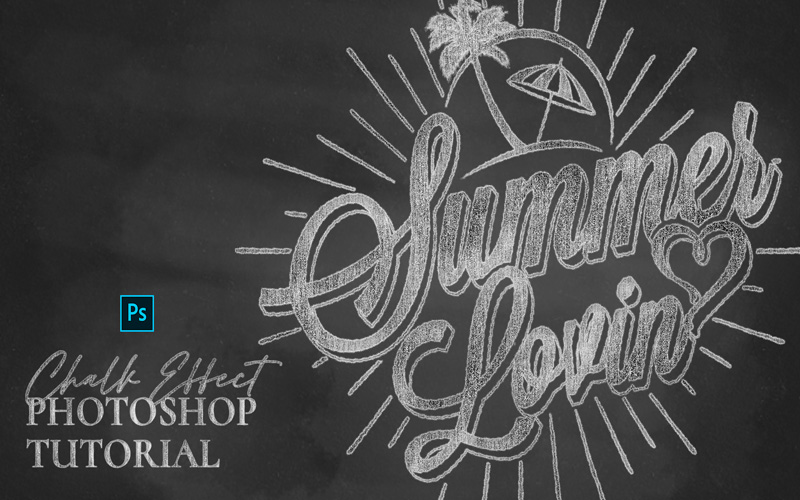
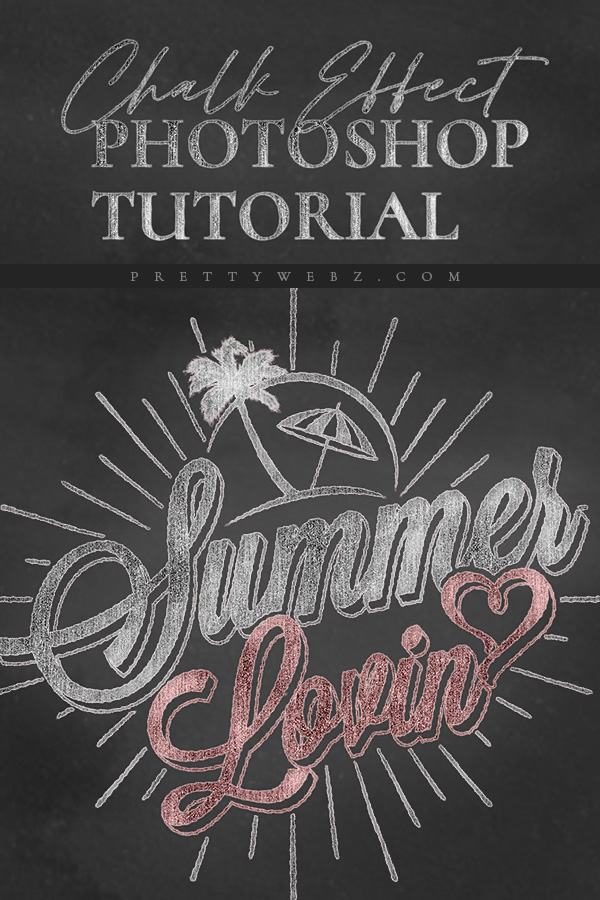
Chalk Effect Photoshop Tutorial
It’s that time of year where we start thinking about back to school. Supplies, sales and all the great designs that will go with your genius Back to school marketing plans. I thought this would be perfect timing to give you a classic chalk effect Photoshop tutorial.
The chalk effect is perfect for back to school themes. This chalk effect is also great for restaurants, farmers’ markets, and that neighborhood coffee shop vibe too! Imagine how great that big hero image will look on your website. With custom chalk text as a background. Or front and center as the feature when someone lands on your website home page.
This is a classic style that has all the great feelings of childhood but also reminds us of that hand-made charm from our favorite corner bakery.
In this tutorial, we will focus on using Photoshop brushes, filters and layer styles to achieve this beautiful, hand-drawn effect.
LEARN DESIGN TOOLS ONE STEP AT A TIME
Learn and master the most frustrating aspects of overwhelming programs like Photoshop and Illustrator in a fun and entertaining way with PrettyWebz design tutorials.
Tutorial projects like the ones we share here on the blog are meant to help you grasp the use of the most powerful aspects of design software one step at a time. In the process, you will build your design assets so that you can create a stunning marketing design for your business.
Don’t forget to sign up below in the footer to become part of the Prettywebz family and never miss another tutorial.
Also join me on YouTube as well to check out the playlists I’ve set up for Photoshop, PowerPoint and other software you can use to design your online graphics.
RESOURCES FOR THE Chalk Effect Photoshop TUTORIAL
The dark wall texture from transparenttextures.com
More Posts on this Topic
Similar Premium Products
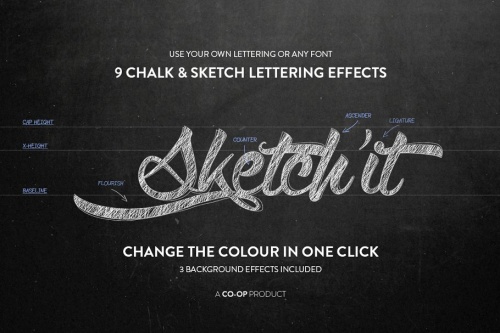
Chalk Effect Photoshop VIDEO TUTORIAL
Image References
This is a snapshot of all filters and layer styles. This is somewhat of a checklist for building this effect.
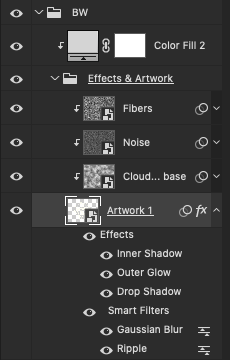
The “Artwork” layer styles and filters
Filters directly applied to the Artwork layer
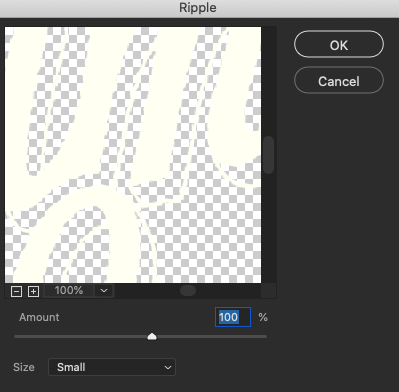
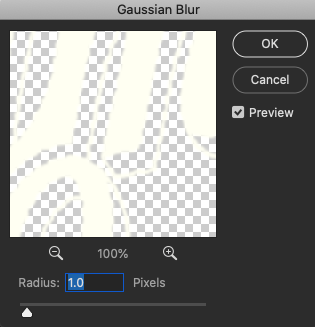
The “Artwork” Layer applied styles
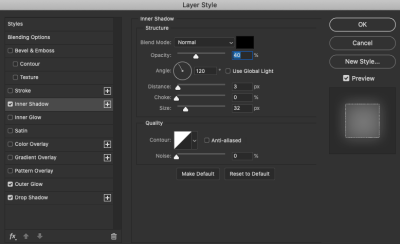
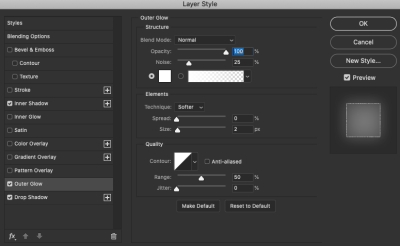
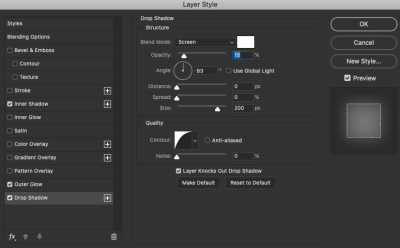
Clipped Filter Effects
These filters are created on three separate layers and clipped into the Artwork layer.
The first layer is the cloud effect (NOT PICTURED HERE) – The cloud filter will give you an uneven dusty effect. Go to Filter>>Render>>Clouds to create this effect then clip the layer into the Artwork layer by right clicking on the layer and selecting “Create clipping mask” from the menu.
The second layer is a noise layer. This is where the gritty broken chalk texture happens. The higher the noise, the heavier the chalk texture will be. When you have your settings the way you want them click okay and clip the noise layer to the Artwork layer by right-clicking on the layer and choosing “create clipping mask” from the menu.
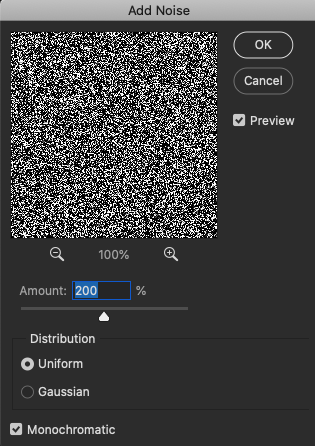
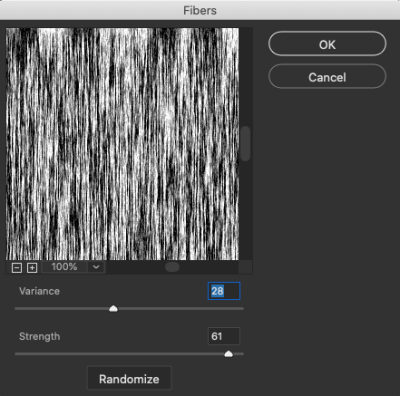
The third effect to round off this chalk effect Photoshop tutorial is the Fibers filter. The fibers filter will give you vertical chalk lines you see on an old painted chalkboard. This will add tons of realism to your chalk effect. Clip the fibers layer to the Artwork layer by right-clicking on the layer and choosing “create clipping mask” from the menu.
Examples in Use
