How to Make Easy Social Marketing Templates for Facebook
Never open up multiple documents to update your social marketing profiles again when you can go to one file in one place to design social marketing images across all platforms.
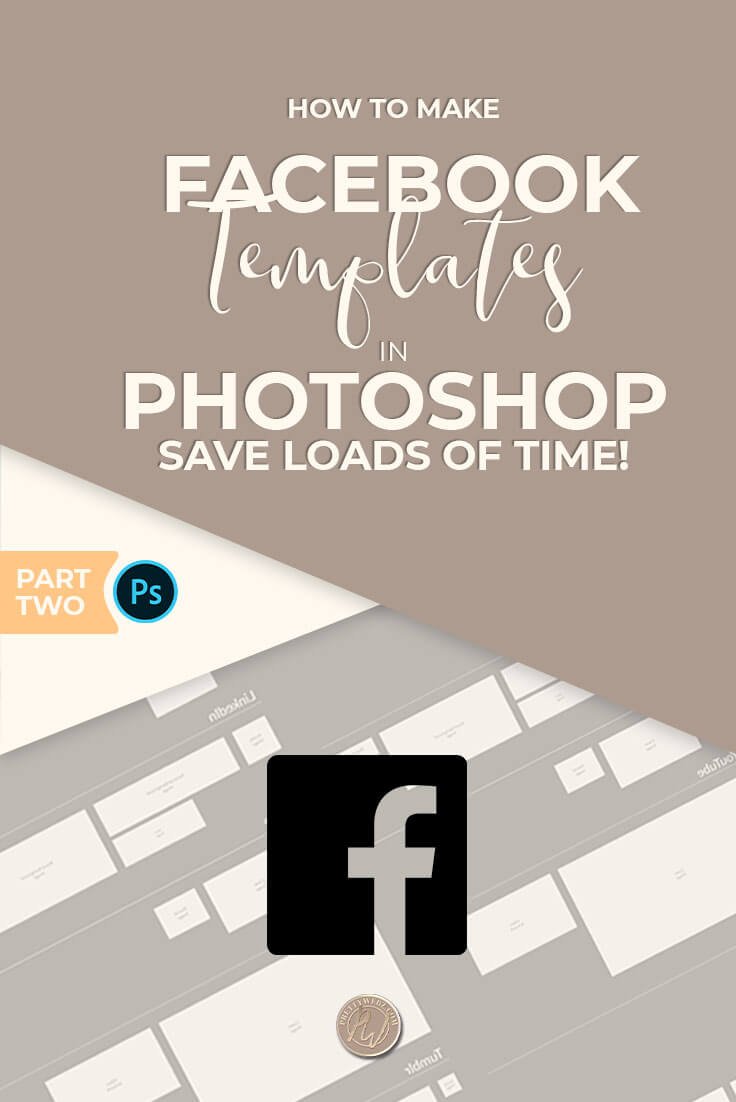
Today we’re going to be working on the Facebook portion of our social marketing template in Photoshop. This video is a continuation of our series on creating one PSD document for all of your social marketing templates.
Other Templates in this Social Marketing Series
If you haven’t already, I encourage you to go back and watch the first two videos. The first is an introduction to the one document concept that we’re working with here in the social marketing templates series. You’ll learn how this template work and why it’s going to save you tons of time and money in the long run if you invest the time to create it now.
The second video is the beginning of the four-part series where I teach you how to create templates for YouTube.
Template Dimensions
In this video, we will work on Facebook templates. I’ll make these templates with current dimensions that work with Facebook at the end of 2018 and 2019. I encourage you to get current dimensions from Facebook if you’re reading this late in 2019 and beyond.
The Facebook brand resource center
Facebook Help Center, type in a search query like “current profile image size” or “page cover size.”
Here is an overview of what we will be doing in this tutorial:
- We will go over creating posts for desktop and mobile viewports
- Facebook template dimensions
- Exporting individual images from your template
Image templates we will make:
- Group posts Overall: 1640 x 923 Desktop: 1640 x 662 Mobile: 1640 x 859
- Facebook page covers 828 x 315 Desktop view 828×315 mobile view 540 X 315
- Page profile Image for Facebook 360 x 360
- Facebook Post Template 1200 x 630
- Event templates 1920 x 1080
In my last video on social marketing templates for Youtube, I walked you through how to create the smart objects, how to turn layers on and off and other essential things that you’re going to need to know for this video.
Again, I highly recommend that you go back to the first part of this series and watch that video even if you don’t use the Youtube platform if you want to see that explained a little bit more in depth.
The following is a loose transcript of the video above:
The Facebook Templates
We will not be working on templates for private Facebook pages as the intention of this template is for marketing purposes which makes personal Facebook pages irrelevant for this.
Main PSD Label
We’re going to create a label for this section on the main PSD file. This label will make it easier for you to keep all of your templates organized when viewing on screen.
- With the primary PSD template create another label for Facebook and another line divider. These two elements will be on the main PSD layers panel.
- Once you have the main section label set up, choose your shape tool on the left panel. We will be working with the rectangle tool. If you don’t see the rectangle tool, there is a small arrow on the very left very right corner click on the arrow, and you’ll see a flyout menu, choose the rectangle tool.
- Drag the rectangle tool across the canvas to create a rectangle when you do this you’ll see a properties panel come up.
- If you don’t’ see the properties panel go up to window then make sure to check the tick box in the properties section.
- If you would rather use the panel on the top bar, press the letter “U” on your keyboard with the shape selected to bring up its properties there. You can use the controls at the top of the main window to change the color outline and size of your template as well.
Facebook Page Cover
- We’re going to start with the page cover. This social marketing template will be 828 x 315 pixels. We will create guides for individual viewport views inside of our smart object for this template.
- Once you have the rectangle size of the template, right-click on the layer in the layers panel and choose “create smart object” you’ll see a small icon appear at the right corner of the layer.
- When you see this icon, you can double-click on it to open the layer in isolation mode. Inside the layer, you’ll see a large blank canvas. This space is where we will create the desktop and mobile viewport for your Facebook cover.
- Click on the rectangle tool on the left side panel and create a rectangle on the canvas.
- Click on the rectangle layer when the properties menu comes up you can set a width of 540 x 315.
- Change the color to pure black
- In the layers panel with the layer selected change the opacity of this layer to 20%
Aligning the Layers
- Press Ctrl or command and the letter “A” to select the entire template.
- You’ll see the marching ants come up around the edges of the canvas hold down your control for command key and select the two shapes that we just created
- Press the letter V on your keyboard to bring up your alignment tools. Center align both shapes vertically and horizontally.
- Go back to the shape tool on the left side panel and choose the line tool on the top of the screen.
- With the line selected, choose the gear icon and make sure that Arrow start and arrow end are checked off to create arrowheads on both sides of your line. This line should expand the width of your mobile viewport of 540 pixels.
- Make a horizontal line that expands the height of the desktop view of 310
- These arrows will be used as guides for your viewport so you will need to align them with their respective viewport guides
- Label the mobile view line and viewport shape we just created by double-clicking each layer in the layers panel to highlight and replace the current text.
- Add a label for the mobile view.
- Select the text tool on the left tool panel.
- Click anywhere on the screen to start typing “mobile view.”
- Label the main layer “Facebook cover” so that you know what it is when you leave the PSB file and view it from the main PSD document.
- Group all the layers labeled “mobile.”
- While holding the shift key select all the mobile layers
- Click Ctrl + G or command+G on your keyboard to group the layers
- Double click on the name of the new group to highlight and replace the text with “Mobile View.”
Exporting Individual Images
Once you have everything outlined, you’re ready to add your art to the template.
- Use the viewport to make adjustments as needed.
- Then turn off the viewport layers so that only your artwork is visible.
- Click on <<<file>>> then <<< export >>> then <<<save for web (legacy)>>>
- When the pop-up menu comes up from the very top drop down menu choose JPG hi-resolution and click OK.
- Determine where you want to save the image then click OK again. Doing this will save your template individually in the correct dimensions.
Saving from the PSB file will come in handy when you only want to export specific image templates. With smart objects, you can be very selective with what you export.
In another video, I will go over how to export every single template on your main PSD document, but it’s also important to know how to export these social marketing images individually as well.
Facebook Page Profile Photo
- With the Facebook profile picture in the main PSD document, we’ll create another rectangle with the dimensions 360 X 360. The recommended of Facebook dimension is 180 X 180. However, I find that the larger size in the same aspect ratio gives a better quality photo.
- When you have the correct dimensions set, right click on the layer and choose <<<convert to a smart object>>>
- Label your layer “Profile image” and double-click to open the PSB file for the layer.
- Inside the PSB file choose the type tool from the left side panel and click anywhere on the canvas to set the cursor and type “Profile photo 360 X 360.”
- Place your text in the center of the image then close the PSB file and save it. On your main document, you will see the new table Facebook profile template.
Facebook Event Template
- You will go on and do the same as above for your Facebook event and all of the other images. The dimensions for an even are 1920 x 1080.
- Label the layer “Facebook event.”
- Right click on the layer, choose “convert to a smart object.”
- then double-click on the smart object icon on the layer panel to open up the PSB file
- select the type tool on the left-hand side of the menu click anywhere on the canvas to set the cursor
- Type “Facebook event 1920 X 1080.”
- You can also add crop guides in here if you prefer to keep your text within your guidelines. I usually keep my text in about 1 inch on all sides to ensure that nothing gets cut off.
Facebook Post template
- Add another rectangle, this time for a Facebook post with the following dimensions: The width is 1200 pixels the height is 630 pixels.
- Right click on the layer to create a smart object
- Double click on the smart object to open up the PSB file
- Choose the type tool from the left-hand panel click anywhere on the canvas to set the cursor
- Typed out “Facebook Post 1200 X 630”
- Press the V on your keyboard to show the image controls and place the text in the center of the image. Close the PSB file, make sure to hit save to keep all your changes on the main PSD document you should see your new Facebook post template.
Facebook Group Image
- The Facebook Group social marketing template will be 1640 x 859 pixels. We will create guides for individual viewport views inside of our smart object for desktop and mobile in this template.
- Once you have the rectangle size of the template, right-click on the layer in the layers panel and choose “create smart object” you’ll see a small icon appear at the right corner of the layer.
- When you see this icon, you can double-click on it to open the layer in isolation mode. Inside the layer, you’ll see a large blank canvas. This space is where we will create the desktop and mobile viewport for your Facebook group image.
- Click on the rectangle tool on the left side panel and create two rectangles on the canvas.
- Click on the rectangle layer when the properties menu comes up you can set a width of 1640 x 859 for mobile and 1640 x 662 for the desktop.
- Change the color to pure black for both.
- In the layers panel with each layer selected change the opacity of one layer to 10% and the other to 20%
Aligning Facebook Group Layers
- Press Ctrl or command and the letter “A” to select the entire template.
- You’ll see the marching ants come up around the edges of the canvas hold down your control for command key and select the two shapes that we just created
- Press the letter V on your keyboard to bring up your alignment tools. Center align both shapes vertically and horizontally.
- Go back to the shape tool on the left side panel and choose the line tool on the top of the screen.
- With the line selected, choose the gear icon and make sure that Arrow start and arrow end are checked off to create arrowheads on both sides of your line. This line should expand the height of your mobile viewport of 859 pixels. Make another line that spans the size of the desktop viewport of 662 pixels.
- These arrows will be used as guides for your viewport so you will need to align them with their respective viewport guide text
- Label the mobile view line and viewport shape we just created by double-clicking each layer in the layers panel to highlight and replace the current text.
- Add a label for the mobile and desktop view.
- Select the text tool on the left tool panel.
- Click anywhere on the screen to start typing “mobile view” Cntrl + Enter or command+return and click anywhere on the canvas and type “Desktop View”
- Label the main layer “Facebook Group” so that you know what it is when you leave the PSB file and view it from the main PSD document.
- Group all the layers labeled “mobile” by holding the shift key and selecting all layers labeled “mobile” press command+G or Ctrl+G to group them and double-click the group to name it. Do the same for the desktop view.
A Note On Labeling Your Template
Labeling is extremely important to keep social marketing templates in order. Especially when creating multiple templates in one big group like this. The labels will help keep you organized, and you understand what each layer is and where to find it when needed.
What Next?
Make sure to watch the video demonstration above. Leave me a comment to let me know that you understood this tutorial or ask me a question if there was anything I didn’t cover. I will be looking out for questions and answer as quickly as possible.
Sign up for my newsletter at the bottom of this page to get graphics resources and freebies for your online business marketing. Make sure to join me next week where I’ll be continuing this template with Pinterest images. The Pinterest section will focus less on viewports and more on image layers and storing assets inside your smart layers. You don’t want to miss this unique way to save and use branding assets.
Did you like this post, want to save it for later or share it with someone? Pin this image!